
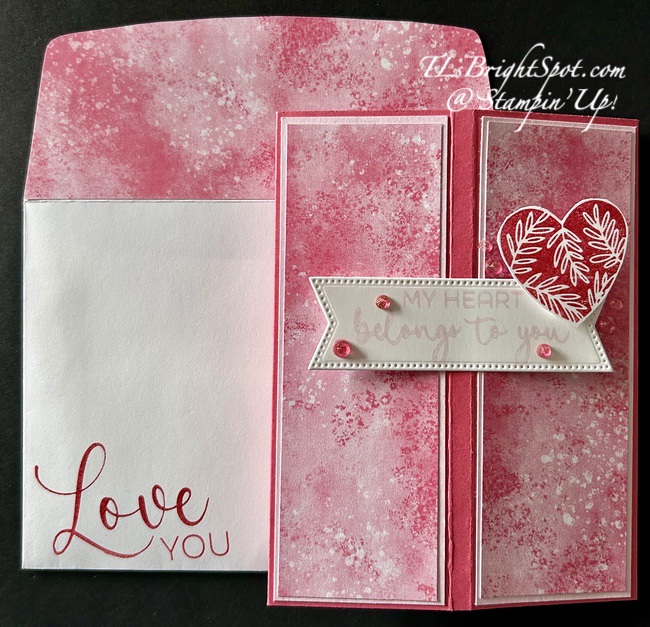
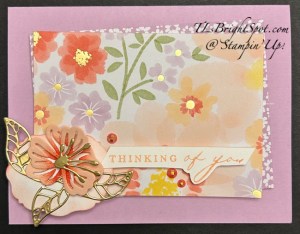
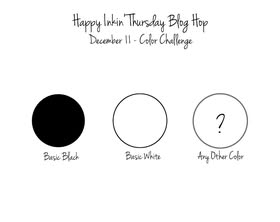
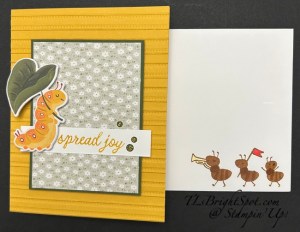
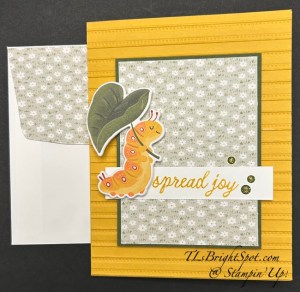
Welcome to our 2nd hop of 2026! If you came from the fabulous Tara or just popped right in here, we’re glad you stopped in. We have a fun color challenge today and I have chosen Strawberry Slush, Bubble Bath & Real Red for my colors with a new fun fold. Let’s take a look.

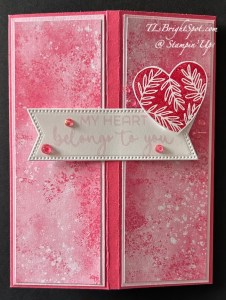
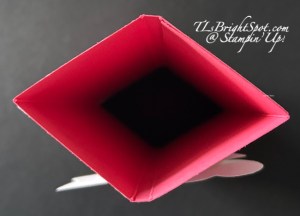
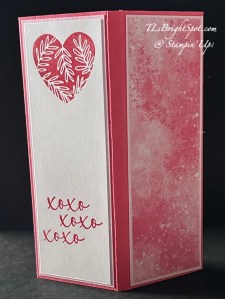
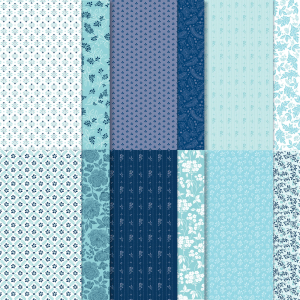
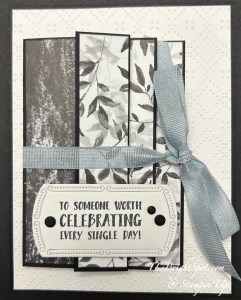
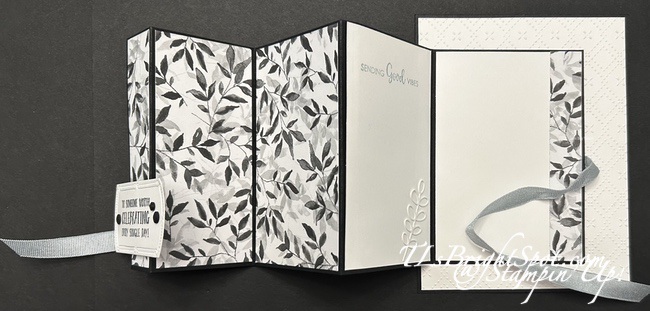
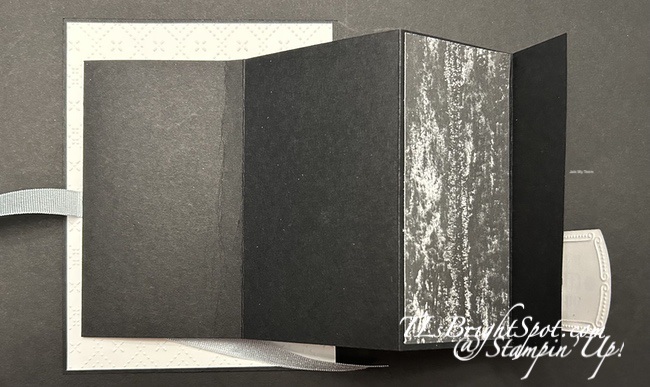
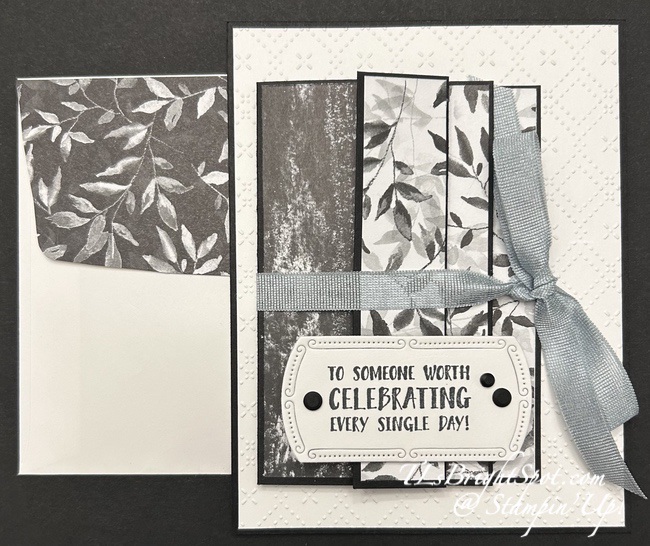
Fun Folds can sometimes be difficult or time consuming – this one is not. It begins with a card base 5 1/2 x 10 1/2 scored on the long side @ 2, 4, 4 1/4, 6 1.4, 8 1/4 & 8 1/2 (Strawberry Slush card stock). In the last 2″ section, add adhesive and adhere to the first section, securing just to the score line. This will now be the back of the card. Add your contrasting layer(Bubble Bath) to each panel (4 panels 1 7/8 x 5 3/8). Add your Designer Series Paper (2025-2027 In Color 6×6 DSP) to three panels & Basic White to the last panel – which is the back. (3 panels of DSP 1 3/4 x 5 1/4 & 1 panel of Basic White same size.) Add sentiments and stamping to the Basic White panel. Decorate front with a sentiment (Hearts of Elegance stamp set) stamping in Bubble Bath and die cutting with the Stitched Shapes Dies. Stamp the heart in Real Red, fussy cut and adhere it with a single dimensionals to the die cut sentiment. Add the sentiment with liquid adhesive to the double scored section on the front. Add lots of embellishments for glam… Strawberry Slush and Pretty In Pink Gems (from the ONLINE EXCLUSIVES.) Here’s how it looks from the top down and a photo of the completed back.
This card folds flat to go into a regular A2 envelope :O) Speaking of the envelope, stamp the sentiment on the front using Real Red ink and the Hearts of Elegance stamp set. Add the same 2025-2027 In Color 6×6 DSP to the flap (Strawberry Slush) – and finis! This is such a quick & easy fun fold and yet it is new and different.
For more information about ordering these products and other Stampin’ Up! items from me, see below. The next person in line is Nicole – be sure to see what fun item she has created with this color scheme. Click the ‘next’ button or click on a name – just be sure to see what each has created!

Terry Lynn Bright – you are here!
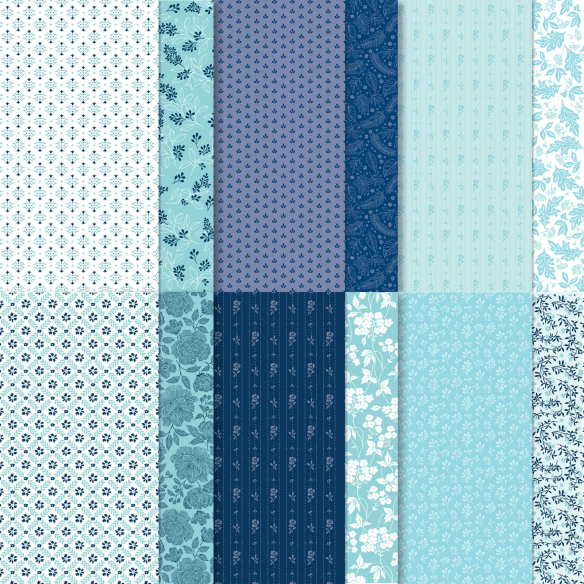
SHOP WITH ME HERE – whether it be for ONLINE EXCLUSIVES, the Jan-Apr Mini Catalog, the Annual Catalog or discontinued products. During this time frame of Jan 6-12, 2026, I am offering DOUBLE DAISY PATCH REWARDS as a customer Thank You! In other words, for every $25 order (before shipping & taxes), you will receive double the rewards. :O) In addition, when your order is $50 & above, you will also receive the monthly tutorial with lots of fabulous ideas. For January, that tutorial is all about the Lovely Arrangements bundle and Lovely Blossoms DSP – all part of the January ONLINE EXCLUSIVE Lovely Blossoms Suite Collection.
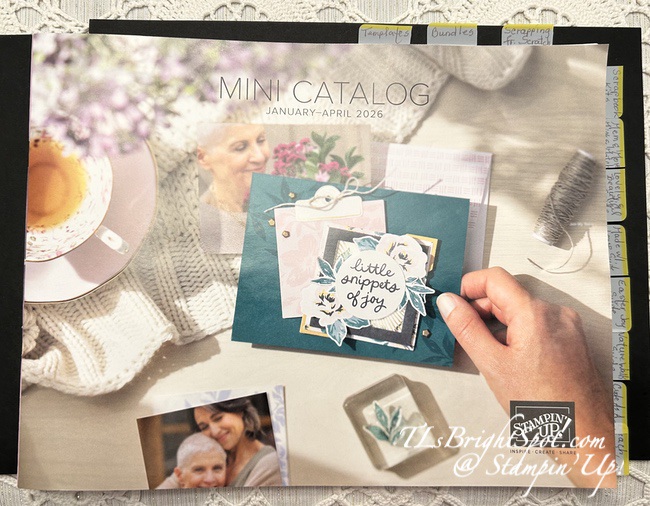
For information re: all the new kits, ONLINE EXCLUSIVES, BONUS DAYS AND MORE, VIEW THIS POST. To see the new catalog, click the image below.
Thanks for stopping by. May you have a beautiful day. Make someone happy by sending them a card full of handmade ❤️


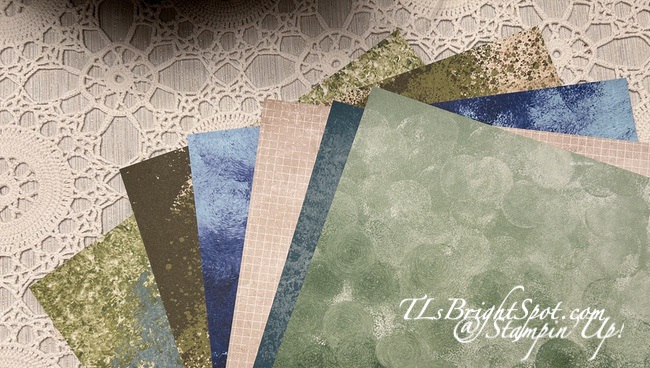
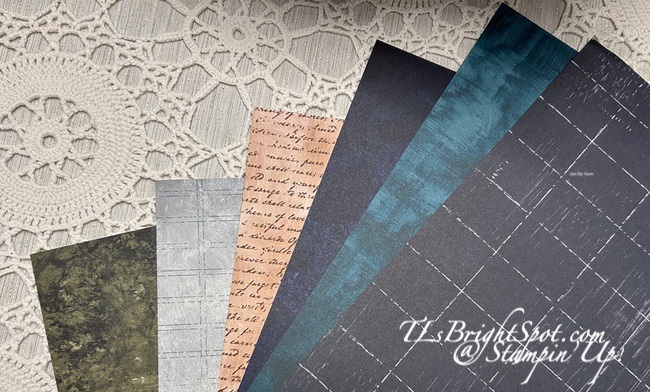

![Botanical Textures 12" X 12" (30.5 X 30.5 Cm) Designer Series Paper [ 165545 ]](https://assets1.tamsnetwork.com/images/EC042017NF/165545s.jpg "Botanical Textures 12\" X 12\" (30.5 X 30.5 Cm) Designer Series Paper [ 165545 ]")
![Beautiful Pattern 3 D Embossing Folder [ 167097 ]](https://assets1.tamsnetwork.com/images/EC042017NF/167097s.jpg "Beautiful Pattern 3 D Embossing Folder [ 167097 ]")
![The Right Words Cling Stamp Set (English) [ 165316 ]](https://assets1.tamsnetwork.com/images/EC042017NF/165316s.jpg "The Right Words Cling Stamp Set (English) [ 165316 ]")
![Traditional Labels Dies [ 165864 ]](https://assets1.tamsnetwork.com/images/EC042017NF/165864s.jpg "Traditional Labels Dies [ 165864 ]")
![Cloud Cover 3/8" (1 Cm) Faux Linen Ribbon [ 165271 ]](https://assets1.tamsnetwork.com/images/EC042017NF/165271s.jpg "Cloud Cover 3/8\" (1 Cm) Faux Linen Ribbon [ 165271 ]")
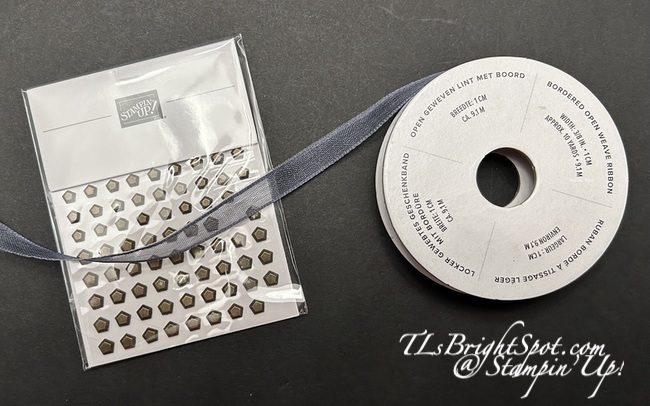
![Neutral Matte Dots [ 165561 ]](https://assets1.tamsnetwork.com/images/EC042017NF/165561s.jpg "Neutral Matte Dots [ 165561 ]")
![Basic Black 8-1/2" X 11" Cardstock [ 121045 ]](https://assets1.tamsnetwork.com/images/EC042017NF/121045s.jpg "Basic Black 8-1/2\" X 11\" Cardstock [ 121045 ]")
![Tuxedo Black Memento Ink Pad [ 132708 ]](https://assets1.tamsnetwork.com/images/EC042017NF/132708s.jpg "Tuxedo Black Memento Ink Pad [ 132708 ]")
![Uninked Stampin' Spots [ 141822 ]](https://assets1.tamsnetwork.com/images/EC042017NF/141822s.jpg "Uninked Stampin' Spots [ 141822 ]")
![Cloud Cover Classic Stampin' Ink Refill [ 165279 ]](https://assets1.tamsnetwork.com/images/EC042017NF/165279s.jpg "Cloud Cover Classic Stampin' Ink Refill [ 165279 ]")
![Basic White 8 1/2" X 11" Cardstock [ 166780 ]](https://assets1.tamsnetwork.com/images/EC042017NF/166780s.jpg "Basic White 8 1/2\" X 11\" Cardstock [ 166780 ]")
![Basic White Medium Envelopes [ 159236 ]](https://assets1.tamsnetwork.com/images/EC042017NF/159236s.jpg "Basic White Medium Envelopes [ 159236 ]")
![Stampin' Cut & Emboss Machine [ 149653 ]](https://assets1.tamsnetwork.com/images/EC042017NF/149653s.jpg "Stampin' Cut & Emboss Machine [ 149653 ]")
![Paper Trimmer [ 152392 ]](https://assets1.tamsnetwork.com/images/EC042017NF/152392s.jpg "Paper Trimmer [ 152392 ]")
![Stampin' Dimensionals [ 104430 ]](https://assets1.tamsnetwork.com/images/EC042017NF/104430s.jpg "Stampin' Dimensionals [ 104430 ]")
![Multipurpose Liquid Glue [ 110755 ]](https://assets1.tamsnetwork.com/images/EC042017NF/110755s.jpg "Multipurpose Liquid Glue [ 110755 ]")
![Mini Glue Dots [ 103683 ]](https://assets1.tamsnetwork.com/images/EC042017NF/103683s.jpg "Mini Glue Dots [ 103683 ]")
![Paper Snips [ 103579 ]](https://assets1.tamsnetwork.com/images/EC042017NF/103579s.jpg "Paper Snips [ 103579 ]")
![Take Your Pick [ 144107 ]](https://assets1.tamsnetwork.com/images/EC042017NF/144107s.jpg "Take Your Pick [ 144107 ]")
![Clear Wink Of Stella Glitter Brush [ 141897 ]](https://assets1.tamsnetwork.com/images/EC042017NF/141897s.jpg "Clear Wink Of Stella Glitter Brush [ 141897 ]")
