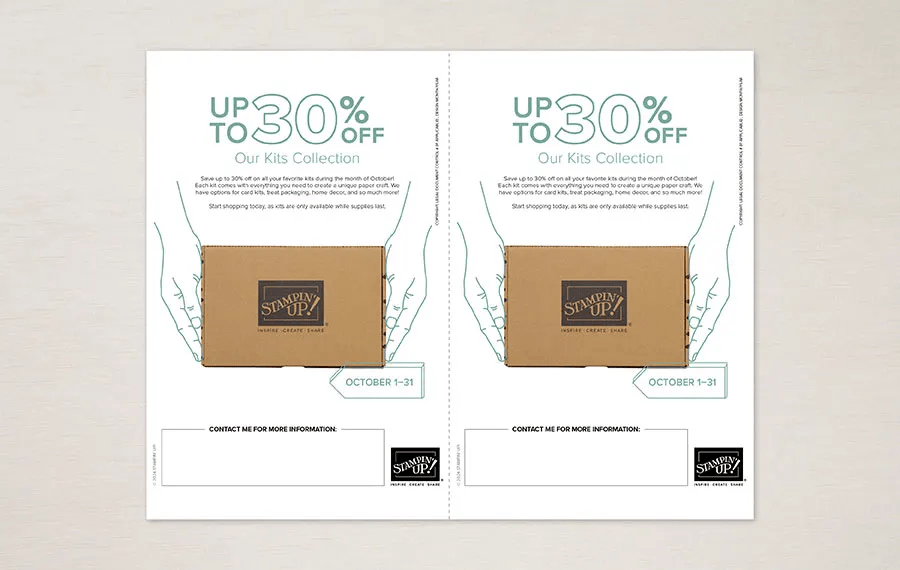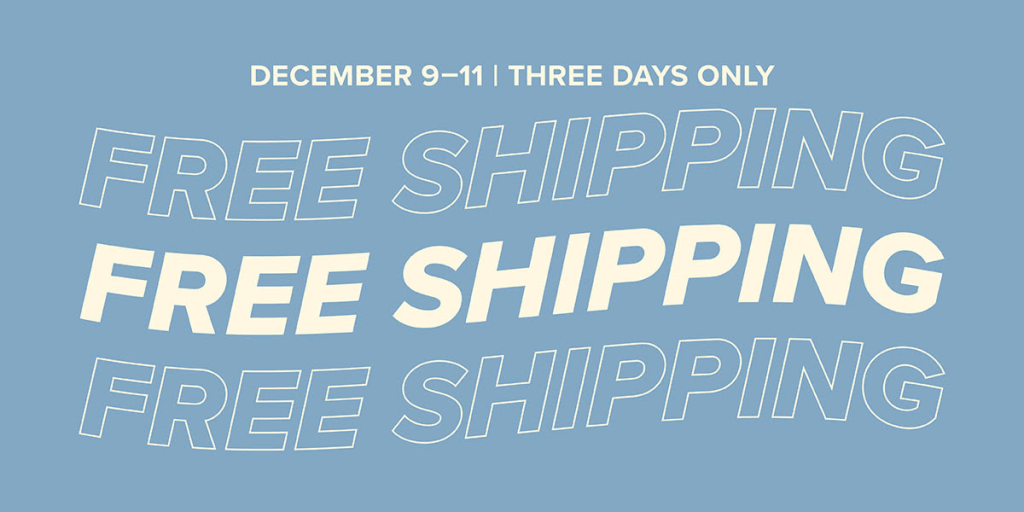
Surprise! It’s time for FREE SHIPPING! From December 9–11, you can shop and save on all qualifying orders of $75 or more. What a great way to stock up on all your favorite products from the catalog, Online Exclusives, kits, and more!
Free shipping is for three days only, so spread the word and help your customers get ready for this limited-time offer!
Please keep in mind previously communicated shipping deadlines and that due to the high volume of orders and the Christmas season, the distribution center may fall behind our typical shipping timeframes. We will do all we can to return to our regular service levels as quickly as possible. Let your customers know that any orders placed during this promotion are not guaranteed to arrive before or by December 25. If you or your customers need an order by Christmas, order as early as possible or consider expedited shipping.
Happy saving,
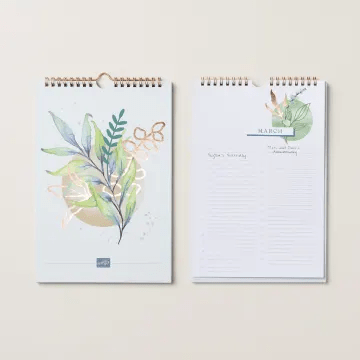
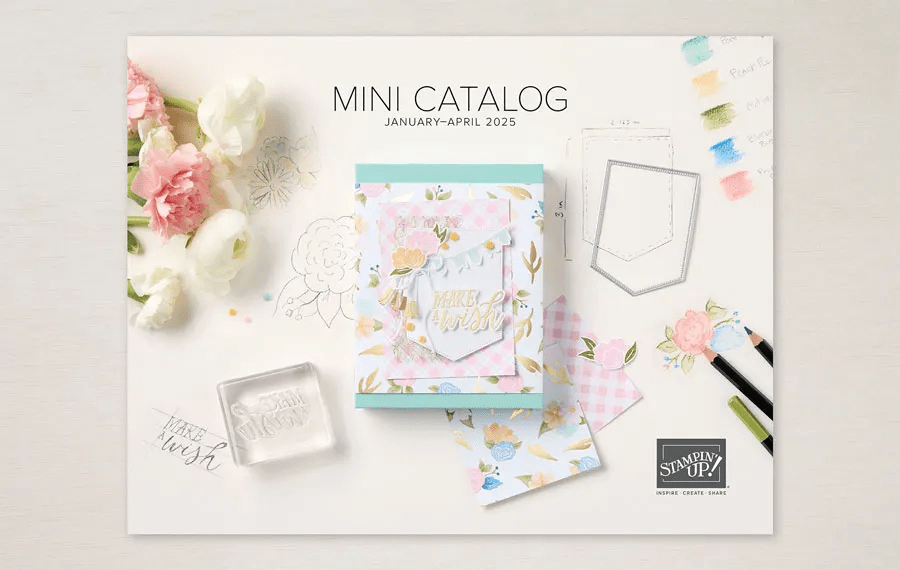
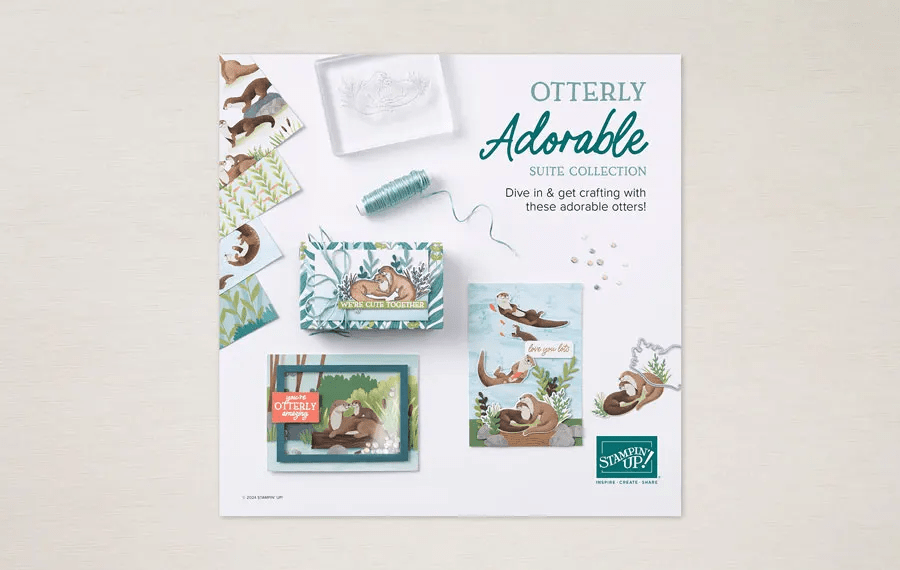
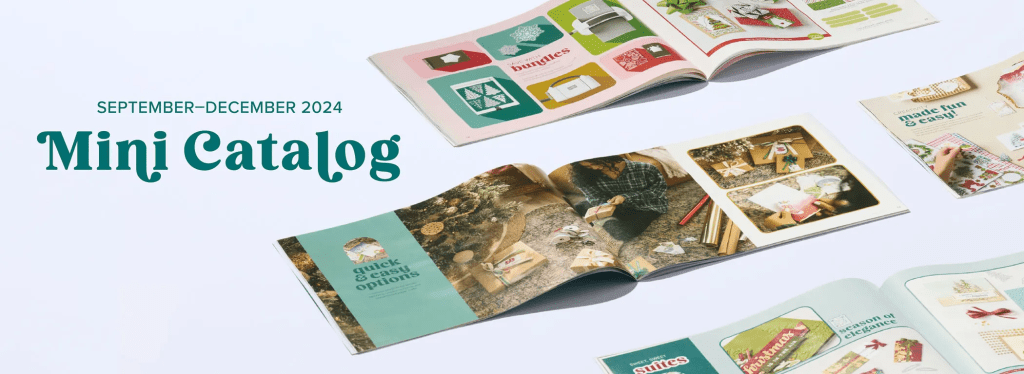
I am always so sad to see products go away, but what it means is… make room for NEW! If you do not have a demonstrator, I would be happy to send you a copy of the NEW 2025 January-April Mini Catalog and the accompanying Jan/ Feb 2025 Sale-a-Bration catalog.

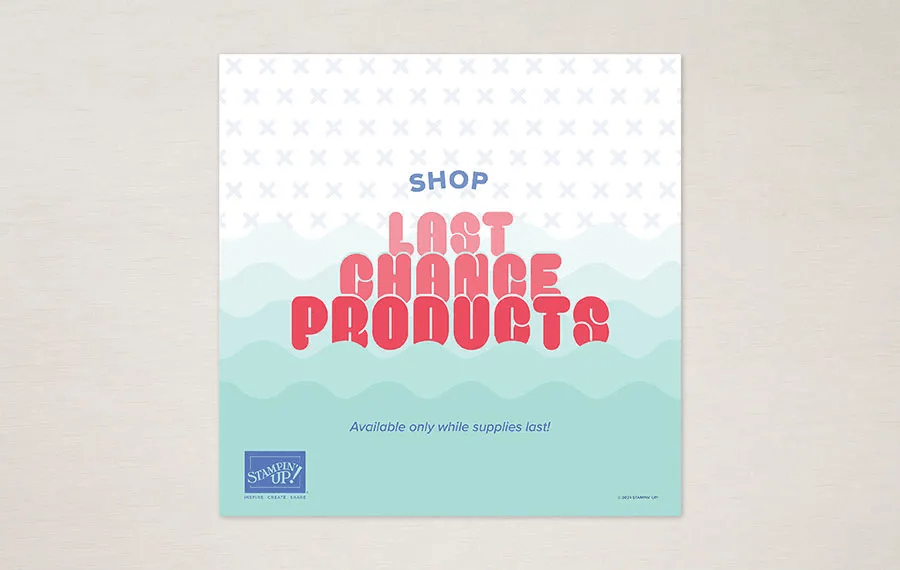
- Last Chance Products include retiring products from both catalogs and online releases, excluding Paper Pumpkin.
- Last Chance Products in this category are available while supplies last and will be discontinued when they sell out. Items will be automatically removed from the category and the online store when they are discontinued.
- Discounts vary and are subject to change. Also, depending on inventory, these products may or may not have discounts.
- We may add individual items from bundles or suite collections to our Last Chance Products category. If one or more products from the suite collection or bundle are in the Last Chance Products category, then the bundle and suite collection will also appear in this category. The bundle or suite will not be orderable if one or more of the items in the bundle or suite collection sell out. Our standard 10% bundle discounts will be available if one or more of the items move to the Last Chance Product category; however, the item in the Last Chance Products category may have a deeper discount.
- CLICK HERE TO SHOP THE LAST CHANCE PRODUCTS
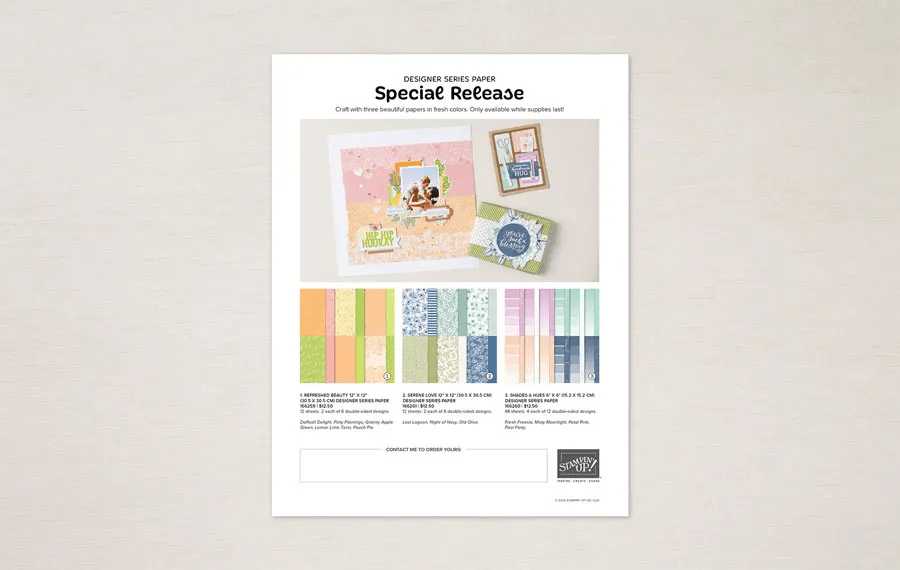
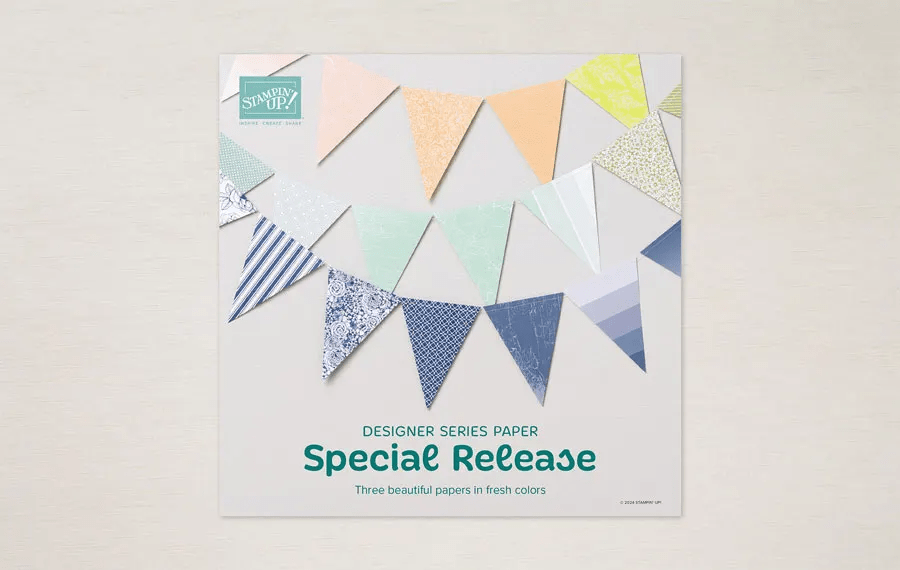
- Stampin’ Up! refreshed these previous Designer Series Papers using some of our best-selling colors!
- Serene Love is recolored from True Love.
- Refreshed Beauty is recolored from Blackberry Beauty.
- Shades & Hues is recolored from Color Theory.
- Available while supplies last.
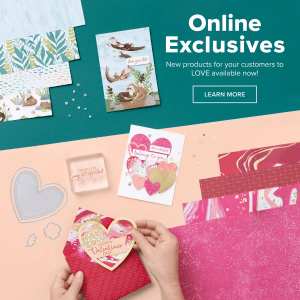
- Sales begin Dec. 3, 2024 as part of the ONLINE EXCLUSIVES – click to see what’s available right now!
When shopping with me, please use the new host code listed below. This is good 11/20 – 12/11. Use it when your order is $50 to just less than $150 to receive a free gift from me + the monthly tutorial. If your order is over $150, SU! has it’s own rewards so don’t use my code… but I will still send that free SU! item to you valued up to $10. Got that? If not, connect with me to talk you through it. :O) I would love to have you join my team and we can create & have some fun together. Please make certain my name is on as your demonstrator when ordering :O)
HOST CODE Q4Y3MQEU
Thanks so much for stopping by~!