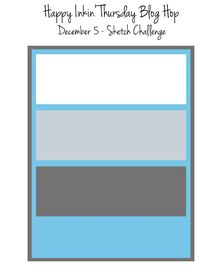
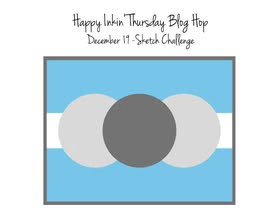
What a week this has been. As I write this on Wed, I was so sick a week ago. Not over whatever it was/ is, but am so much better! At any rate – the hop… we have a sketch challenge and I chose to work with a new bundle that is a Sale-a-bration bundle available January 7. It’s called Heart Shaped.

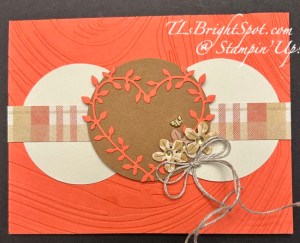
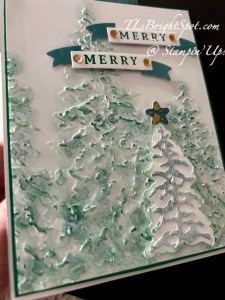
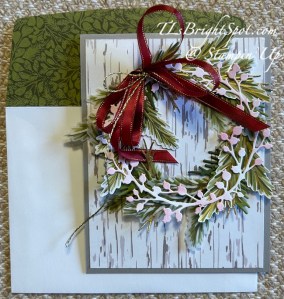
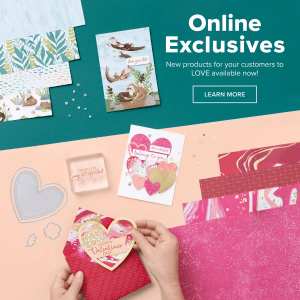
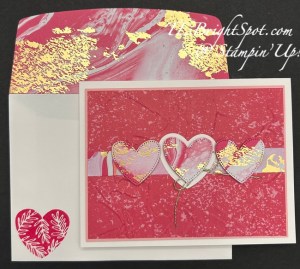
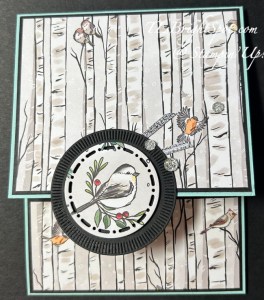
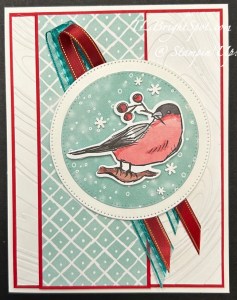
I used my 2 3/8 circle punch to create 3 circles – 2 in Basic Beige and the center in Pecan Pie. I die cut the gorgeous heart from Calypso Coral and adhered it to the Pecan Pie. The plaid paper is from the Jan-Apr Mini Catalog, also available January 7 – cut at 3/4 x 5 1/2. I cut a 4 14 x 5 1/2 Calypso Coral piece and ran it through the So Swirly embossing folder and adhered that to the same color card base. I die cut three flower centers from the other side of this same Timeless Plaid 6×6 DSP and adhered directly to the circle and also with dimensionals. I added this super Tiny Bee Trinkets with liquid glue and a double Linen Thread bow with a glue dot, and ONLINE EXCLUSIVE Low Profile Dots in gold..
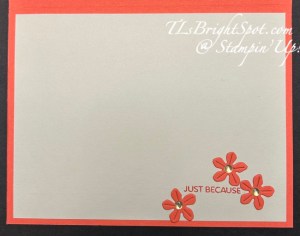
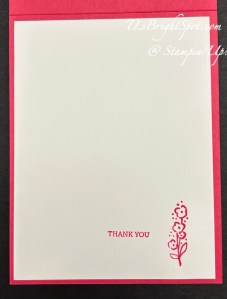
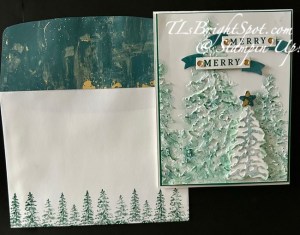
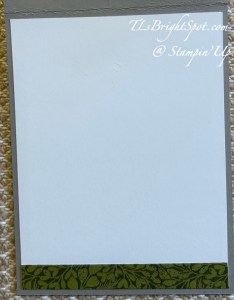
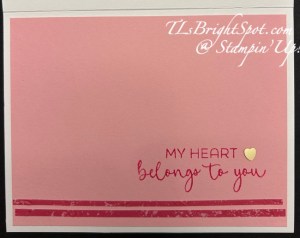
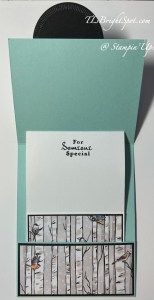
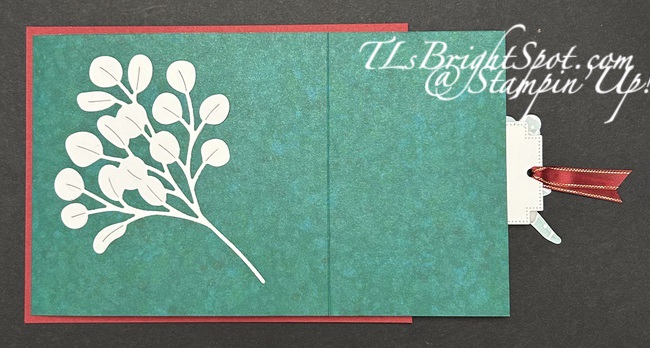
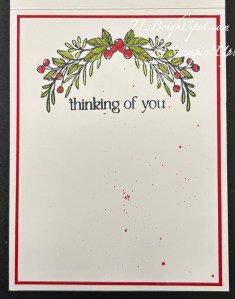
On the inside, I cut a panel of Basic Beige 4 x 5 1/4, stamped just a portion of the sentiment from Heart Shaped stamp set in Calypso Coral in, then die cut three more flowers from Calypso Coral card stock I added each with just a dab of liquid glue then added the ONLINE EXCLUSIVE Low Profile Dots in gold.
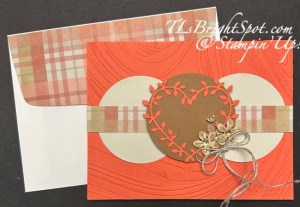
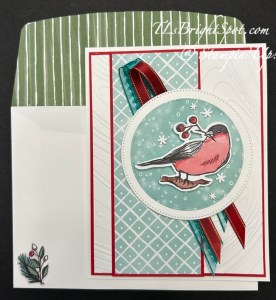
For the envelope, I added a 2 1/4 x 6 Timeless Plaid 6×6 to the flap and that was it.
LAST CHANCE PRODUCTS are those items in the Sep-Dec 2024 Mini Catalog and the 2024-2025 Annual Catalog that will not longer be carried. See those items here.
When shopping with me, please use my current
HOST CODE XWYSCA7F
which is good now to 30 December. Also remember that with a $50 purchase you will receive a SU! item valued up to $10. If your order exceeds $150, do not use my HOST CODE as SU! has it’s own rewards for that, but make sure my info is listed as your demonstrator when you check out. :O)
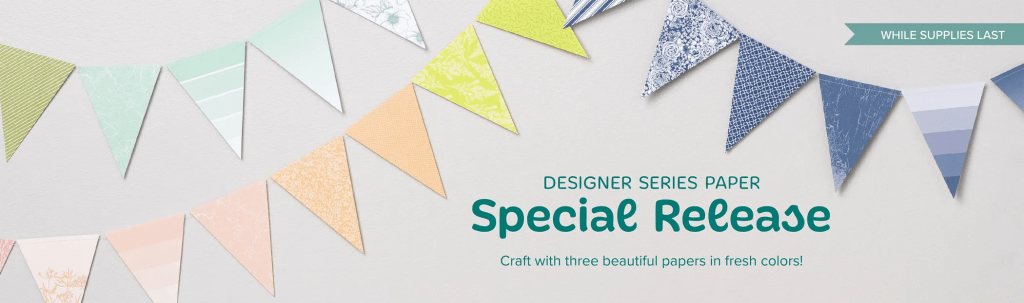
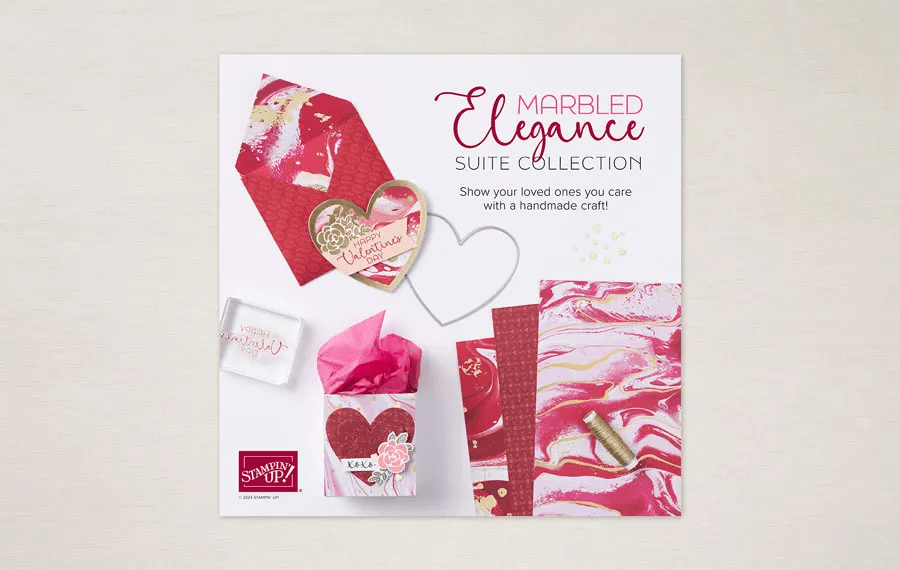
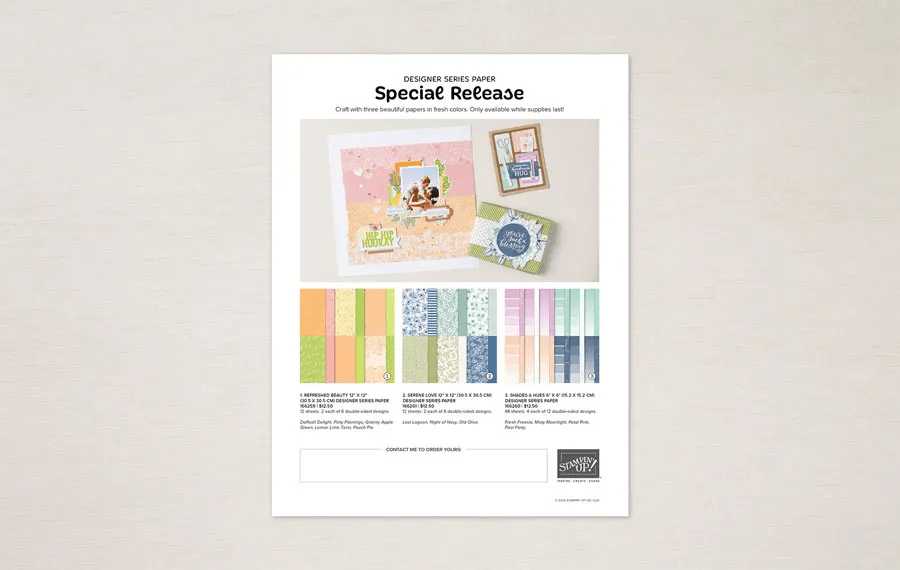
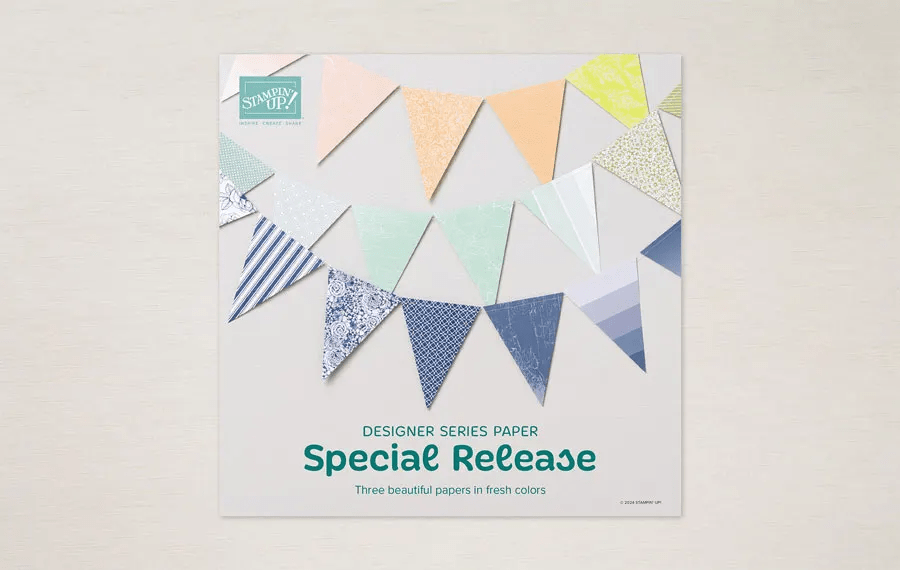
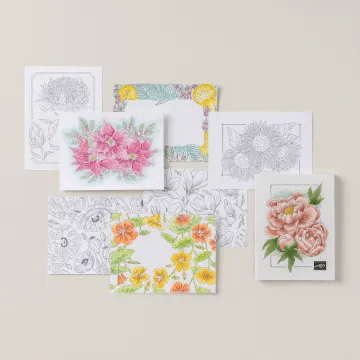
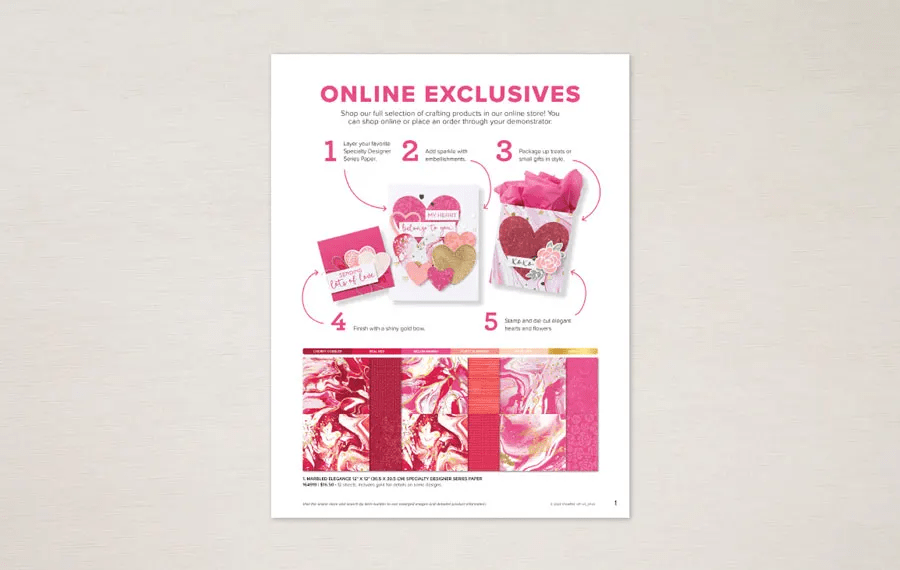
As a special release, we’re offering three previously released Designer Series Papers with a twist: we’ve recolored them!
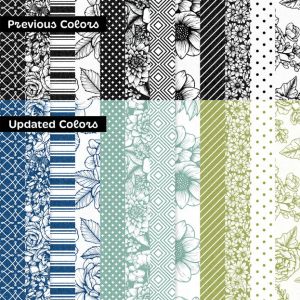
Serene Love 12 x 12 166261
This is by far my favorite and I can’t wait for it to arrive so I can play!
If you do not have a demonstrator, and are looking for the Jan-Apr 2025 Mini Catalog and the Jan/ Feb 2025 Sale-a-bration Catalog, please reach out to me! We got you covered!
Now – time to see what others have prepared for you for this hop. Please click the next button to take you to our dear Carol Buckalew.