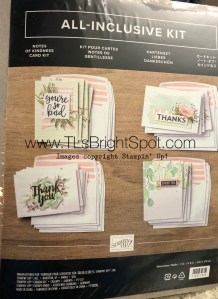
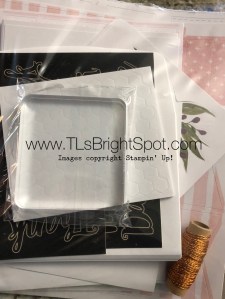
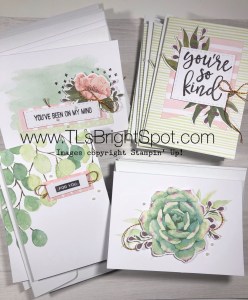
Hi Folks – Monday – oh it’s Monday… And two more card kits prepared for the mail. Here’s the packaging, which I wanted to share ‘cuz I think they are cute. What’s fun about the packaging is that each one has looked so very different while still using the same products… acetate card boxes, DSP, ribbon, pearlized doilies and further decorations. Depending on the DSP used sort of determines what you create for the decorations.

Cornonavirus Card Kit #1
Here are pictures of what I created before – all still part of the same “theme” but each unique on it’s own.
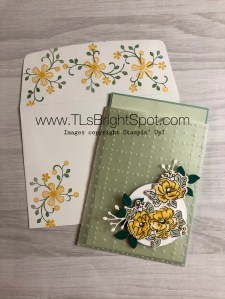
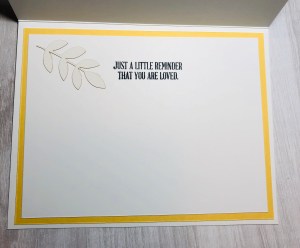
Acetate Card box – Corona Card Kit #1
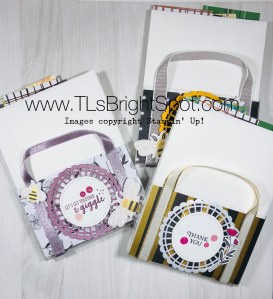
Acetate card box, Corona Card kit #1

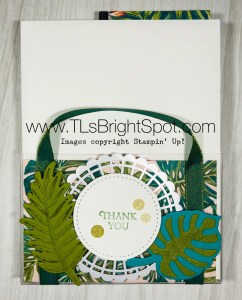
Acetate Card Boxes and Detailed Bee Dies
Fun, right? I should have taken a picture of them all together, but oh well. I think that’s the last of the kit preparations. Up I go to prepare a card for today :o) – I’;ll be back later to share that with you, so do stop back, ya hear?
Thanks for stopping by.
May you have a beautiful day.
Make someone happy by sending them a handmade card.