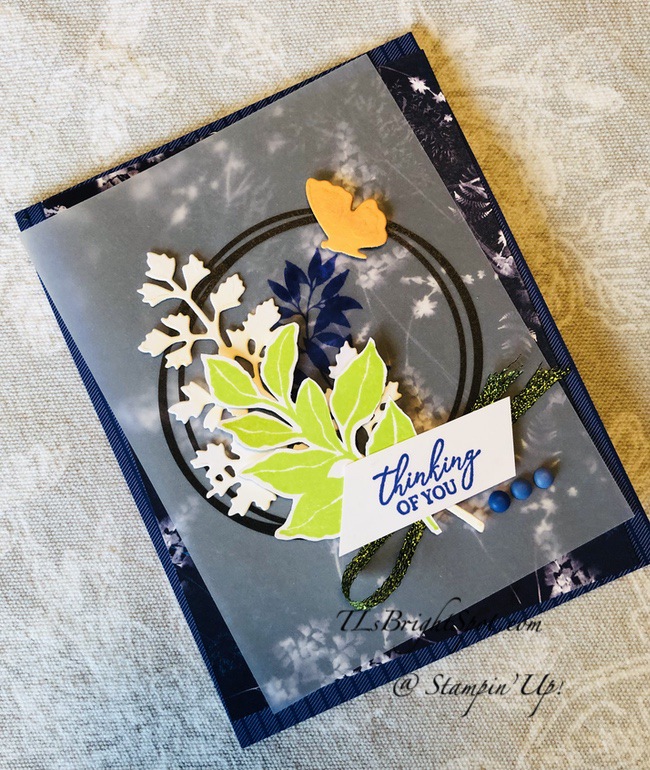
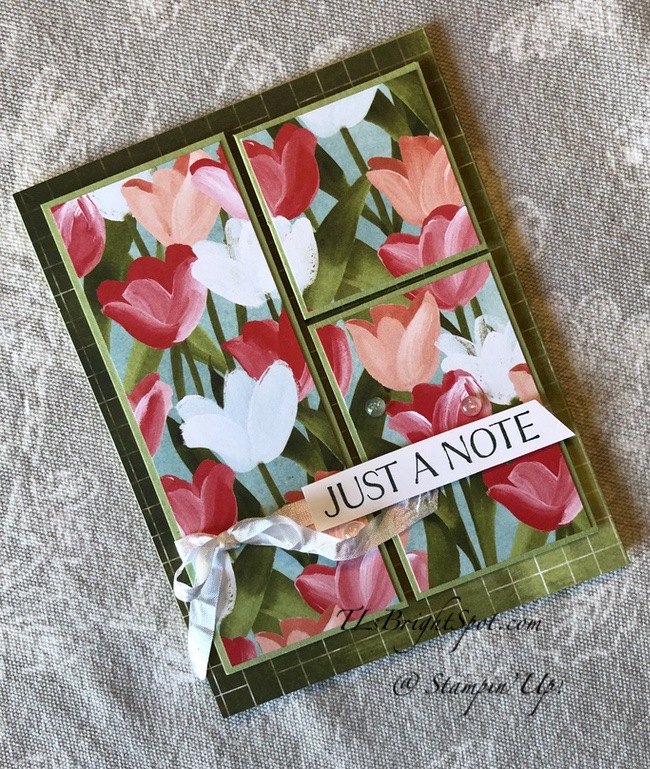
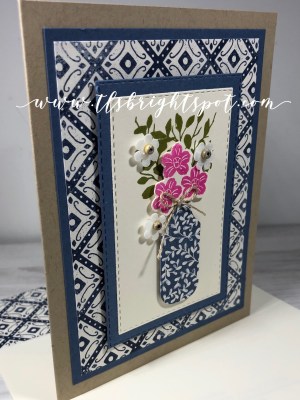
Hello Saturday! I have a super easy fun fold today made with the gorgeous Awash In Beautfy DSP and the Teacup Dies.

To make this card…
- Cut Card base (Balmy Blue) 5 1/2 x 7 and score on the long side at 4 1/4
- Cut another piece of Balmy Blue 4 x 4 & score on one side at 1″. This becomes the fold-over flap
- Decorate the card base front: Awash in Beauty DSP cut 2 1/2 x 5 1/4
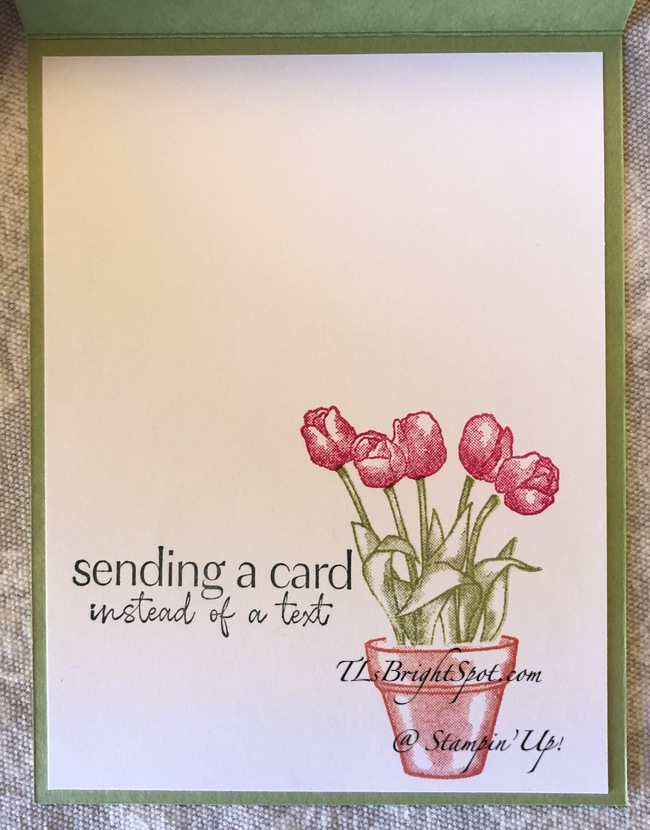
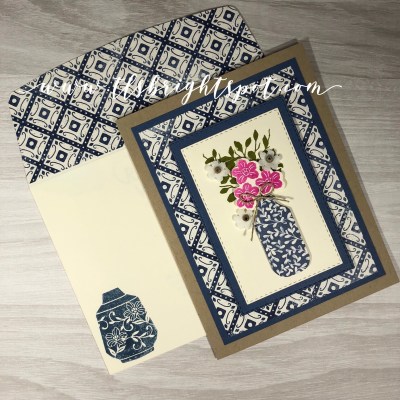
- Fold this area back and decorate it with another panel of Awash in Beauty 2 1/2 x 5 14 (see photo 2)
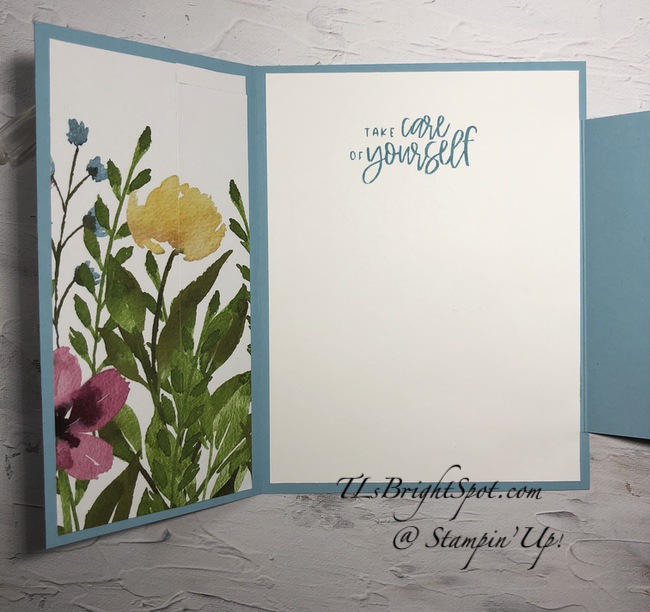
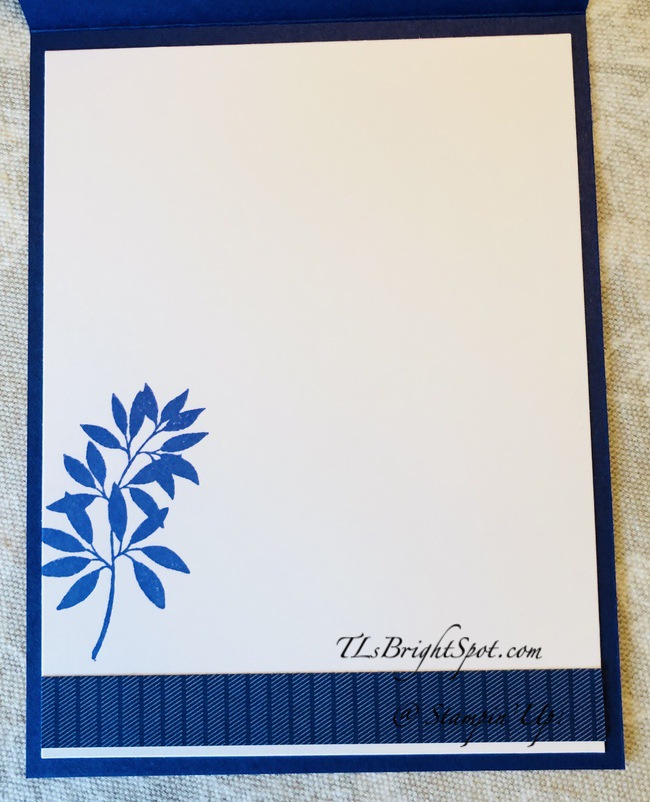
- Cut panel of Basic White 4 x 5 1/4 for inside, stamp in Balmy Blue ink the sentiment from Cup of Tea stamp set. Add ‘fold-over flap with liquid glue, adhering close to the burnished fold line of the 4 x 4 piece, centering it. Add to inside of card.
- Decorate fold-over flap:
- Awash in Beauty DSP cut 2 3/4 x 3 3/4 adhered to front of flap.
- Stamp the flower stems from Cup of Tea stamp set on a Basic White piece approx. 2 x 2 1/4 in Pear pizzazz ink. Die cut with Teacup Dies. Stamp flowers from Cup of Tea stamp set in Merry Merlot ink and die cut with Teacup Dies. Set these aside
- Die cut tea cup from another piece of Awash in Beauty (pink)
- Die cut decorative pattern for tea cup in Basic White & add to pink tea cup.
- Add die cut leaves to fold-over front, then flowers, some on dimensionals some with liquid glue.
- Add tea cup on dimensionals
- Decorate flowers with Iridescent Rhinestone Basic Jewels
- Add more Iridescent Rhinestone Basic Jewels to left front of card and voila! Card is done. :O)

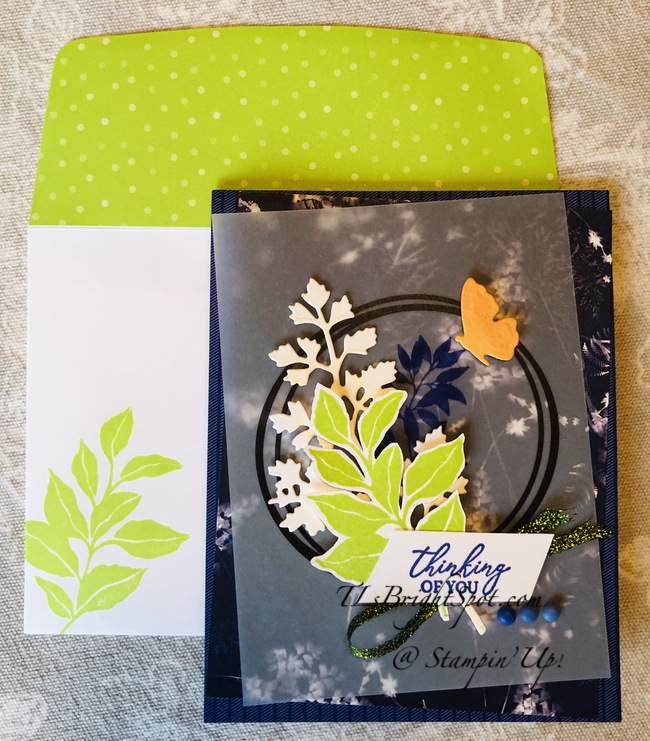
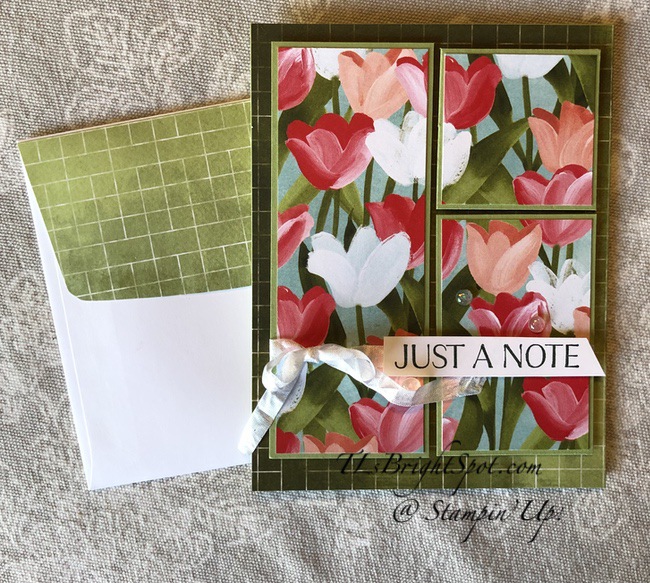
For the envelope, add a 2 1/4 x 6 piece of Awash in Beauty DSP to the flap; stamp the sentiment from Cup of Tea stamp set in Balmy Blue.

Here’s another photo of the card/ envelope with the card held closed.

I do hope you will try this super easy fun fold. You can change the size of the fold-over flap to make it cover more of the card front, but still maintain the 1″ score line to adhere to the Basic White panel. Instead of 4 x 4, make it 4 1/2 x 4 1/2. Let me know how either one works for you. 😀
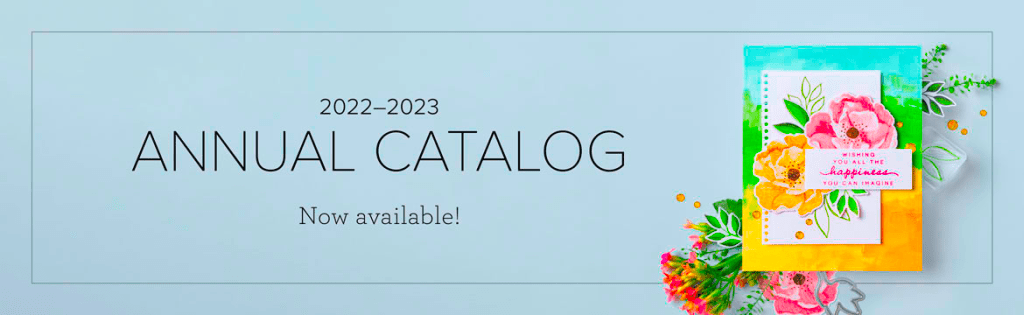
Products to make this card are listed below. If you do not have a demonstrator and need an Annual Catalog please reach out to me (the 2022-2023 AC) – happy to send one to you. When ordering, please also use current host code: AZQDZ4U4. I offer my customers a free item from Stampin’ Up! item valued to $10 with your order of $50 and above. Click here to go my store. When the order is over $150, you still receive that free gift from me, but SU! has Stampin’ Rewards that may be used for additional products, so don’t use the host code at that time. If you have questions just let me know. If you would like to be able to order products early from catalogs AND enjoy that 20% discount, join my team now… you may do that here. WooHoo! We have lots of fun and are a creative bunch that encourages & supports one another. Would love to have you. :O)
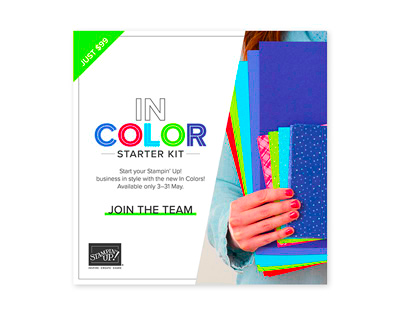
Let’s talk starter kit… New In Colors, New 2022-2023 Annual Catalog release
Starter Kit Price: $99 USD | $135 CAD
Redemption Value: $125 USD | $165 CAD
Additional In Color Products: $66.50 USD | $91.25 CAD
In Color Grid Paper, In Color Ink Pad Collection, In Color Cardstock Collection, and In Color 6″ x 6″ (15.2 x 15.2 cm) Designer Series Paper Assortments.
You’ll also get a free Paper Pumpkin kit!
PROMOTION DATES: 3–31 MAY 2022
Time is getting short my friends… today is the 28th and you have until the 31st to join with this fabulous promotion. What ARE you waiting for???
Order products early from catalogs AND enjoy that 20% discount, join my team now… you may do that here.
Just a few of the perks of being a Stampin’ Up! Demonstrator AND part of our Critters ‘n Creatin’ Krew Team:
- At least a 20% discount on everything that you order as a Demonstrator!
- Early peeks at new release items and preorders for new items about a month before they are available to customers!
- The ability to attend Demonstrator exclusive Stampin’ Up! events!
- No pressure to sell to anyone, hold classes or workshops or run a business. You can simply order for yourself and get the discount! And as long as you have at least $300 in sales per quarter, you’ll continue as an active Demonstrator and continue to get the discount. If you aren’t able to maintain the $300 per quarter minimums, you simply go back to being a customer, no commitment required and no penalty if decide that being a Demonstrator isn’t right for you.
- Stampin’ Up! does have an extensive library of class and project ideas for those wishing to jump into hosting classes as well as training to help start your business, should you choose to do that.
If you join with me, you’ll also get:
- Monthly team meetings via video conference where we talk about the latest happenings at Stampin’ Up! and share project ideas. Team members are located all over the United States, but we still get together in person online and have lots of fun.
- Quarterly in-person meetings if you live in the NJ or surrounding area, where we get together to do a little stamping, creating, getting to know one another and most of all SHARE inspiration. If you live outside the NJ area you can join us through that wonderful ZOOM video conference.
- Free access to our online class tutorials. These are exceptional!
- A private Facebook page where we can chat, ask questions and share ideas.
- Team giveaways and prizes for reaching sales and team goals or attending specific meetings. 😉
- The best part is the laughing and kidding and sharing of information/ creativity/ talent ~ following the SU! adage: Inspire. Create. Share. ❤️ 😁
Join our incredible group of crafters and creators.
If you would like to be able to order products early from catalogs AND enjoy that 20% discount,
join my team now… you may do that here

Remember to connect with me if you do not have a demonstrator and need a catalog.