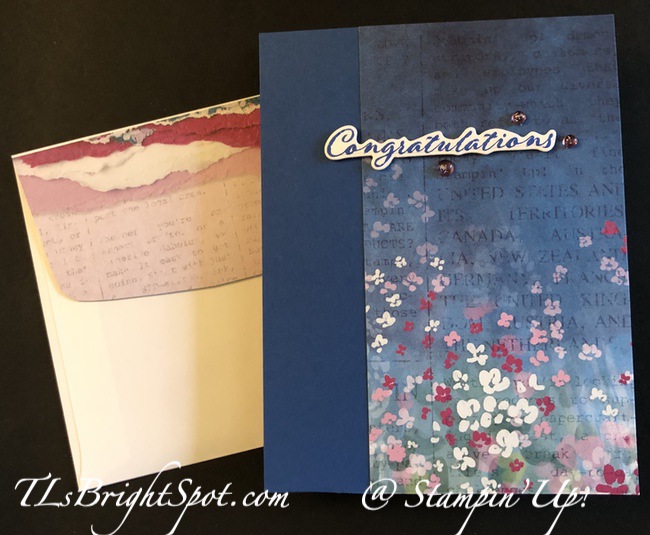
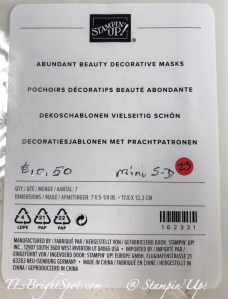
Good Friday morning! It’s cool here in the northeast – 54 degree when we walked. And that means fall is a-comin’. That’s perfect for today’s card because I chose to use one of the masks in the new Abundant Beauty Decorative Masks.
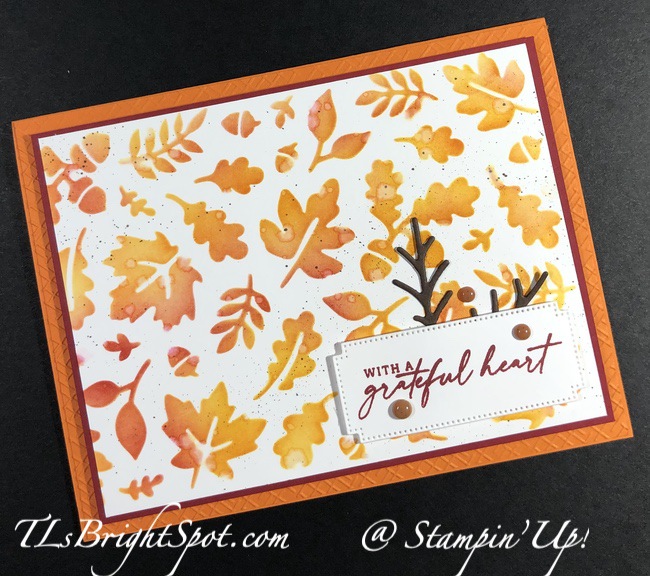
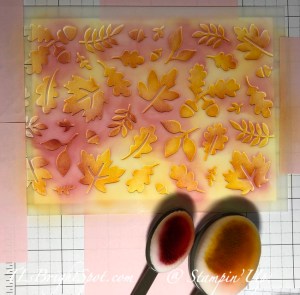
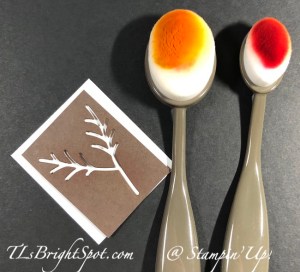
I used Blending Brushes and three colors of ink to create this with one of the new Abundant Beauty Decorative Masks: Crushed Curry, Pumpkin Pie and Cherry Cobbler – definite fall colors. And here’s the mask after using the Blending Brushes.

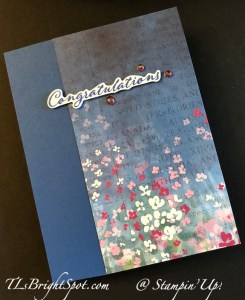
You can see that I held the paper in place AND the mask in place using post-it notes. And that is a key to making the finished product clear. I trimmed the Basic White panel a bit then with a Water Painter added some water splotches. I did this by squeezing just a bit of water into the brush then tapping it against my other hand. Once dry I used an Early Espresso Marker to flick some splatters to the entire panel. This was added to a Cherry Cobbler panel just slightly larger. I wanted the card base to be Pumpkin Pie card stock, but also wanted some texture on the card – so ran a separate panel of Pumpkin Pie through the cut & emboss machine with the Basics 3D Embossing folder, Crosshatch. This is a product part of the Online Exclusives. This embossed panel was adhered to the card base withn loiquid glue and the top two panels were added with dimensionals. I stamped the sentiment using another new product available Sep 6, the Abundant Leaves stamp set in Cherry Cobbler ink on another Basic White piece, and die cut it with a die from the Abundant Leaves Dies. I also wanted another image behind the sentiment and looked at the Abundant Leaves Dies and say this image that is really ‘veins’ for a leaf. I die cut it from Early Espresso card stock and added it with dots of liquid glue to the card front, putting dimensionals on the sentiment and adding it over the die cut. As a final touch I added three Adhesive-Backed Speckled Dots – also a new product available Sep 6.
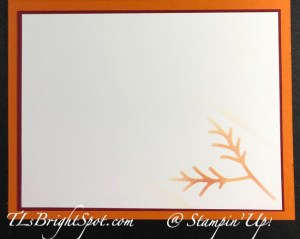
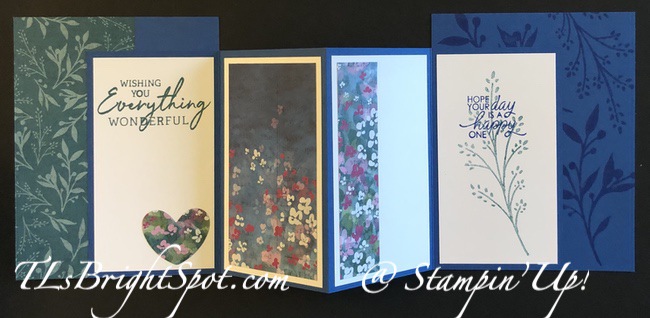
Using the die cut from Abundant Leaves Dies as a stencil, I used the Blending Brushes used to create the card front, to create the image on the inside of the card. Again, the Basic White panel was adhered to a Cherry Cobbler card stock then added to the inside of the card.
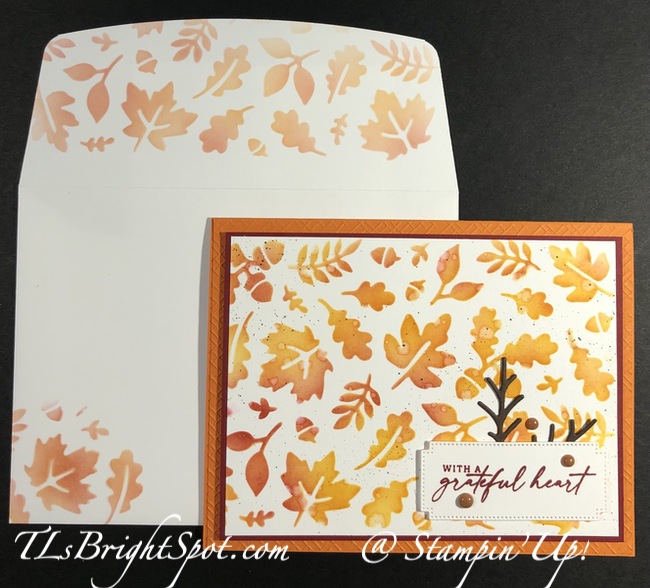
With the Abundant Beauty Masks still on my desk, I used the mask and Blending Brushes to decorate the envelope, some leaves on the front, then the entire flap. it ties everything together. Abundant Beauty Masks – a real bargain and a fun play with Blending Brushes!
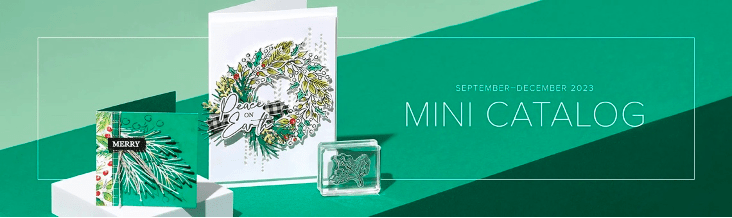
Remember, several of the items used to create this card will be available Sep 6 as they are in the Sep-Dec 2023 Mini Catalog. If you do not have a demonstrator or a new catalog, please reach out to me. I also have a Designer Series Paper Share as part of the same catalog – touting all the new Designer Series Papers. Here’s more info re: that…

How my shares work: I order full packs of all the Designer Series Papers listed below. I cut them into 6×6 pieces (or 6×12 for double shares) and give you one panel of each design from each pack on the list. I pack up the paper and get it back out to you just as quickly as possible! Shares give you a good working sample of all of the papers and makes it easier to decide which papers you like most and want to order.
Below is a list of the papers for this Designer Series Paper Share.
A single paper share is $30 plus $8.50 Priority Mail Shipping.
A double paper share is cut 6 x 12 and is $60 plus Priority Mail Shipping.
Remember, one 6×6 sheet of each design from these DSP packs. Most original DSP packs come in 12 x 12 size unless otherwise noted.
The list includes: name of DSP, number of sheets of that DSP in the pack.
- All About Autumn – (6×6 size) -12
- Beary Christmas – 6
- Melon Mambo & Granny Apple Green Foil Sheets – 2
- Garden Walk – (6×6 size) – 8
- Glow-In-The-Dark 6×6 Specialty Paper – 1
- Joy of Christmas – 6
- Joyful Specialty Paper – 4
- Merry Bold & Bright – 6
- O Holy Night – 6
- Oxidized Copper Specialty Paper – 2
- Shining Brightly Specialty Paper – 6
- Snowflake Magic Specialty Paper – 3
- Them Bones – 6
- Winter Meadow – 6
Anyone is welcome to join this paper share opportunity, but shipping is limited to addresses within the US. If you would like to join in these shares, please email the following information to tlsbrightspot@gmail.com
- Your first & last name (yep, I need both :O)
- The email address connected to your PayPal account. You DO NOT need to have a PayPal account to pay the invoice; you can choose to pay by credit card without having a PayPal account.
- Deadline to sign up for my shares: Monday, September 4 @ 3 PM ET
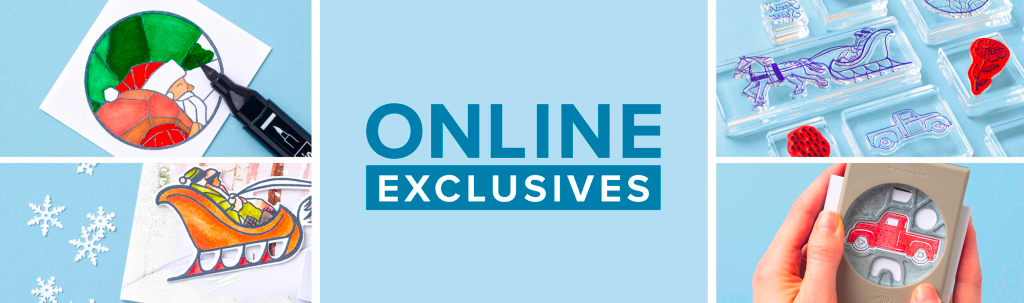
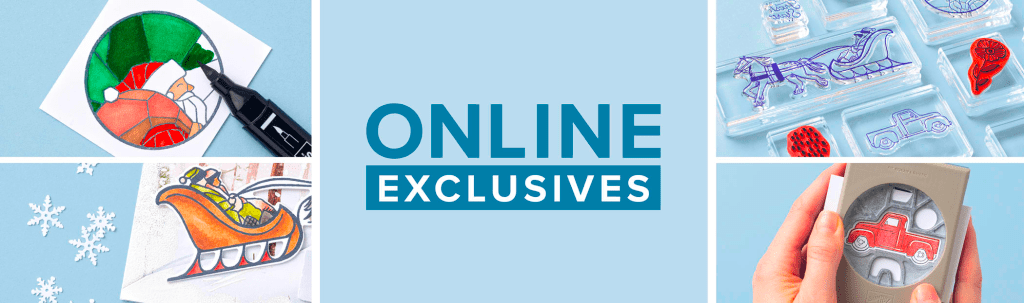
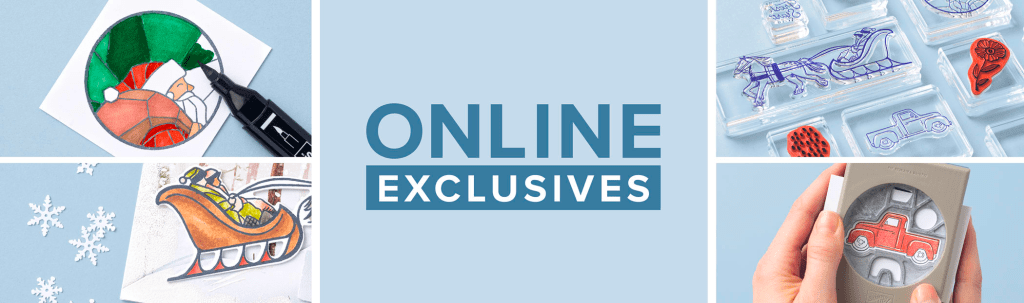
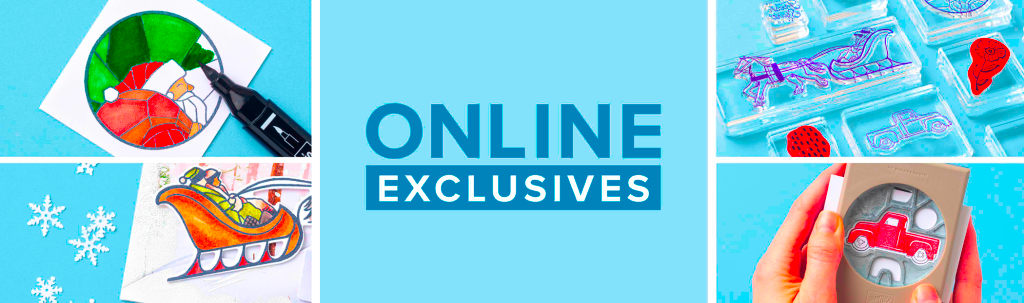
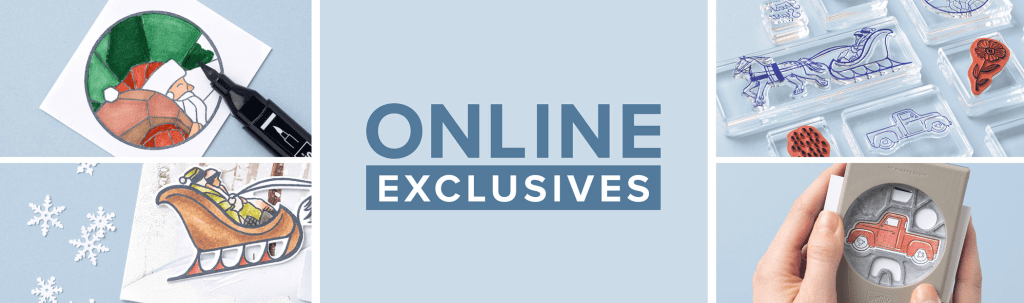
Online Exclusives are just that – not in any Stampin’ Up! catalog.
The Basics 3D Embossing Folders used in today’s project, are part of this.
Visit here to shop these EXCLUSIVES.