Stampin’ Up! Country Bouquet Bundle for the Happy Inkin’ Thursday Blog Hop

We have a theme challenge for today’s hop – love. I don’t tend to be a big Valentine sender/ giver, but I really like this Country Bouquet Bundle. I’ve taken a bit of a modern approach without DSP.

Stampin' Up! Happy Inkin' Thursday Blog Hop
Stampin' Up! Happy Inkin' Thursday Blog Hop Theme Challenge

Stampin' Up! Country Bouquet Bundle. Th.hoop 1/26

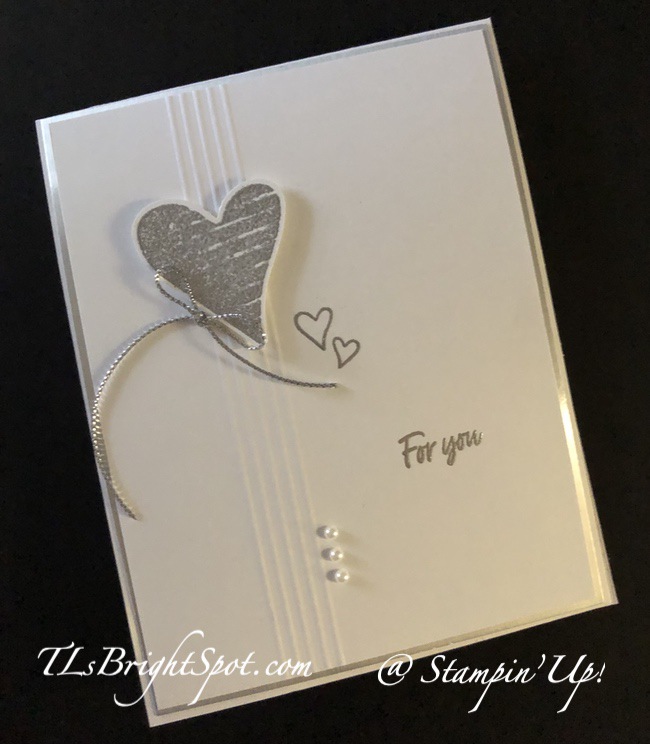
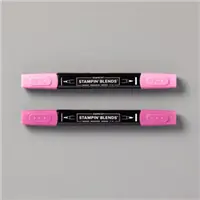
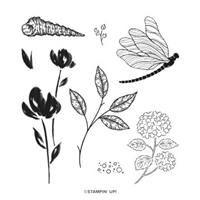
Silver heat embossing, a bit of scoring and some gorgeous Simply Elegant Trim in silver highlight this card. And of course, the heart uses the Country Bouquet Punch from the Country Bouquet Bundle. The words and hearts are from the Country Bouquet stamp set.

The ‘how to’:

  • Begin with a card base of Thick Basic White scored in half. This can work as 8 1/2 x 5 1/2scored at 4 1/4 or 4 1/4 x 11 scored at 5 1/2
  • Using the Scoring Tool and the back side of a Basic White panel, create five score lines. Why the back side? Scoring creates an indentation and I wanted the scoring to be raised. After scoring, turn card stock over & bingo!
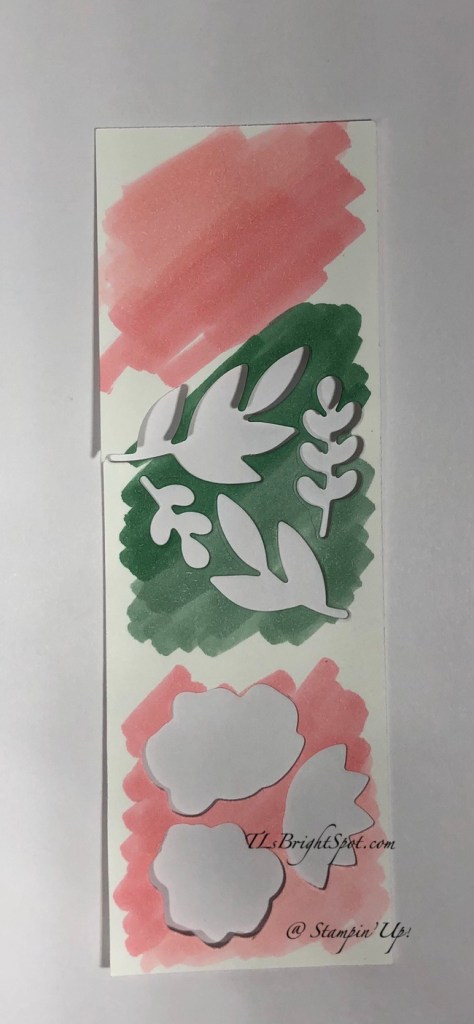
  • On a piece of Basic White, rub the piece with the embossing buddy to remove finger prints or anything that would cause the embossing powder to attach itself; stamp the hearts from Country Bouquet stamp set with VersaMark ink; sprinkle with silver embossing powder and heat set with the Heat Tool. Once cool, punch with the Country Bouquet Punch and set both hearts aside.
  • Determine where on the card front panel the large heart will be placed, rub entire right side of card with the embossing buddy. Stamp the two open hearts from the Country Bouquet stamp set with VersaMark ink, then the words ‘for you’. Sprinkle both with silver embossing powder and heat set with the Heat Tool.
  • Add large heart with dimensionals.
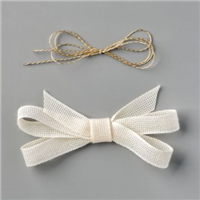
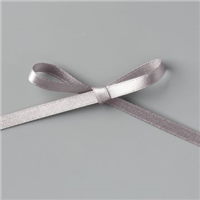
  • Add silver bow using the Simply Elegant Trim and adhering with a scrunched glue dot.
  • Add three Pearl Basic Jewels for additional elegance.
  • Add this panel to a Silver Foil Specialty Paper panel slightly larger, then add to card front. Done!
Stampin' Up! Country Bouquet Bundle Th. hop 1/26.inside

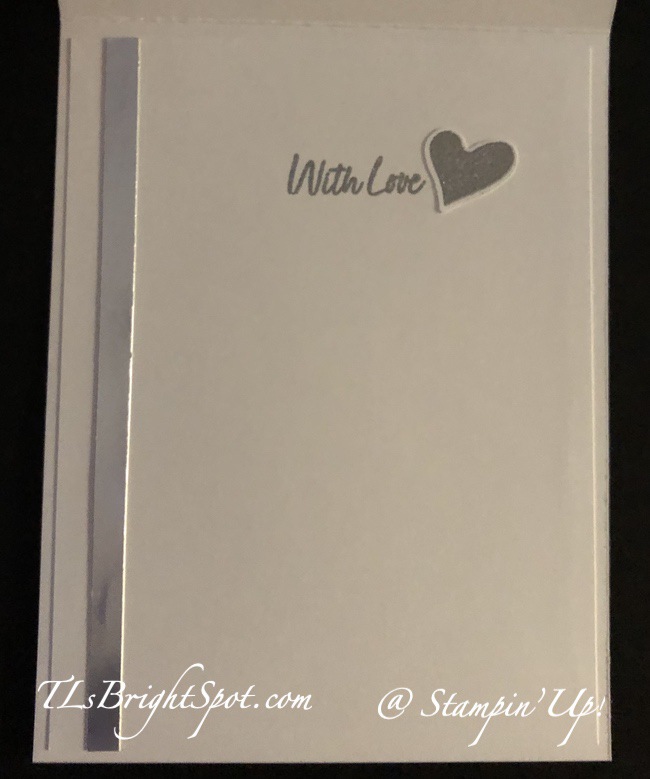
For the inside, I added a length of Silver Foil Specialty paper to the left side with liquid glue, cleaned the area to be stamped with the embossing buddy, inked the sentiment with VersaMark ink, sprinkled it with silver embossing powder and heat set. The smaller heart that was stamped & punched at the same time as the larger heart was added with liquid glue. This panel was added to the inside of the card and all done.

Stampin' Up! Country Bouquet Bundle Th. hop 1/26.3

For the envelope, I again used the embossing buddy to clean an area for the enclosed hearts from the Country Bouquet stamp set; stamped them with VersaMark ink and sprinkled with the silver embossing powder and heat set with the Heat Tool. For the envelope flap, I wanted a soft pink so added a piece of the Dainty Flowers DSP (FREE with a $50 order during Sale-a-bration!)

I hope you liked my card. Now you have seen my gem, I hope you will travel along the hop to visit everyone else participating today. Click the ‘next’ button or a name to visit. ENJOY!

Amy Koenders

Mary Deatherage

Jaimie Babarczy

Karen Finkle

Karen Ksenzakovic

Tara Carpenter

Terry Lynn Bright ~ you are here! 😀

Carol Buckalew

These new products are wonderful to create & play. Want to be able to create this… order from my online store (Click here to go my store) or JOIN MY TEAM with the awesome promotion by Stampin’ Up! you may do that here. Keep reading for more info.

If you would like to order from my online store, that’s really easy to do. And remember to use my current HOST CODE UBG3N32X to earn credit from me. Here’s how it works… when you place an order of $50 or more (before shipping & taxes), you receive from me a SU! item valued up to $10 + Star-Studded Rewards. If your order exceeds $150, do not use my HOST CODE as SU! has it’s own rewards from which you may choose. You will still receive that FREE ITEM valued up to $10 from me + the Star-Studded Rewards. 😁👍

For every $50 that you order from my online store (before shipping & taxes) and when you add my current Host Code, you will earn 1 STAR Reward.  Orders of $49.99 or below DO NOT earn any rewards.Example $50 = 1 STAR Reward, $100 = 2 STAR Rewards , $150 = 3 STAR Rewards etc. When you have earned 8 STAR Rewards you will get a FREE product order valued up to $40.00, your choice, and mailed directly to you! Is that a deal or what??? You also earn my monthly Online Class Tutorial of exclusive projects when you place an order. For any order $50 or more you will also receive 1 free gift from me valued up to $10. Remember to use MY current HOST CODE: UBG3N32X Click here to go my store. Note: Make sure that you can see my name on the final checkout so you know you’re ordering from me.

Joining special promotion!

Stampin' Up! Joining Promotion
  • Option 1: The exclusive Boho Blue Mini Machine ($63 value) + your choice of $175* of Stampin’ Up! products for only $129.
  • Option 2: The original white Mini Machine ($63 value) + your choice of $175* of Stampin’ Up! products for only $129.
  • Option 3: Your choice of $175* of Stampin’ Up! products for only $99.

*That’s $50 more product than the standard Starter Kit offer! JOIN MY TEAM – you may do that here.

The Boho Blue Mini Machine (161104) is the same as the White Mini Cut & Emboss machine – only in Boho Blue – a new In Color that will be introduced for 2023-2025.

The January-February Sale-a-bration event has a buy, host and join promotion! Above is the JOIN! Next is the SHOP!

Stampin' Up! SHOP Promotion
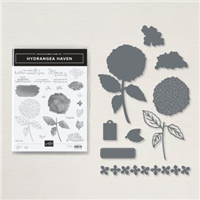
  • Spend $50 or more and pick from 7 new products (4 stamp sets and 3 paper packs!) that are available as free items!
  • Spend $100 or more and pick from 2 new items (1 paper pack and 1 stamp set that are) that are available as free items!
Stampin' Up! HOST Promotion

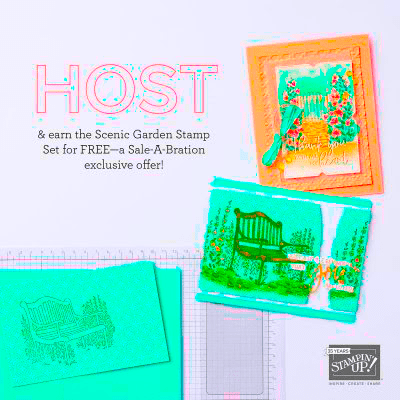
There is a new host exclusive stamp set called Scenic Garden that will be available for FREE with either a personal order of $300+ or a party with sales totaling $300+!

Let me know if you are interested & I’ll set up a personal HOST CODE for you & your friends to see if you can collect orders to reach the $300 point to get that free stamp set!

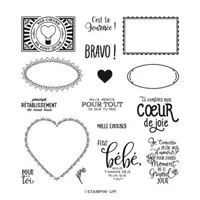
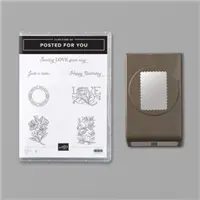
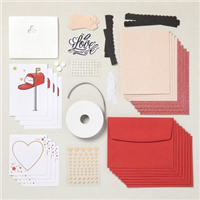
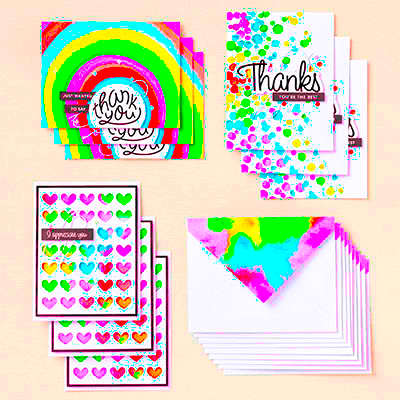
The new Saying Thanks Kit is another great option to add when you join… but you don’t have to join to purchase the kit!

Stampin' Up! Saying Thanks Kit
Stampin' Up! Saying Thanks Kit Parts

162361

SAYING THANKS KIT

$13.00 USD | $18.00 CAD

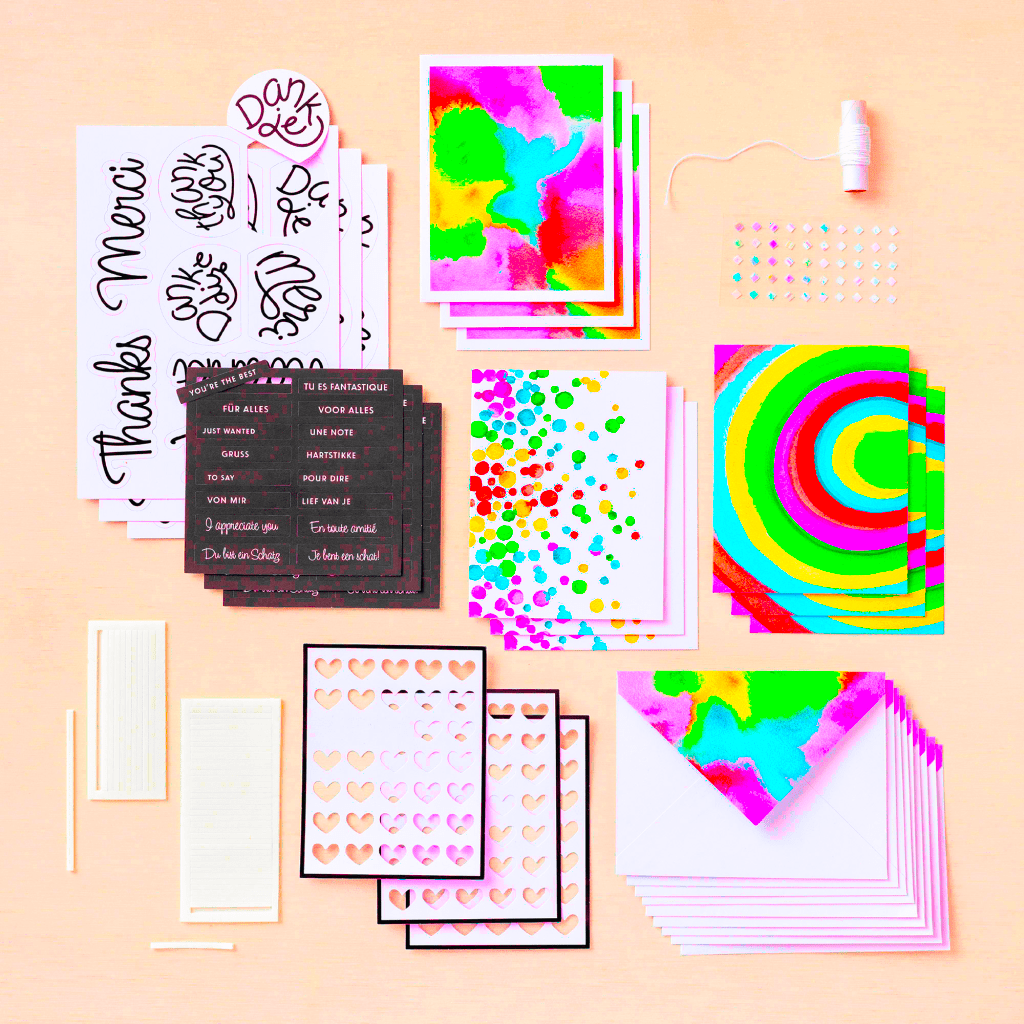
Each kit comes with precut die cuts in Dutch, English, French and German

Available starting 5 January 2023

This kit includes:

  • Enough supplies to create 9 cards—3 each of 3 designs—and 9 coordinating envelopes.
  • Printed die-cut words, precut pieces, and enough adhesive to complete projects.
  • White baker’s twine and iridescent diamond sequins.
  • Finished card size: 5-1/2″ x 4-1/4″ (14 x 10.8 cm).
  • Coordinating colors: Basic Black, Daffodil Delight, Gorgeous Grape, Granny Apple Green, Poppy Parade, Tahitian Tide

Thanks so much for stopping by. May you have a beautiful day.

Stampin’ Up! Hydrangea Love

Today is Valentine’s Day and I’m hoping you are doing something special for those you love. Gratitude is such a beautiful thing and we just don’t do it quite enough; at least I’m not sure I do. Being appreciative and saying so are not the same thing. Let those folks around you know you are thankful for them. ❤️ OK – enough lecture…. sorry, got off on a tangent. Before we get to the card of the day I want to share how this one came about. My craft room is on the second story of our home, away from the center of activity. That can be a good thing sometimes and well, isolating as well. My hubby said he missed being with me ~ I grabbed craft supplies and headed downstairs to make a card. Of course I had to make several more trips to get ‘just one or two more items’, but we were in the same room and hubby said more than once – “I like having you here.” Now who doesn’t respond positively to a statement like that! I made a total mess of the table and he would come over and admire now and then. I was loving the card… and it finally came to me, this was going to be his Valentine card. I finished it but didn’t show him the final result ~ and put away my supplies. He said something like – “I didn’t get to see the finished card. ” Of course I simply said “Oh I took it upstairs already, I’ll show you later.” Later didn’t happen – intentionally – and he forgot – and I gave the card to him this morning. I hope you like it.

Hydrangea Love – #1

I started by creating the hydrangeas using the Hydrangea Haven bundle – which includes the Hydrangea Dies: Highland Heather ink for the purple one and Garden Green for the other. For each of them I stamped the background ‘splotch’ first, stamping off at least once. You can see the purple hydrangea on the larger part of the card is darker than the one in front. I then stamped the flower design over that using the same inks and not stamping off, so it would show. This is a delicate stamp and does not give harsh lines. Then I die cut each one, and punched the petals forward suing my stylus. This gave each flower head dimension. This is clearly a fun fold and so for the front panel, I stamped the leaves on Basic White card stock (3 7/8 x 2 1/4), first with the outline stamp, followed by the fill-in stamp. I used Shaded Spruce ink for the outline stamp and Garden Green ink stamped off for the filler stamp. For the stem and leavers on the right flower, I used Shaded Spruce for the outline and Soft Sea Foam for the filler stamp. I set this panel aside while I worked on the larger panel on the card front.

My card base is Shaded Spruce card stock, 4 1/4 x 11 scored at 5 1/2. I layered on that a panel of Soft Sea Foam card stock 4 x 10 1/4, scored at 5 1/4 and 7 3/4. On the larger panel is Berry Delightful DSP 3 7/8 x 5 1/8. I then added the Basic White stamped panel with liquid glue, then the two hydrangeas with dimensionals. On the green hydrangea, I added three Basic Pearls. Do be careful when adding the hydrangea heads, where you place the dimensionals. 🙂

Hydrangea Love – #2

Using a scrap piece of the Berry Delightful DSP, I die cut just the stem & leaves, then the delicate overlay as well. I removed the extra paper from the leaves except on the smallest leaf – I left hose pieces intact. I adhered the two together with liquid glue then to the card front with dimensionals cut down to fit. The purple flower head had been prepared just as the one above and at the same time. I added it with liquid glue and lots of Basic Pearls. It also stamped an additional small layer of flower head added with dimensionals and that covered the top of the stem. 🙂 I stamped the sentiment from Hydrangea Haven on a scrap of Basic White card stock with Garden Green ink and die cut it with this stitched die from the Hydrangea Dies. It was adhered with dimensionals as well and this portion of the card was complete. (Just FYI – the Berry Delightful DSP is part of a set – bundled with the Berry Beautiful stamp set, available as a free item with a $100 purchase during Sale-a-bration.)

Hydrangea Love – #3

For the inside… upper panel: adhere Beary Delightful DSP 4 x 5 1/4 with liquid glue.

For the lower panel… on a piece of Basic White card stock (4 x 5 1/4) use the Blending Brushes to add Highland Heather ink to the center of the card, making it darker in the center and lighter as moving out. On another piece of Basic White card stock, stamp the hydrangea head with the background stamp and Shaded Spruce ink, lightly stamped off. Then stamp the flower design in full strength Shaded Spruce ink. Stamp the leaf background stamp in stamped off Garden Green ink and the detail stamp in Shaded Spruce. On another piece of Basic White card stock, stamp the background of the small double leaves in Soft Sea Foam ink, then the detail in Garden Green ink. The hydrangea is a single die, so die cut the entire hydrangea and the double leaves at the same time. Adhere each with liquid glue.

Stamp the tag with the sentiment and die cut. Tie a length of Linen Thread through and make a bow. add to the card front with dimensionals on the back of the tag. Adhere the Basic White panel to the cards inside with liquid glue and finis!

For the envelope I simply used another of the same Beary Beautiful DSP to the flap with liquid glue and trimmed to fit.

Hydrangea Love – #4

Hubby loves the card… and did remember my working on it and not seeing the finished product 😊 I hope you like this as much as I do. You could make this card without the inside panel, by simple making the Shaded Spruce piece 4 1/4 x 51/2 – a flat piece and add the Soft Sea Foam. Once I got started though, I k new I wanted this card special…

Products for todays card are from the new Jan-Jun 2021 Mini Catalog and the 2020-2021 Annual Catalog ~ and those products are available now for purchase. You will find them in the product list below. As a reminder… I’ve made it easy for you to simply ‘add all to cart. If I can help you in any way to order these items, or others, please give me a holler. As a thank you to my customers, when the order is between $50-$150 I offer a SU! item of your choice valued at $10. Remember to use MY CURRENT HOST CODE WZBPZ7N4- good Feb 4 – Feb 28. When the order is over $150, you still receive that free gift from me, but SU! has Stampin’ Rewards that may be used for additional products, so don’t use the host code at that time. Now is also Sale-a-bration – a time from now through the end of February when Stampin’ Up! offers FREE items with $50 and $100 purchases. Those products are shown below today’s product list as well. Happy shopping!

Sale-a-brations items FREE with $50 purchase – Level 1

Sale-a-brations items FREE with $100 purchase – Level 2

And if you HOST a party or purchase $300 in product during Sale-a-bration

Now is the perfect time to become a team member of Stampin’ Up! – with your choice of items in your $99 Starter Kit (valued at $125!) you will receive five packs of new 6×6 DSP paper packs – only during Sale-a-bration though!!! Act quickly… join my Team here. Being a part of the Stampin’ community brings all kinds of fringe benefits ~ early access to new catalogs, guaranteed 20% discount on all Stampin’ Up! products, free tutorials, access to web sites that will encourage and strengthen your abilities. Join now… Again – you may do that here.

Thanks for stopping by.

May you have a beautiful day.

Make someone happy sending them a handmade card filled with love.

Stampin’ Up! Butterfly Brilliance Love

OOOh – Stampin’ Up! has a preorder available to demonstrators of a stamp collection called Butterfly Brilliance Collection – and of course it features butterflies… yeah, who would guess that! :O) My set arrived and I dug right in… here’s what I created.

Butterfly Brilliance Love – #1

Two of the butterflies on this card were die cut from one of the papers, as I mentioned earlier could be done. The third butterfly is much more detailed and is cut from Vellum – so delicate and lovely. And please notice the little splotches of holes in the background DSP – that is another of the dies in the set.

One of the neat things about this collection is the Designer Series Papers – and one of them fits the die perfectly! Another cool thing is the outline of the butterflies is all one die but cuts several individual butterflies – similar to the Many Messages dies. Here’s the stamp set and the dies also.

Isn’t this bundle fabulous? If you join my team NOW – you can get this as part of your starter kit :O) Just sayin’… you may do that here. Back to putting this card together…

  • Bermuda Bay card stock is the card base
  • Die cut at least three ‘splotches’ using a die from the Brilliant Wings dies from the Butterfly Bijou 6×6 DSP. Add this layer of DSP to cover entire front of card, adhering with liquid glue
  • Layer another panel of the Butterfly Bijou 6×6 to a slightly larger panel of Bermuda Bay card stock – adhering with liquid glue. put on dimensionals and add to card front.
  • Die cut butterflies from the Butterfly Bijou 6×6 DSP that matches the line-up of the dies. This will give you six cut butterflies!
  • Put dimensionals on one of the butterflies and adhere to front. Add other butterfly with liquid glue.
  • Die cut the detail butterfly out of Vellum and adhere either with liquid glue or a glue dot. HINT: If using liquid glue, cover the entire center body with the glue, smoothing it. With the entire center body covered, the glue does not seem to show.
  • Stamp the sentiment with VersaMark ink on a strip of Bermuda Bay, cover with White Embossing powder and heat to set. Attach with liquid glue and a dimensional at the far right end (for balance)
  • Add three Artistry Blooms Adhesive-Backed Sequins and the card front is done!

For the inside…

Butterfly Brilliance Love – #2
  • Stamp the butterfly in Smoky Slate ink on a panel of Basic White card stock.
  • Adhere to the inside panel and the card is complete…
Butterfly Brilliance Love – #3

For the envelope…

  • Cover the envelope flap with Butterfly Bijou 6×6 DSP using liquid glue, trim to fit
  • Stamp the design from Posted For You stamp set in Smoky Slate ink and color with Blends: Magenta Madness, So Saffron & Just Jade. HINT: when coloring on an envelope with Blends, be certain there is a large scrap in the envelope so it does not bleed through. VOILA! Card cuts are listed at the bottom of this post.

Products for todays card are from the 2020-2021 Annual Catalog and also a promotional release to demonstrators You will find them in the product list below. As a reminder… I’ve made it easy for you to simply ‘add all to cart.’ If I can help you in any way to order these items, or others, please give me a holler. As a thank you to my customers, when the order is between $50-$150 I offer a SU! item of your choice valued at $10. Remember to use MY CURRENT HOST CODE WZBPZ7N4- good Feb 4 – Feb 28. When the order is over $150, you still receive that free gift from me, but SU! has Stampin’ Rewards that may be used for additional products, so don’t use the host code at that time. Now is also Sale-a-bration – a time from now through the end of February when Stampin’ Up! offers FREE items with $50 and $100 purchases. Those products are shown below today’s product list as well. Happy shopping!

Sale-a-bration items FREE with $50 purchase – Level 1

Sale-a-bration items FREE with $100 purchase – Level 2

And receive FREE when you HOST a $300 order during Sale-a-bration

Also available when you HOST a $300 order…

Now is the perfect time to become a team member of Stampin’ Up! – with your choice of items in your $99 Starter Kit (valued at $125!) you will receive five packs of new 6×6 DSP paper packs – only during Sale-a-bration though!!! Act quickly… join my Team here. Being a part of the Stampin’ community brings all kinds of fringe benefits ~ early access to new catalogs, guaranteed 20% discount on all Stampin’ Up! products, free tutorials, access to web sites that will encourage and strengthen your abilities. Join now… Again – you may do that here.

Thanks for stopping by.

May you have a beautiful day.

Make someone happy sending them a handmade card filled with love.

Card Cuts for today’s project:

  • Bermuda Bay 4 1/4 x 11 scored at 5 1/2 + 1/2 x 3 for sentiment + 3 1/2 x 5
  • Butterfly Bijou 6×6 DSP 4 1/4 x 5 1/2; 3 3/8 x 4 7/8; 2 1/4 x 6 (envelope flap)
  • Butterfly Bijou 6×6 DSP for die cut butterflies

Stampin’ Up! Jan. Paper Pumpkin Alternatives

We got snow last night! Woohoo! I happen to like snow, so I enjoy it. This snow is pretty wet though. It’s a snow/ rain/ sleet mix, so kind of a funny snow. Fortunately we don’t have to be out driving around in it!

Today I have been playing with the January Sending Hearts Paper Pumpkin kit and have so far created three alternatives. Here they are…

The only thing you really need to know is I trimmed the heart piece so it was a 3 1/4″ square. Other than that, I think you can easily figure what I did by just looking at the pictures. Here are the products I used in addition to the items in the kit.

  • Forever Greenery Ribbon Combo pack – gold cord
  • Shimmer Ribbon in Gray Granite
  • Smoky Slate card stock and Stampin Blends
  • Basic Black card stock & Tuxedo Black Memento ink
  • Petal Pink card stock, ink and Stampin Blends
  • Poppy Parade Stampin Blends
  • Wink of Stella
  • Basic Whiter card stock.

Products for todays card are from the Paper Pumpkin subscription and the 2020-2021 Annual Catalog ~ and those products are available now for purchase. You will find them in the product list below. I have included Paper Pumpkin subscription options as well – so look closely if you are interested in that. Also, there is a listing for the Refill Kit for Sending Hearts. If you are not a subscriber, you would miss the stamp set and the ink spot – just FYI! As a reminder… I’ve made it easy for you to simply ‘add all to cart’. If I can help you in any way to order these items, or others, please give me a holler. As a thank you to my customers, when the order is between $50-$150 I offer a SU! item of your choice valued at $10. Remember to use MY CURRENT HOST CODE WZBPZ7N4- good Jan 21 – Feb 3. When the order is over $150, you still receive that free gift from me, but SU! has Stampin’ Rewards that may be used for additional products, so don’t use the host code at that time. Now is also Sale-a-bration – a time from now through the end of February when Stampin’ Up! offers FREE items with $50 and $100 purchases. Those products are shown below today’s product list as well. Happy shopping!

Sale-a-bration items FREE with $50 purchase – Level 1

Sale-a-bration items FREE with $100 purchase – Level 2

Now is also the perfect time to JOIN MY TEAM… you can do that by clicking here

Thanks for stopping by.

May you have a beautiful day.

Make someone happy sending them a handmade card filled with love.

Stampin’ Up! Floral Heart Dies, Part II

The other day I posted a card using the center heart from the Floral Heart Dies. Todays card features the beautiful ‘rim’ that is just stunning.

I began by die cutting this beauty from Blushing Bride card stock. Then on a piece of Basic White scrap about 1 1/2″ wide by about 4″ in length, I used Stampin Blends Just Jade and Flirty Flamingo to color opposing ends of the strip. Use both light & dark to blend together nicely – no sharp lines. From the Flirty Flamingo end, die cut the three flowers in one die from the Floral Heart Dies. On the Just Jade end of the paper, die cut the four leaves in one die, also from the Floral Heart Dies.

Example of coloring with Blends for die cutting

Next, stamp the single flowers in Crumb Cake ink on a strip of Basic White card stock and color using the Flirty Flamingo Blends. Do this twice so you have six flowers available to play. It’s always advisable to have more to use in lieu of stopping and creating more. TIP: If you don’t use them all, save in either the stamp set or with the appropriate dies. I then added Wink of Stella to all the flowers.

Stamp the leaves in Crumb Cake ink on another strip of Basic White. Again, stamp extra leaves – maybe a total of five or six. Color using Stampin’ Blends Soft Sea Foam. Die cut with dies from the Floral Heart Dies.

Place your heart on a silicone sheet so that as you adhere the flowers and leaves, the heart does not adhere to other card stock or anything else. I didn’t use all the flowers and leaves as I didn’t want the heart too ‘heavy’. All of the flowers were adhered with liquid glue, some attached behind the heart. once everything is adhered, I moved my heart off the silicone sheet and splattered Wink of Stella all over.

Splattered with Wink of Stella

I placed my heart (without glueing!) on a panel of Basic White card stock, noting just where I wanted my sentiment. Using the Stamparatus for this step is so helpful… I removed the heart and stamped the sentiment in Crumb Cake ink from the Always In Your Heart stamp set. Run the Basic White panel through the Subtle 3D embossing folder for some added texture. Now adhere the heart with liquid glue. I adhered an additional flower & leaf to the lower left corner, adhering with liquid glue. The last step is adding the Rhinestone Basic Jewels.

The Basic White panel is adhered to Flirty Flamingo card stock with liquid glue. Place dimensionals on the back and adhere to a Crumb Cake card base and your card front is complete. Love, love, love how this turned out!

I have not completed the inside of the card yet – waiting to determine just who the special recipient will be. But… definitely a Flirty Flamingo panel layered with a Basic White panel 🙂

Products for todays card are from the new Jan-Jun 2021 Mini Catalog and the 2020-2021 Annual Catalog ~ and those products are available now for purchase. You will find them in the product list below. As a reminder… I’ve made it easy for you to simply ‘add all to cart’. If I can help you in any way to order these items, or others, please give me a holler. As a thank you to my customers, when the order is between $50-$150 I offer a SU! item of your choice valued at $10. Remember to use MY CURRENT HOST CODE WZBPZ7N4- good Jan 21 – Feb 3. When the order is over $150, you still receive that free gift from me, but SU! has Stampin’ Rewards that may be used for additional products, so don’t use the host code at that time. Now is also Sale-a-bration – a time from now through the end of February when Stampin’ Up! offers FREE items with $50 and $100 purchases. Those products are shown below today’s product list as well. Happy shopping!

Sale-a-bration items Free with $50 purchase

Sale-a-bration items FREE with $100 purchase

Card cuts for todays project:

  • Crumb Cake card base 8 1/2 x 5 1/2 scored at 4 1/4
  • Flirty flamingo 4 1/8 x 5 3/8 (2 – one for inside)
  • Basic white 4 x 5 1/4 (2 – one for inside), 1 1/2 x about 4 (coloring with Blends), 1 x 5 (4 – for stamping leaves & flowers)
  • Blushing Bride 4 1/4 x 4 1/4

Thanks for stopping by.

May you have a beautiful day.

Make someone happy sending them a handmade card filled with love.