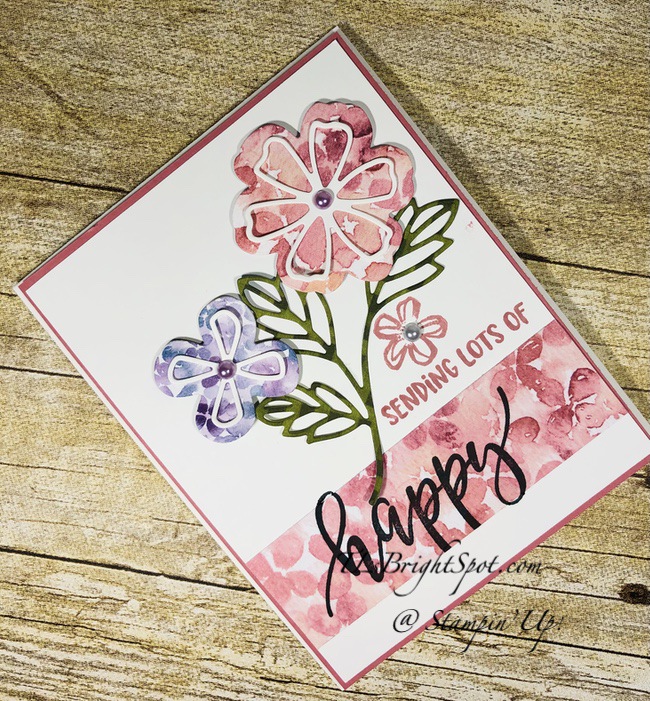
Today I’m sharing two cards using the Flower & Fields DSP that is FREE with a $50 purchase during Sale-a-bration. They are super easy and the layout can be used for so many options of type of card: sympathy, birthday, thinking of you, congratulations, get well, a ‘lift me up’ kind of sentiment.
Both of these cards use the same measurements, just assorted dies/ stamp sets/ embellishments. So here we go with the details…
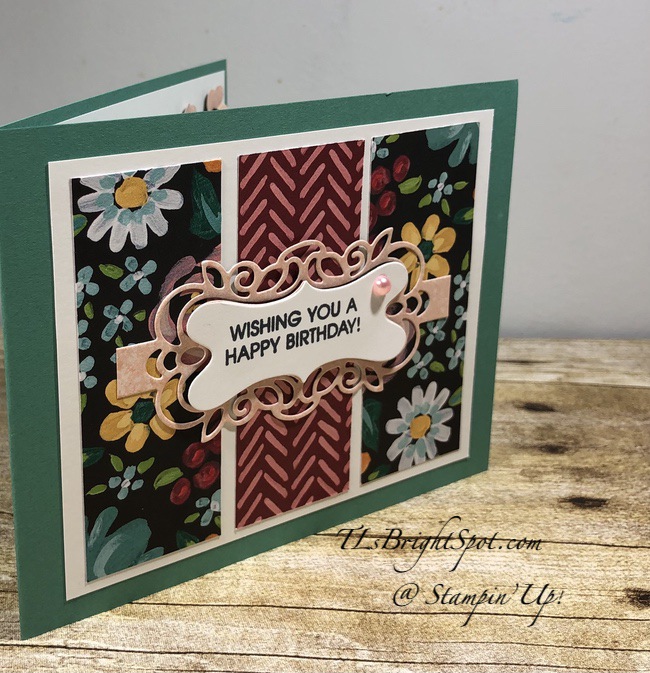
- Card #1
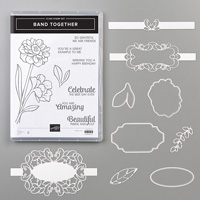
- Band Together bundle
- Peony Garden DSP
- Pastel Pearls
- Just Jade card stock
- Basic White card stock
- Pool Party card stock – sentiment banner
- Memento Black ink
- Flower & Fields DSP
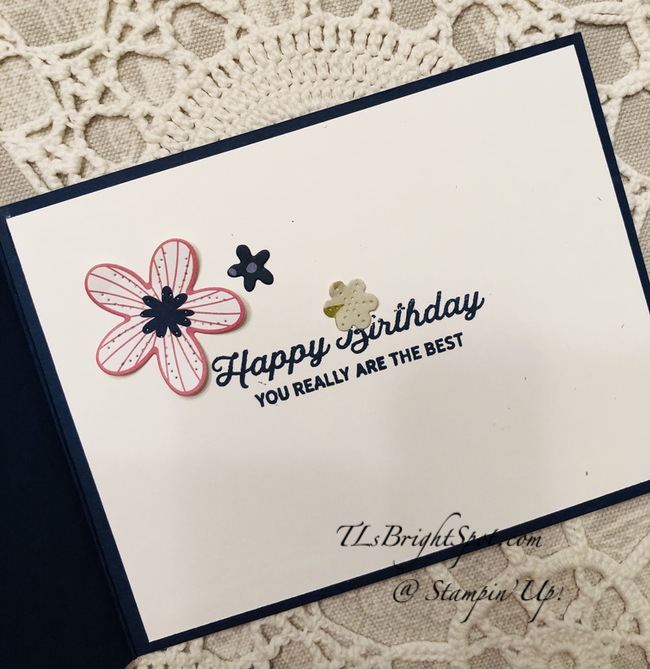
For the inside…

Card #1 inside info
- Strawberry Builder Punch – flowers
- Peony Garden DSP
- ‘Matte Black Dots
- Memento Black ink
- Basic White card stock

Products for todays card are from the new Jan-Jun 2021 Mini Catalog and the 2020-2021 Annual Catalog ~ and those products are available now for purchase. You will find them in the product list below. As a reminder… I’ve made it easy for you to simply ‘add all to cart’. If I can help you in any way to order these items, or others, please give me a holler. As a thank you to my customers, when the order is between $50-$150 I offer a SU! item of your choice valued at $10. Remember to use MY CURRENT HOST CODE WZBPZ7N4- good Jan 21 – Feb 3. When the order is over $150, you still receive that free gift from me, but SU! has Stampin’ Rewards that may be used for additional products, so don’t use the host code at that time. Now is also Sale-a-bration – a time from now through the end of February when Stampin’ Up! offers FREE items with $50 and $100 purchases. Those products are shown below today’s product list as well. Happy shopping!


Card stock cuts for both cards:
Card base 8 1/2 x 5 1/2 scored at 4 1/4
Basic White 3 3/4 x 4 3/4 + sentiment & scrap
Basic White inside 4 x 5 1/4
Flower & Field DSP (3) 1 3/8 x 3 1/2 + 2 1/4 x 6 for envelope flap
Thanks for stopping by.
May you have a beautiful day.
Make someone happy sending them a handmade card filled with love.
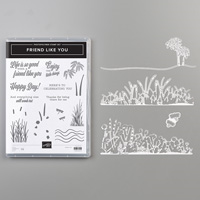
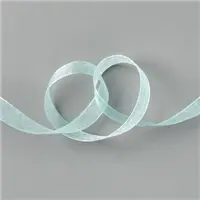
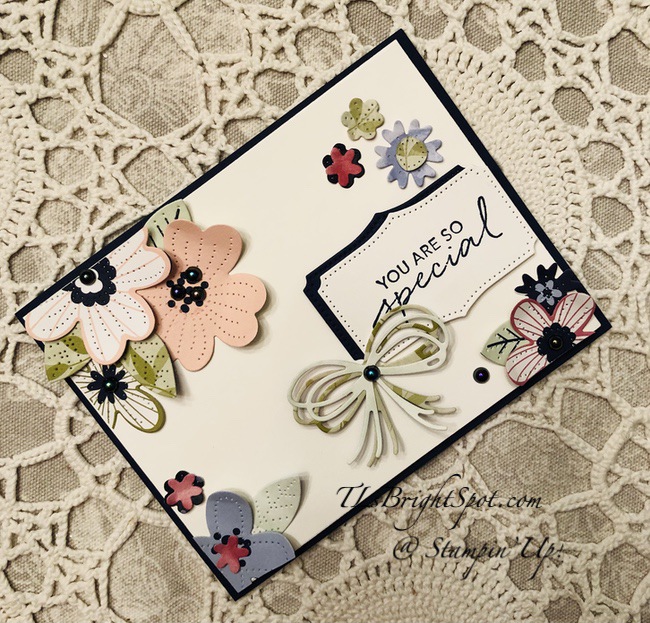
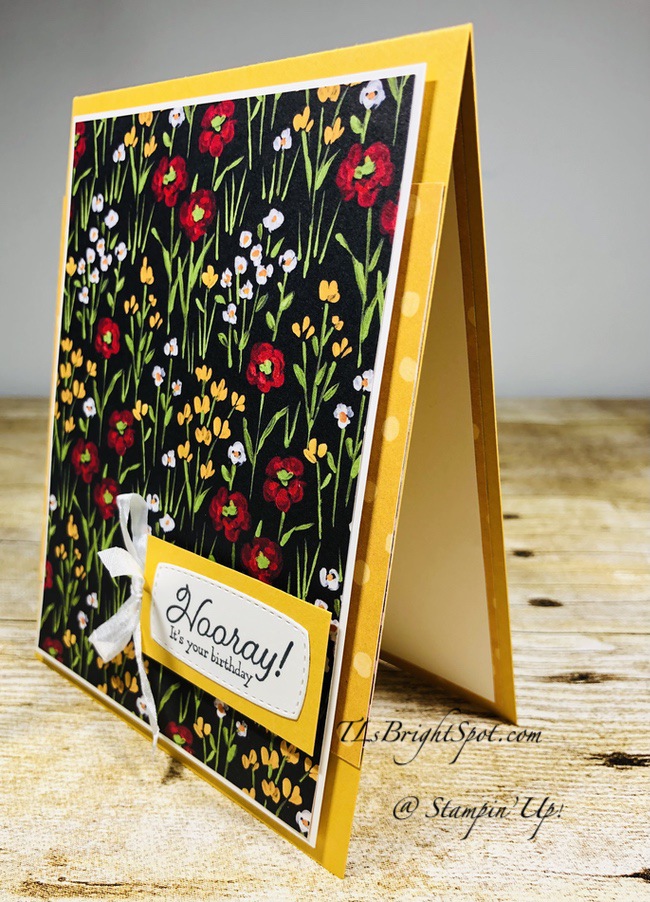
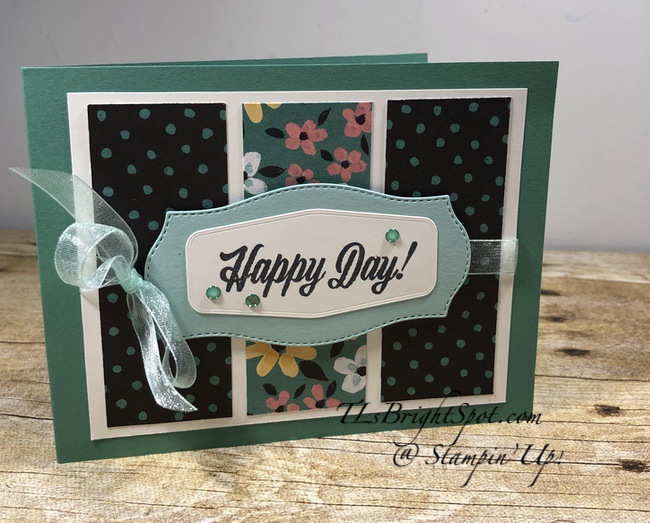
- Card #2
- Friend Like You stamp set
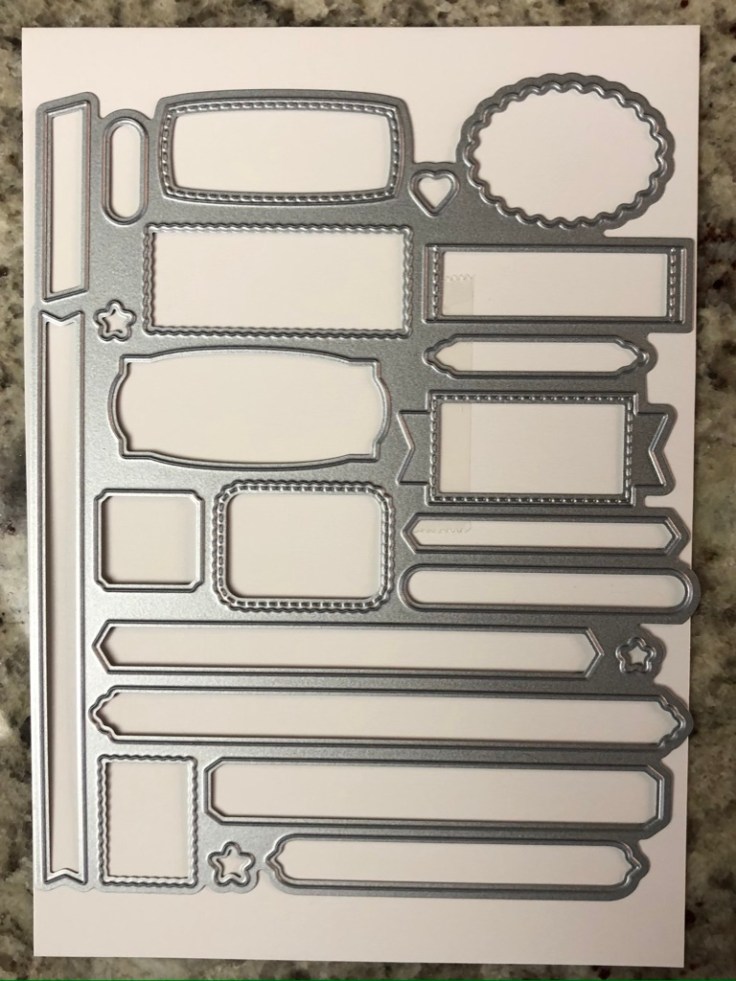
- Tasteful Labels Dies
- 20-22 In Color Enamel Dots
- Sheer Ribbon Pool Party
- Just Jade card stock
- Basic White card stock
- Memento Black ink
- Flower & Fields DSP

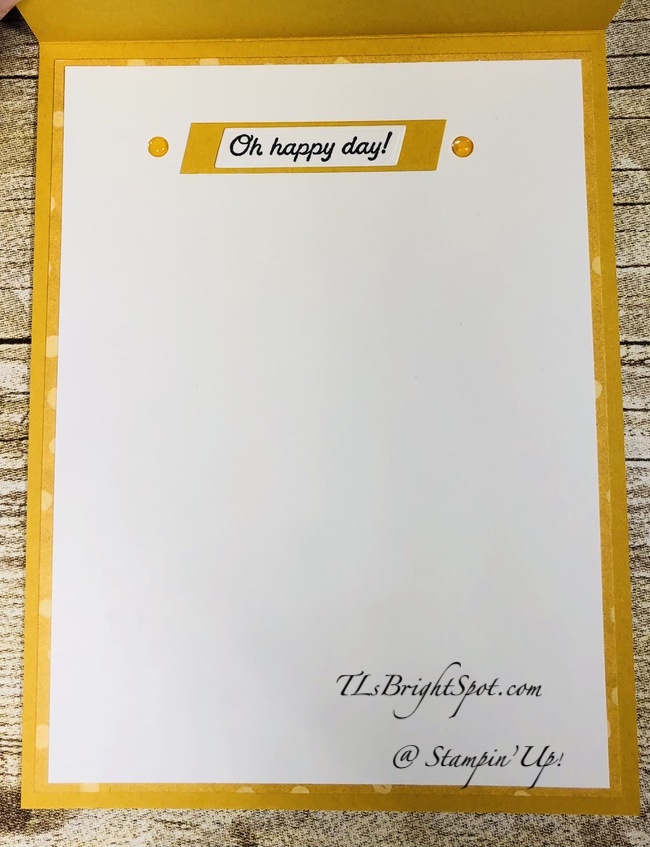
Card #2 inside info
- Friends Like You stamp set
- Memento Black ink
- Granny Apple Green ink
- Basic White card stock