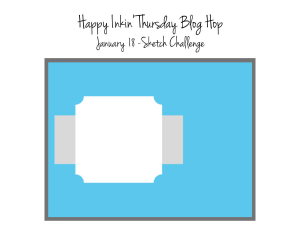
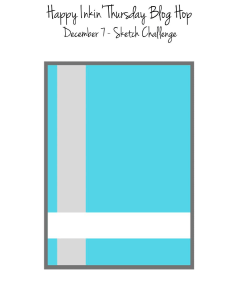
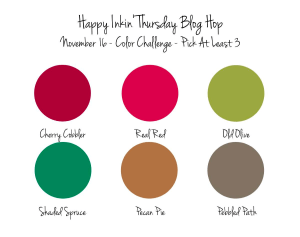
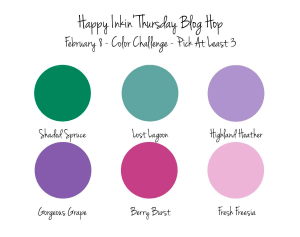
Today is Thursday – which means, it’s time for another Happy Inkin’ Thursday Blog Hop. We have a color challenge today and I really like these color combinations. Perennial Lavender 12 x 12 DSP fits the bill perfectly!

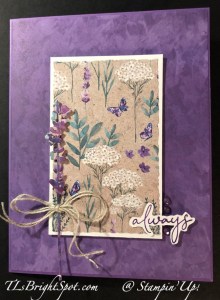
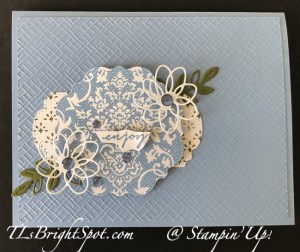
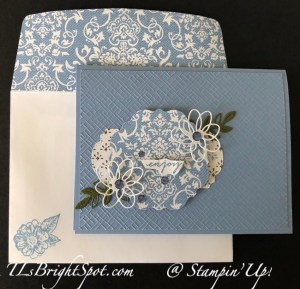
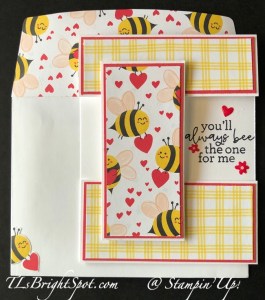
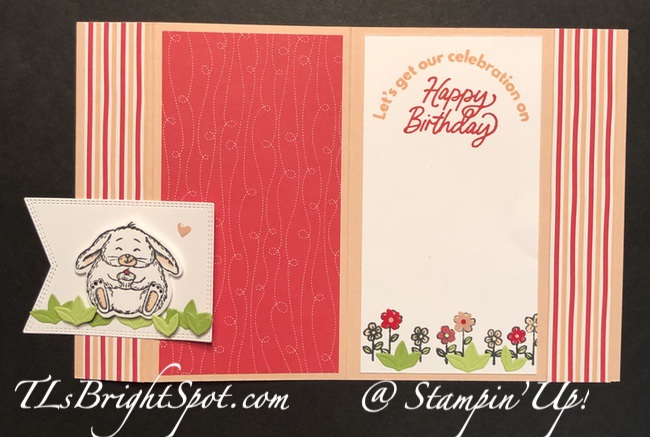
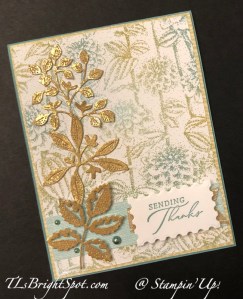
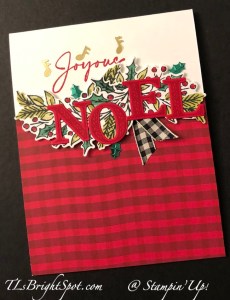
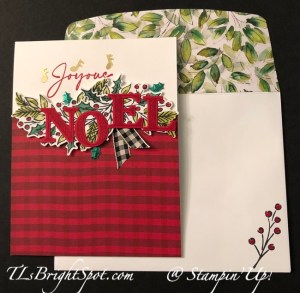
I started by determining the showy piece of Perennial Lavender DSP for the front of the card. I die cut the piece with a Deckled Rectangle Die. And yes, I could have used the Perennial Postage Dies instead – and you could easily make that change if you decided to CASE this card. I wanted a slightly less ‘edgy’ look and that’s why I used the Deckled Rectangle Dies. I backed the DSP with a Basic White panel. I used another piece of the Perennial Lavender DSP to die cut the floral image. I adhered it to the DSP panel with dimensionals that I trimmed down to size, then added a double Linen Thread bow and attached it with a glue dot. I wanted a sentiment and pulled out the Perennial Postage stamp set and stamped the sentiment in Gorgeous Grape ink, cut it apart & fussy cut around the single word – setting the rest aside. I created a Gorgeous Grape card base and covered it with another Perennial Lavender DSP panel just slightly smaller in size. I attached the showy DSP panel to the card front with dimensionals, then added the sentiment with glue on the one end and a dimensional trimmed down to size on the overhanging end. I added three Purple Fine Shimmer Gems near the sentiment for a glitzy touch.
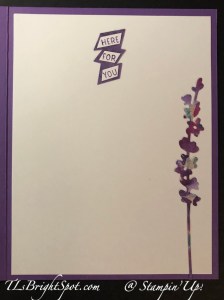
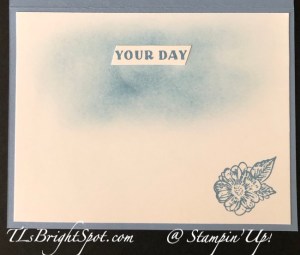
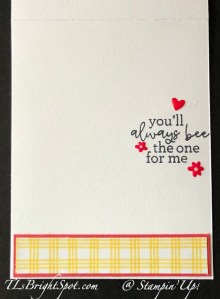
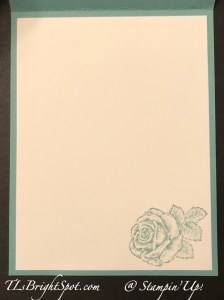
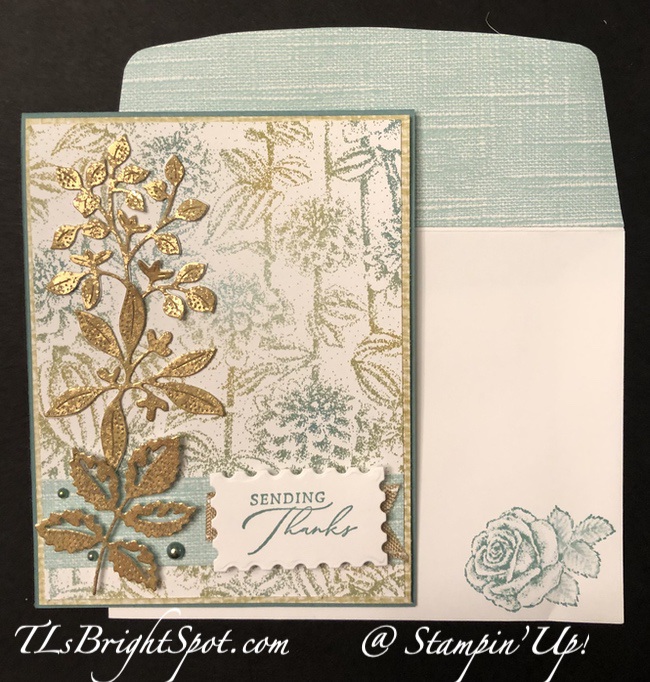
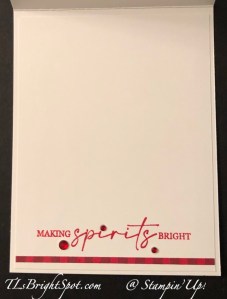
For the inside of the card, I used the other floral die cut and adhered it with liquid glue to the Basic White panel. I took the rest of the stamped sentiment from the card front & cut it apart, added it to a same pattern DSP as the large front panel, trimmed it to a unique shape and adhered it with liquid glue.
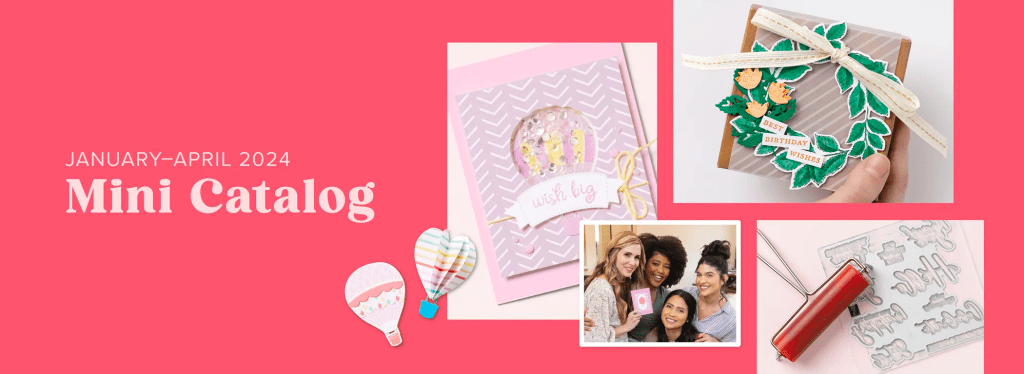
To purchase items to make this card… Jan- Apr 2024 Mini Catalog. + the 2023-2024 Annual Catalog. Remember, when purchasing SU! products Jan- Feb of 2024, there are all kinds of FREE PRODUCTS to choose from in the Jan-Feb 2024 Sale-a-Bration Catalog. For every purchase of $50 or more, you may choose FREE PRODUCTS. see below for more info!!!
Continue the blog hop by clicking on the ‘next’ button or a name to take you to someone else. ENJOY THE HOP!

Terry Lynn Bright – you are here!
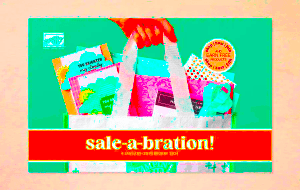
If you do not have a demonstrator, reach out to me and I’ll send a catalog right away, plus a Jan-Feb Sale-a-Bration catalog as well. Sale-a-Bration is a special time for Stampin’ Up! folks – a time when there are product bonuses for qualifying orders. For instance, a $50 order qualifies for certain FREE ITEMS in the Sale-a-Bration Catalog and a $100 purchase qualifies for other FREE PRODUCT in that catalog. And there’s no limit to the free items. And if you think you might want to join as a demonstrator, there are bonuses there as well – extra special bonuses not offered at other times. See below for more info about joining.
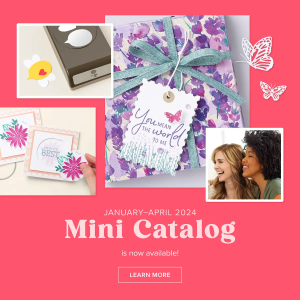
Click the Mini Catalog image to see products available for ordering
Click here to see the list of products available with at least a $50 order (prior to taxes & shipping)
Click here to see the list of products available with at least a $100 order (prior to taxes & shipping)
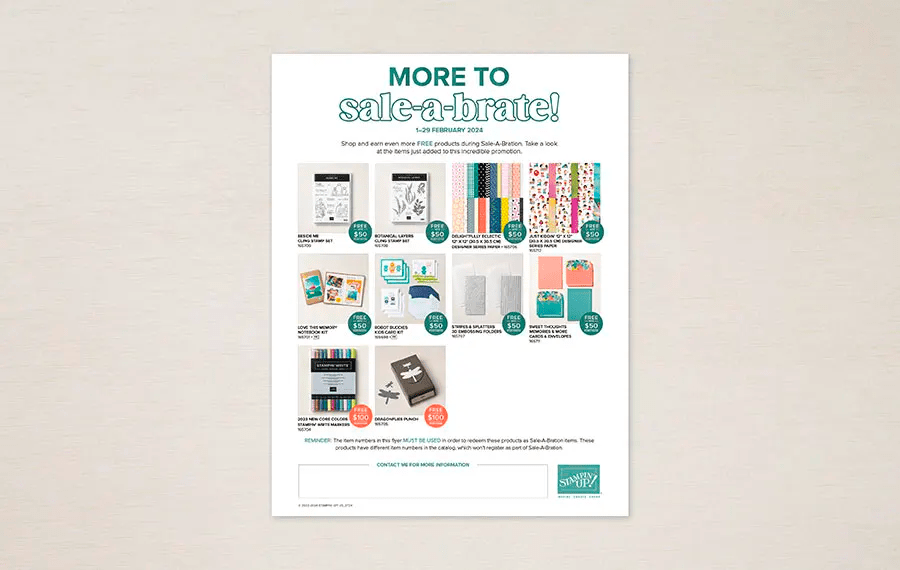
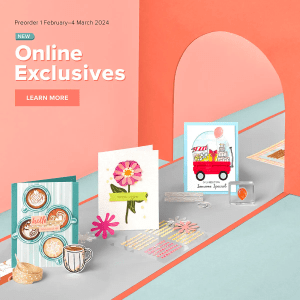
Ready for more? There are EVEN MORE PRODUCTS available to shop, earn, and redeem during Sale-A-Bration. We don’t want you to miss out on these great products and incredible deals, so take a look at our newly added products.
Remember, the item numbers in the flyer must be used in order to redeem these products as Sale-A-Bration items. These products have different item numbers in the catalog, which won’t register as part of Sale-A-Bration.
The two kits included with Sale-A-Bration 2nd Release have been marked to discontinue once out of stock. If they do not sell out during Sale-A-Bration, they may be discounted at a later date.
Note: The newly added products that are now redeemable during Sale-A-Bration are part of Stampin’ Up!’s existing product offering.
Nothing brings people together quite like creativity. As an independent demonstrator, you can share what you love and expand your circle of friends to build a close-knit, collaborative community of crafters. You’ll meet, connect, learn from, and create with other demonstrators from all around the world through virtual events, in-person conventions, support groups, and social media. And don’t forget the importance of hosting your own crafting parties! You can host events with your favorite people and show off your favorite Stampin’ Up! projects. Let’s discover the joy of being a demonstrator together!
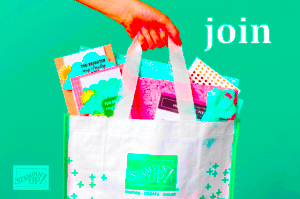
Join by 29 February 2024 and choose between two fabulous offers:
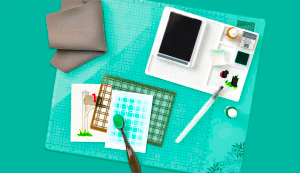
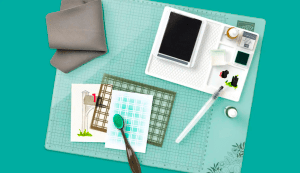
Option 1: Get $125 worth of product PLUS our new Stampin’ Glass Mat Studio (a $60 value) for just $99!
Option 2: Get $125 worth of product PLUS an additional $30 worth of product of your choice when you join for $99. That’s a $155 value!
Click here to JOIN MY TEAM
There’s MORE from Stampin’ UP!
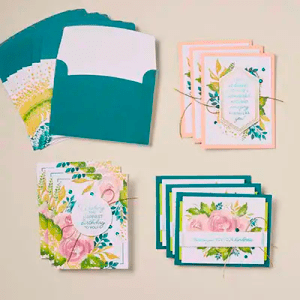
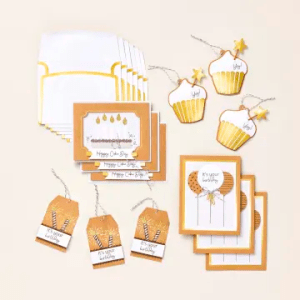
Stampin’ Up! also has a KITS COLLECTION and is offering two new kits. See those below.
163865
BIRTHDAY SPARKLE KIT (ENGLISH)
$23.00

163873
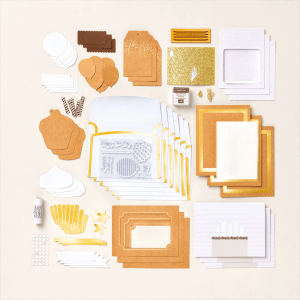
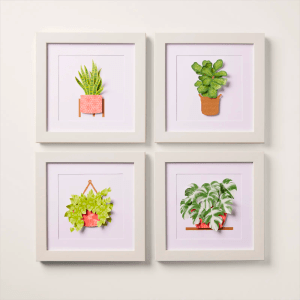
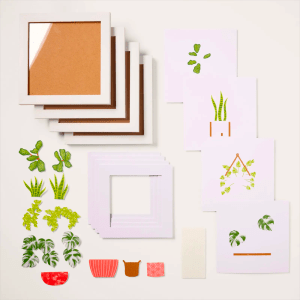
HAPPY HOUSEPLANTS KIT
$25.00
The Happy Houseplants Kit is an adorable home decor crafting kit! This kit comes with four 6″ x 6″ (15.2 x 15.2 cm) white frames and precut paper pieces for you to curl and assemble inside the frame. You’ll end up with four coordinated houseplant decor pieces. They can stand by themselves, or you can hang them on your wall. Either way, your houseguests will be amazed that you created it yourself!
There are some NEW items being released on March 5. They are available to demonstrators now, so watch for these new products as I will share, share, share.
Thanks for stopping by. May you have a beautiful day! Make someone happy by sending them a handmade card made with love.