Good Tuesday January 7! Today is the day… the new Jan-Apr 2025 Mini Catalog goes LIVE and… benefits of the Jan-Feb 2025 Sale-a-bration Catalog also go into effect. What that means is when you make a purchase of any Stampin’ Up! items: Kits Collection, Last Chance items, the 2024-2025 Annual Catalog OR the new MINI Catalog, Sale-a-bration items are available. How cool is that! There are two levels: a $60 purchase and a $120 Purchase – each allowing different products that are FREE TO YOU. So, shop, shop, shop!
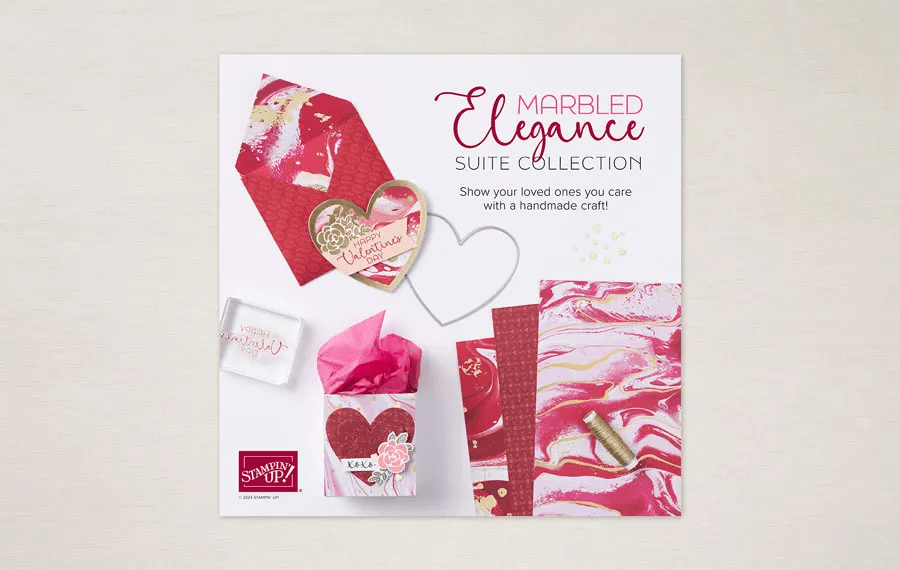
Today’s card is another fun fold, called the bandstand, and it used products from the two mini catalogs going live today. The Designer Series Paper DSP) is a free Sale-a-bration item, and the rabbit, sentiment and delicate frame die are from the Storybook Friends bundle and Storybook Moments 12×12 SDSP. Here ya go…
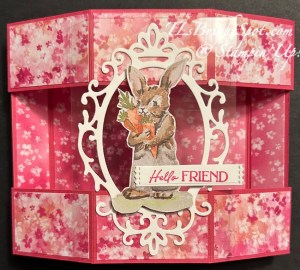
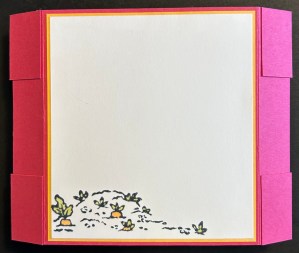
How sweet is that rabbit and how gorgeous that frame!!! I adhered the frame to a Window Sheet so all the DSP would show :O) The rabbit is fussy cut from the Storybook Moments SDSP and attached with dimensionals. The sentiment is stamped in Melon Mambo ink from the Storybook Friends stamp set and die cut with a die from Happy Little Things Dies, retiring. It is attached with a dimensional on the right end and liquid glue to the rabbit. And here’s the top-down view.
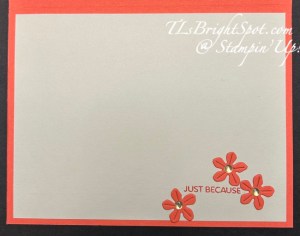
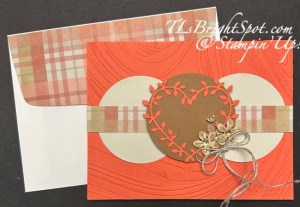
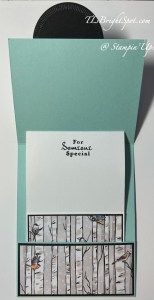
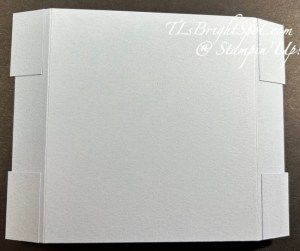
This card fold flat and works perfectly in a standard envelope. Here’s the envelope for the card

That cute rabbit is from the Storybook Friends stamp set and is stamped in Memento ink and colored with Stampin/ Blends: Crumb Cake, Melon Mambo, Peach Pie and Old Olive.
Here’s how to make this card…
Card base, back: 4 1/4 x 5 3/8 scored on long side at 3/4 & 4 5/8. Burnish.
Card base, front: cut 2 – 1 1/4 x 4 1/8, score on long side 3/4, 2 1/2, 4 1/2 & 6 1/4. Burnish. These are the pop-out sections.
Decorate:
- Cut DSP for inside back, 5/8 x 4 1/8, 3 3/4 x 4 1/8 and again 5/8 x 4 1/8 and adhere to the inside back.
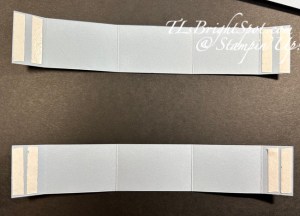
- For pop-out sections: cut a single strip 1 1/8 x 5 1/8 then trim to 1 5/8 x 1 1/8, 1 7/8 x 1 1/8 and lastly 1 5/8 x 1 1/8. By cutting this as a single strip and trimming down, this allows for a continuous pattern. Do this twice, then adhere to the pop-out strips, leaving the ends without DSP
Turn strips over and adhere Tear n’ Tape to the ends as shown.
Putting together:
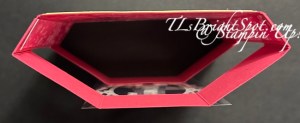
- Leaving the strips face down, lay the decorated back panel, decoration side down and even at top of strip, centering the back panel between score lines. There will maybe be a 1/16″ between the score line and the back panel. Remoce cover on Tear n’ Tape & adhere to back panel. Do this again at the bottom. Notice there is ‘wiggle room’ on the ends in the photo – this is as it should be!
Now is the perfect time to decorate the back of the card where you can write your message.
Here I used Peach Pie as a nice contrasting color, 3 3/4 x 4 1/8, and adhered it to the back. I cut a Basic White 3 5/8 x 4 and stamped it with an image from Storybook Friends in Memento ink, coloring it with Stampin’ Blends: Peach Pie & Old Olive. I adhered this in place.
Decorate the front: the key here is to provide something to ‘stabilize’ the card and. to adhere it only to the center panel. It can extend beyond the center panel as the pop-out sections go back not forward.
- Die cut from Basic White this gorgeous frame. With liquid glue adhere it to a Window Sheet.
- Add Window Sheet to card front adhering only to the center panel with Stampin’ Seal
- Fussy cut the bunny from the Storybook Moments SDSP OR use one of the fabulous pieces that can be punched out – 2 sheets of these are provided in the SDSP pack!
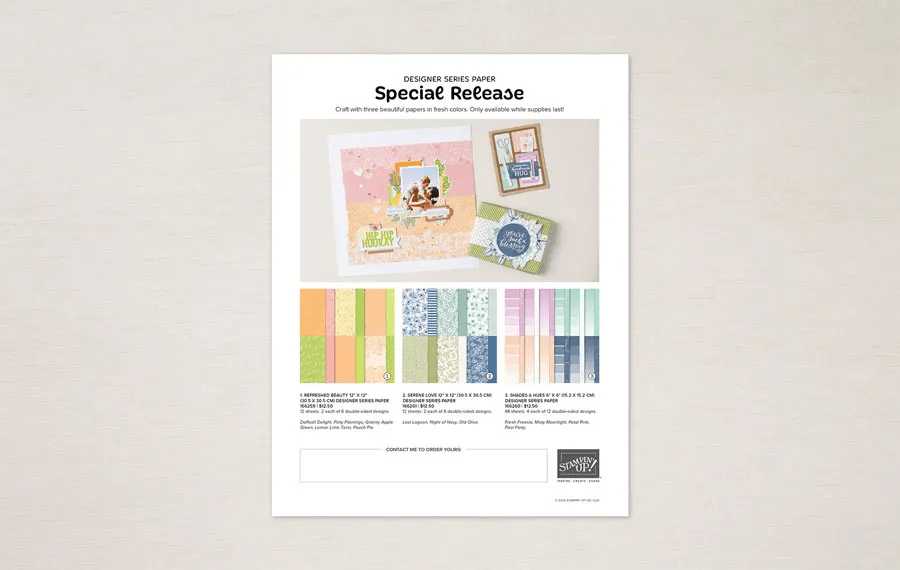
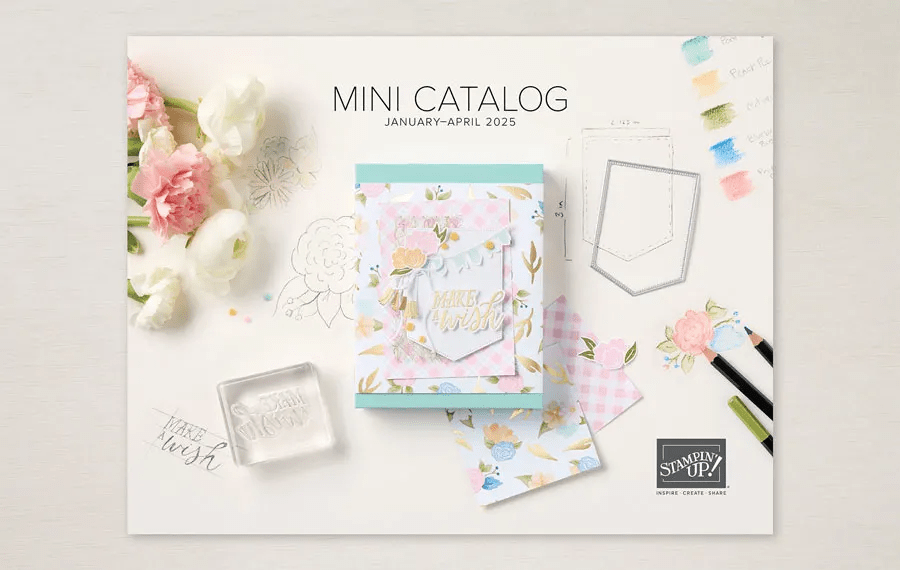
Fun, fun! And you can get these today – click the phot below to see what’s available in the Jan-April 2025 Mini Catalog.
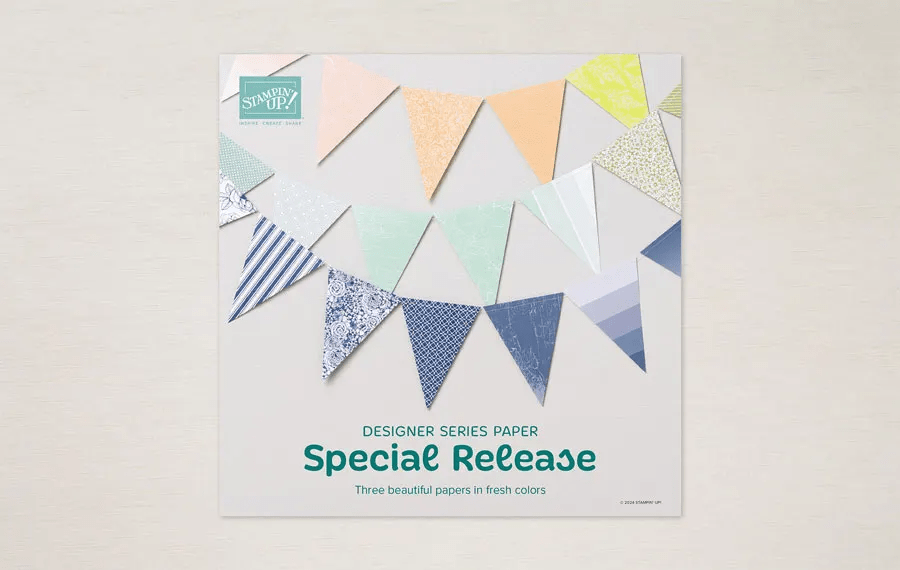
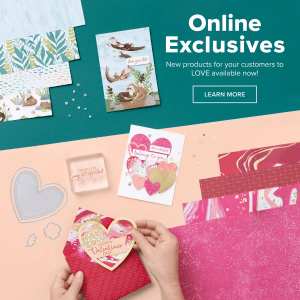
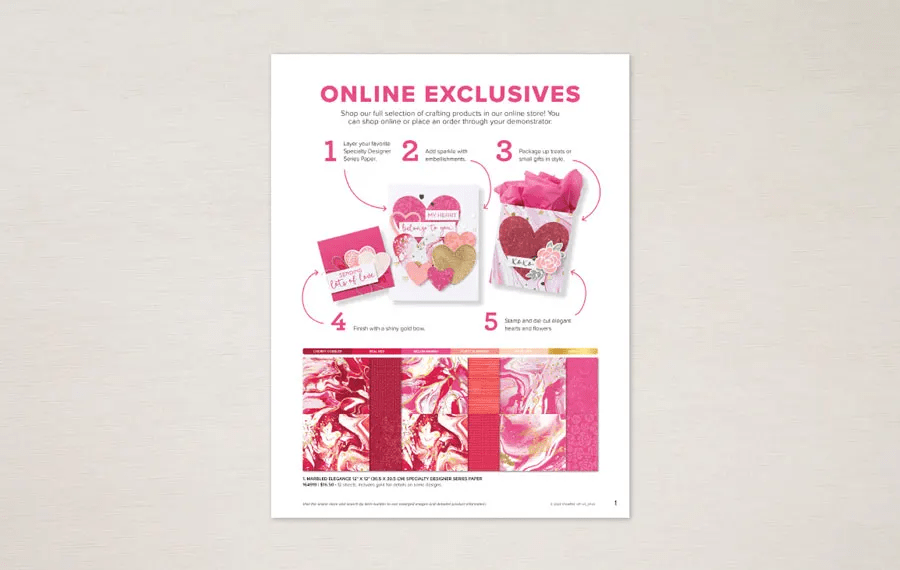
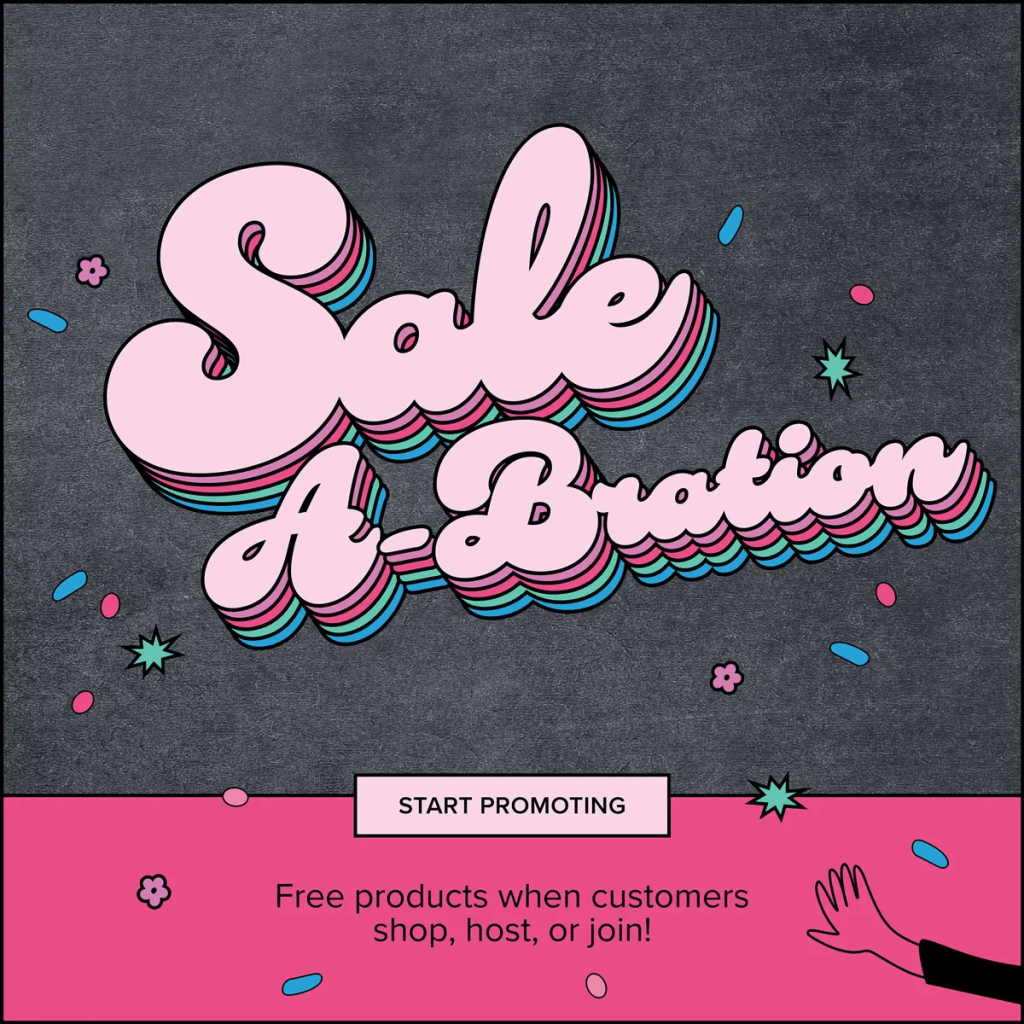
Click the Sale-a-bration image to learn what free products are available when ordering Jan-Feb.
If you are a scrapbooker, there is a scrapbooking brochure – click here to see whats available beginning today!
New catalog, new Sale-a-bration, new Scrapbooking brocure, new Joining promotion – do it all here with me.
Join with me here! Starter Kit Special
If you’ve been thinking about becoming a Stampin’ Up! demonstrator, then there’s no better time than right now during Sale-A-Bration! When you join by February 28, 2025, you can choose between two fabulous offers:
Option 1: Get $125 worth of product PLUS a choice of two Stampin’ Write Marker Assortment packs AND the Handmade Designs Cling Stamp Set (an exclusive stamp set designed to work with the markers). That’s a $216 value for just $99!
Option 2: Get $125 worth of product PLUS an additional $30 worth of product when you join Stampin’ Up! That’s a $155 value for just $99!
Want to order these products from me? When you shop with me and your purchase is $50 or more – you will receive a free giftie valued up to $`10 that is a Stampin’ Up! item. You will also receive the monthly tutorial – January is the Toadstool and it has some really cute ideas.
Use my CURRENT HOST CODE WTGKS9DH
when purchasing and
make certain my name is listed as your demonstrator :O
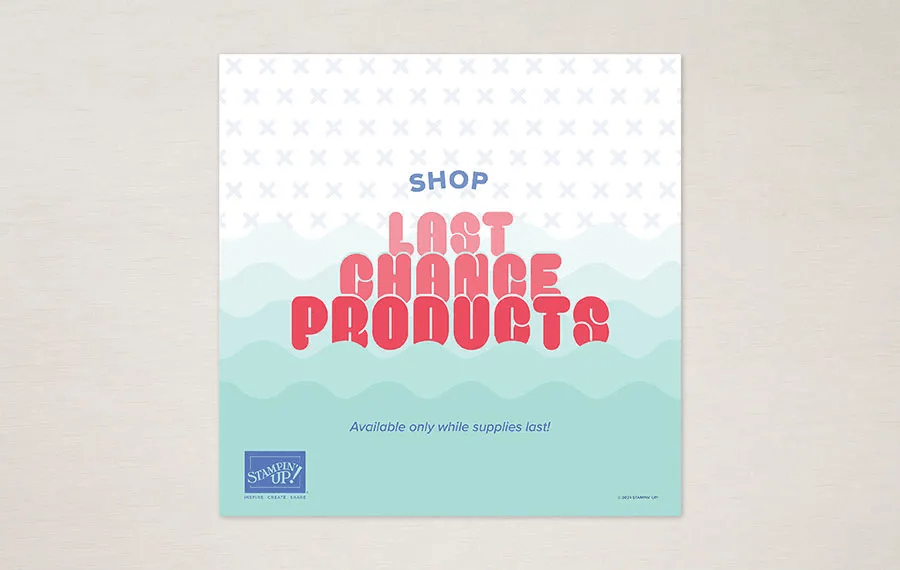
To view the LAST CHANCE PRODUCTS – CLICK HERE
To view the ONLINE EXCLUSIVES – CLICK HERE
Want to see the 2024-2025 Annual Catalog? Click HERE
And finally – click HERE for the Kits Collection
Thanks for stopping by – may you have a beautiful day!