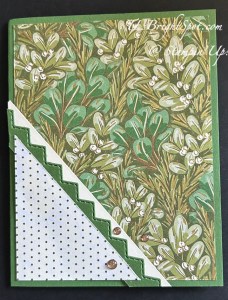
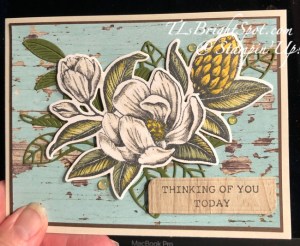
Welcome, welcome! Welcome to this blog hop group! Our theme this month is ‘Giving Thanks’ in whatever way that means for us… and I have lots for which to be thankful: people, support, this team and other teams, family, a roof over my head – just LOTS! I chose to use the Autumn Expressions bundle – beautiful script stamps, great dies (I’m a succor for leaf dies) and a host of other beautiful Stampin’ Up! products.


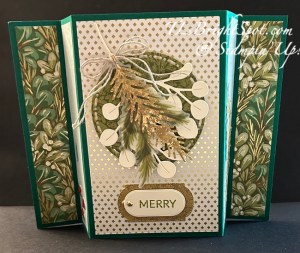
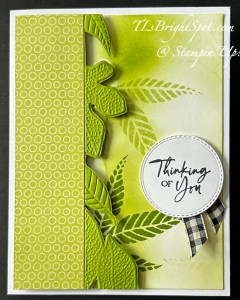
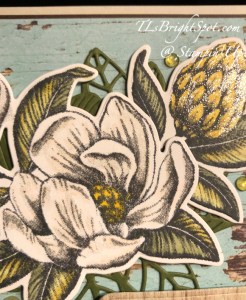
Stunning leaf die cut from Textured Metallic 12×12 Specialty DSP in both gold (2) and copper (1). And the very swirly script and framing – all from the Autumn Expressions bundle. Such a great set! The additional DSP is an online product – Meandering Meadows 6s6 DSP. I cut the front panels to look like sunset, the oranges and pinks streaking across the sky. The ‘frame’ is from another panel of the Meandering Meadows DSP.
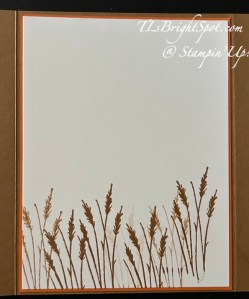
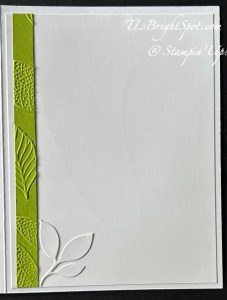
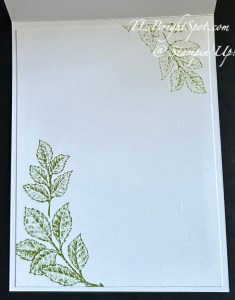
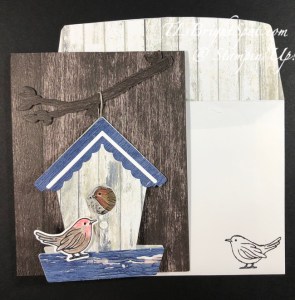
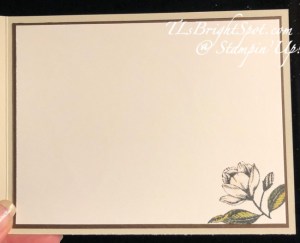
For the inside, I used this wonderful ‘grass’ stamp and Pecan Pie ink – first generation and 2nd generation – to stamp across the bottom. How to do that? Ink the stamp, stamp the paper, stamp again without re-inking. This second stamping is called second generation.
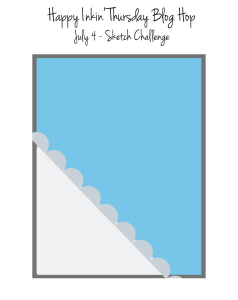
Card Cuts/ directions:
- Pecan Pie for the card base – 8 1/2 x 5 1/2, scored at 2 1/8 on the long side. Burnish and fold other side to meet it, burnishing it as well. Why do I do this in lieu of scoring on each side at 2 1/8? ‘Cuz it doesn’t always come together in the middle – and I want them to. I have found this to be the easiest way to make sure that happens.
- Cut Pumpkin Pie 2 x 5 3/8 (2) and adhere to each side front panel
- Cut Meandering Meadows 6×6 DSP 1 7/8 x 5 1/4 (2) and adhere to the Pumpkin Pie
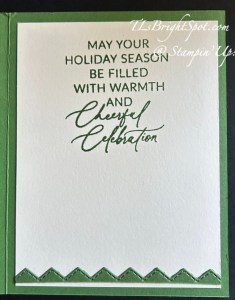
- On Basic White 2 3/4 x 3 3/4, stamp the sentiment from Autumn Expressions stamp set in Pecan Pie ink. Die cut with the smaller ‘frame’ from Autumn Expressions Dies. Die cut the outside ‘frame’ for this using the larger ‘frame’ die. Attach together with dots of liquid glue.
- Die cut the gorgeous leaves from 1 1/4 square Textured Metallic 12×12 SDSP – two in gold and one in copper. Attach one go0ld leaf to the top of the sentiment frame with liquid glue, then the copper leaf on the opposite corner also with liquid glue. Attache the other gold leaf with a dimensional. Add three Drusy Adhesive-Backed Embellishments on the sentiment panel. Add sentiment panel to the left side of the gate fold – and the card front is complete!
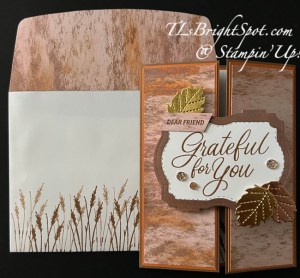
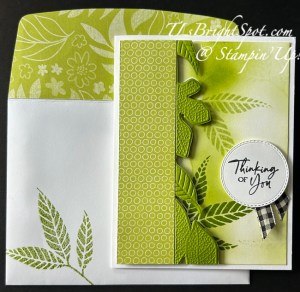
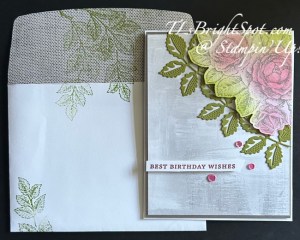
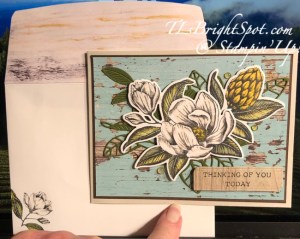
For the envelope… I added more of the same Meandering Meadows 6×6 DSP to the flap and trimmed to fit. Do the same stamping technique as before along the envelope front.
This can so easily be a masculine card if needed. I like that versatility! And many of these products may be found in the Sep-Dec 2024 Mini Catalog, Card Stocks & inks, acrylic blocks, paper trimmer – these ‘staples’ are in the Annual Catalog.
Time to continue the hop – click on a name or use the previous & next buttons to take you to specific folks. Thanks for dropping in!


- Karen Ksenzakovic
- Ann Louise Fodgaard
- Sue Prather
- Akiko Sudano
- Christie King
- Mary Deatherage
- Tara Carpenter
- Terry Lynn Bright
- Karen Finkle
- Shirley Gentry
- Carol Buckalew
- Amy Koenders
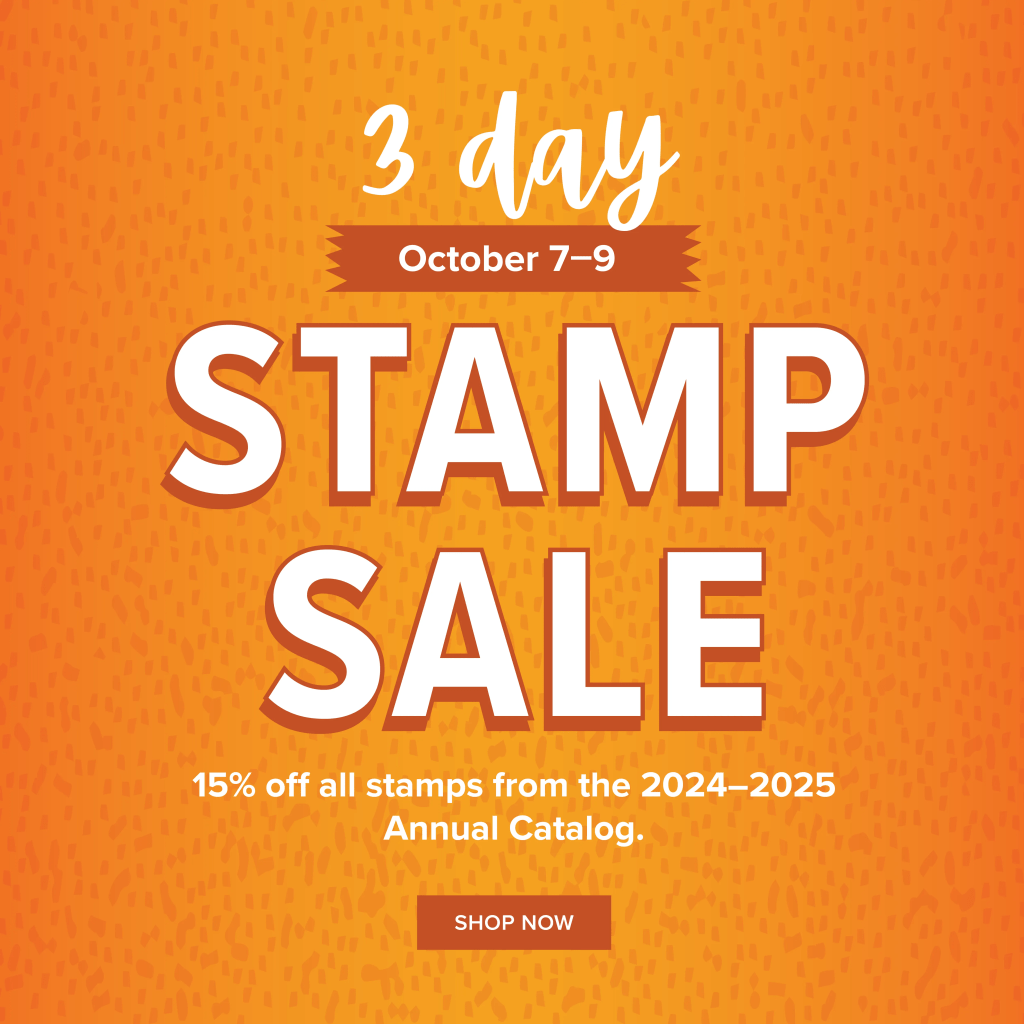
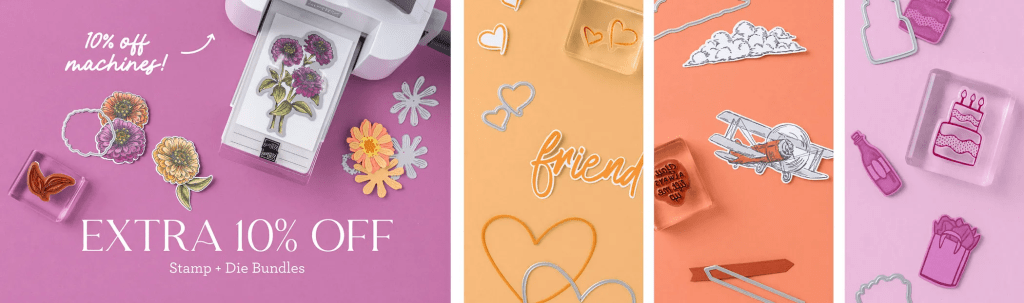
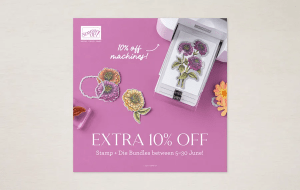
Click on the image above to shop the Stampin’ Up! stamp sale.
If you’ve had your eye on a certain stamp set or two (or ten) from the 2024–2025 Annual Catalog, then we have some exciting news! From October 7–9, all the stamp sets (excluding bundles) from the 2024–2025 Annual Catalog will be 15% off!
Here are the details:This stamp sale only happens once a year!
The sale will run for three days.
The 15% off discount will apply to all stamp sets (photopolymer and cling) from the 2024–2025 Annual Catalog.
Bundles are not included in this sale.
Stamp sets are available while supplies last.
Sales Period: October 7, 2024, at 12:00 a.m. to October 9, 2024, at 11:59 p.m. (MT)
Ordering Deadlines: By Phone – October 9, 2024, at 6:59 p.m. (MT), or Online – October 9, 2024, at 11:59 p.m. (MT)
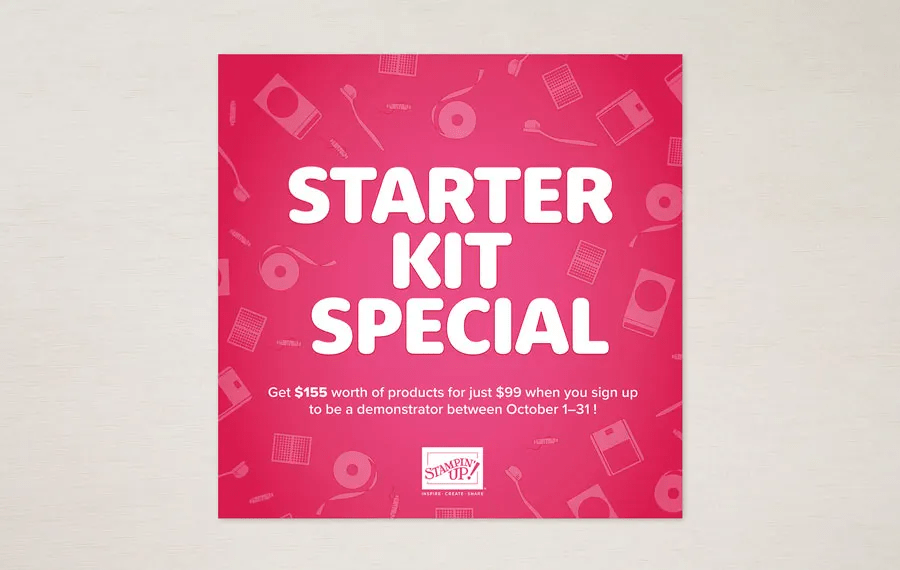
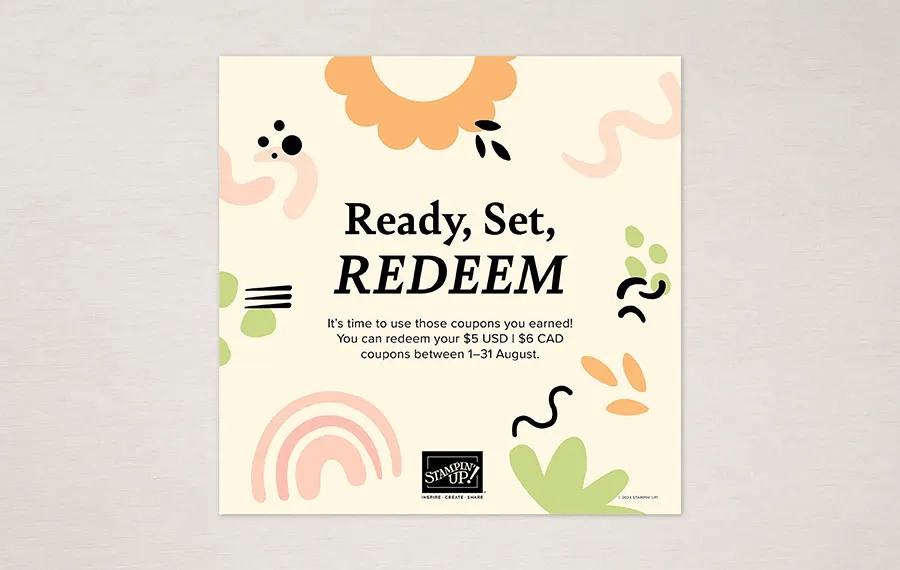
Promotion Period: October 1–31
Ordering Deadlines
- Phone: October 31 2024, at 6:59 p.m. (MT)
- Online: October 31 2024, at 11:59 p.m. (MT)
Become a demonstrator between October 1–31 can get $125 USD | $165 CAD $155 USD | $206 CAD worth of products for just $99 USD | $135 CAD.
Being a part of Stampin’ Up!’s creative community also comes with several perks, including early access to products, special discounts, a chance to earn product credits, access to exclusive trainings, demonstrator-only events, and so much more.
As a demonstrator, I am here to help you through the join process and beyond. Join with me here.
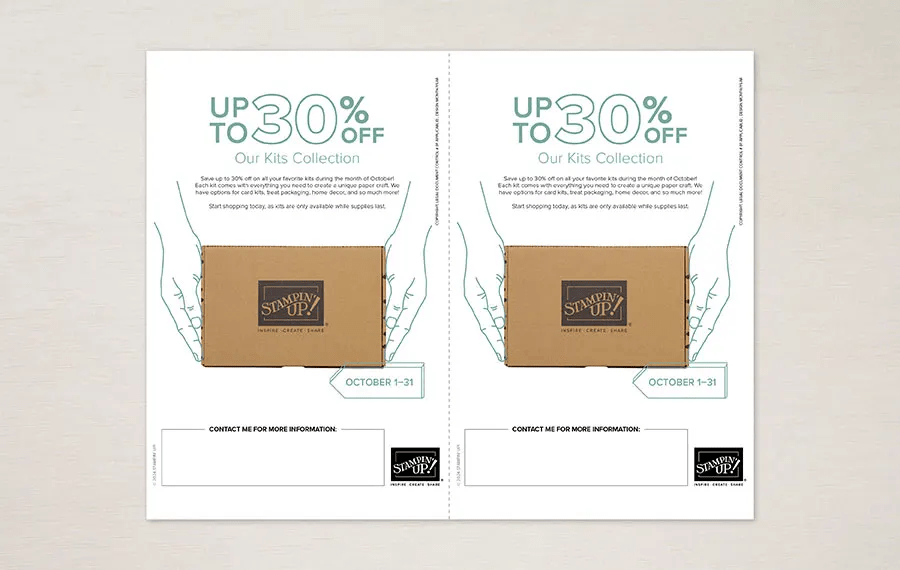
Kits Collection Sale started Oct 1!
Exciting news! We’re having a huge sale on our Kits Collection beginning October 1! All kits will be available at a discounted price. Save up to 30% off on all your favorite kits October 1–31! Our kits come with everything you need to create a unique paper craft. We have crafting options for card kits, treat packaging, home decor, and so much more! Click here
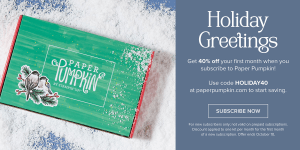
Santa Claus is comin’ to town a bit early this year—and he’s brought a holiday Paper Pumpkin sale! Starting September 11, 2024, at 12:01 a.m. (MT) until October 10, 2024, at 11:50 p.m. (MT), anyone who signs up for our monthly Paper Pumpkin subscription as a new subscriber will receive 40% off their first kit. That’s right, 40% OFF!
Where This Discount Is Applied
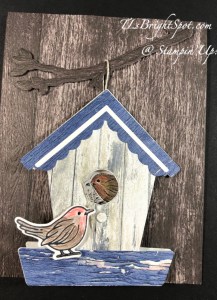
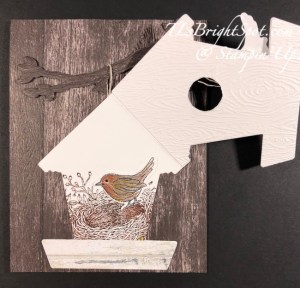
This discount will be applied to one kit in the first kit shipment of the Paper Pumpkin subscription, which means new subscribers will get 40% off the October Nests of Christmas Paper Pumpkin Kit. After that, each month’s kit will return to the regular price of $25.00.
Qualifying for This Discount
This offer is only for new month-to-month subscribers and is not valid on purchased or redeemed prepaid subscriptions.
Now that you’ve read through all the details, it’s time to head to paperpumpkin.com to subscribe and use code HOLIDAY40 to get 40% off.
https://www.stampinup.com/categories/specials/stamp-sale
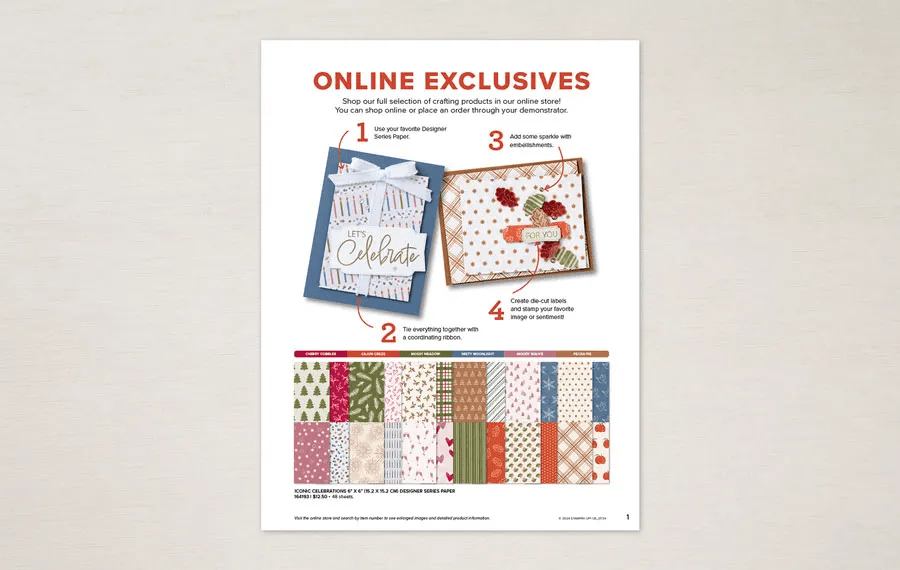
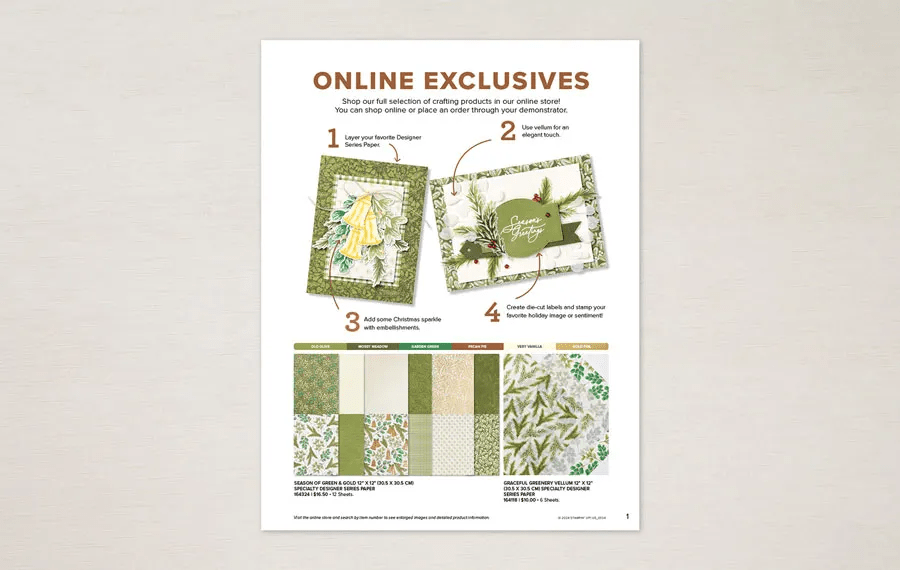
Click the link above to take you to the ONLINE EXCLUSIVES!
I appreciate your business and welcome any questions regarding sales or creating or joining my team. Make sure when shopping with me, that you see my name at the top as your demonstrator. That way I can send you a Stampin’ Up! giftie and you can earn rewards – with a $50 order or more. You also receive the monthly tutorial for that particular month – for October, it is More Than Autumn bundle.
Click the image above to take you to the ONLINE EXCLUSIVES!
I appreciate your business and welcome any questions regarding sales or creating or joining my team. Make sure when shopping with me, that you see my name at the top as your demonstrator. That way I can send you a Stampin’ Up! giftie and you can earn rewards – with a $50 order or more. You also receive the monthly tutorial for that particular month – for October, it is More Than Autumn bundle.
HOST CODE … SEP 26- OCT 15 NDADFHMR
Happy Shopping – thanks for stopping by!