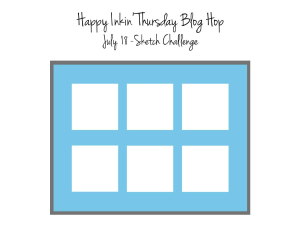
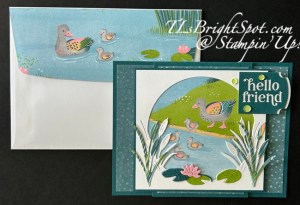
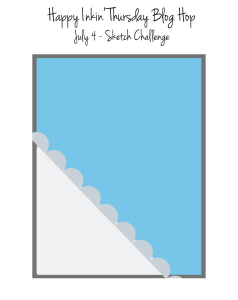
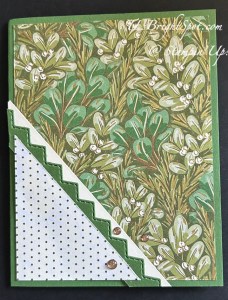
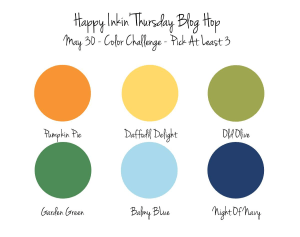
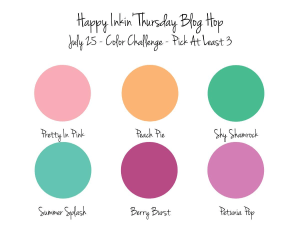
It’s Thursday – and what that means is a HAPPY INKIN’ THURSDAY BLOG HOP! WooHoo! And… it’s a color challenge – which is always fun. I chose to nuse the fabulous Unbounded Beauty DSP to show it off in a first class way.


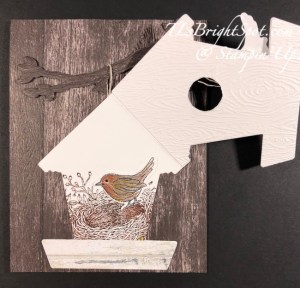
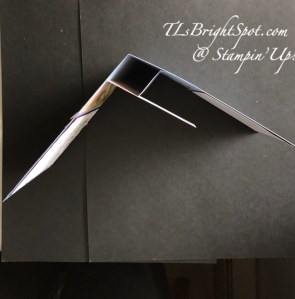
This is one of those ‘ideas’ to save to use for just about any DSP. Notice how the DSP image goes across the page, so when it was cut, it was intentional to cut it so the image ‘flowed across’. I does depend how the card is opened. If it opend from the top, the DSP ‘image’ would be from top/ down. got it?
Basics:
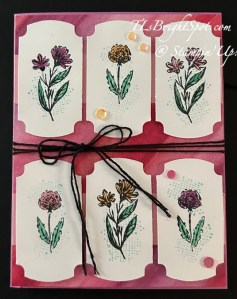
- Card base 4 1/4 x 11 scored at 5 1/2 (opens from side) [Summer Splash]
- Layer: 3 3/4 x 4 1/4 [Pretty in Pink]
- DSP layer: 3 1/2 x 3 3/4 cut into thirds so 1 1/4 x 3 1/2 [Unbounded Beauty DSP]
Instructions:
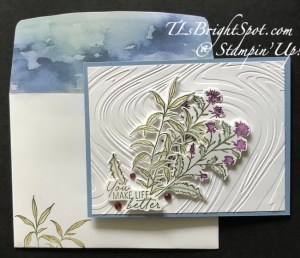
- Add DSP to layer, wrap with ribbon & secure w/ glue dot at knot
- Add this to card front w/ dimensionals
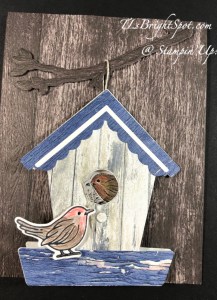
- Create die cuts and slip under ribbon, adhering w/ liquid glue (die cuts are from Flowers of Beauty Dies & cut from Summer Splash and Berry Burst card stocks)
- Stamp sentiment (Berry Burst ink using Unbounded Love stamp set); die cut (Unbounded Love Dies) and add with glue dot or dimensionals, depending on ribbon
- Add embellishments (24-26 In Color Resin Dots Pretty In Pink)

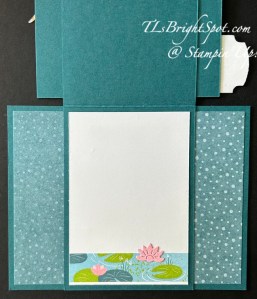
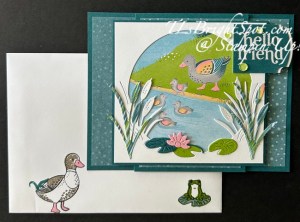
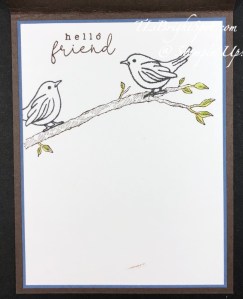
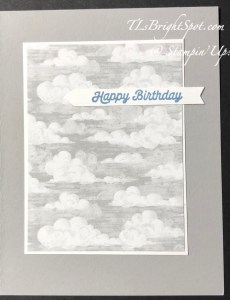
Card inside:
- Layer: 3 1/2 x 4 1/4
- Basic White: 3 1/4 x 4
Products used:
- Unbounded Beauty DSP
- Unbounded Love Bundle
- Flowers of Beauty Bundle
- Frayed 3/8″ Grosgrain Ribbon
- 24-26 In Color Resin Dots (Pretty in Pink)
- Summer Splash card stock
- Pretty in Pink card stock
- Basic White card stock
- Inks: Berry Burst (front), Pretty in Pink & Summer Splash
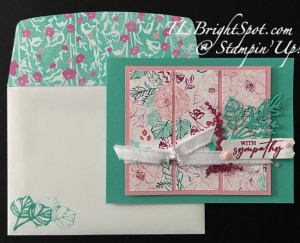
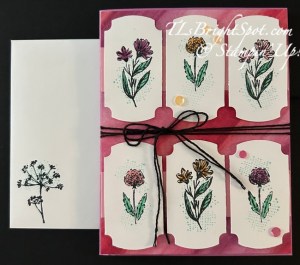
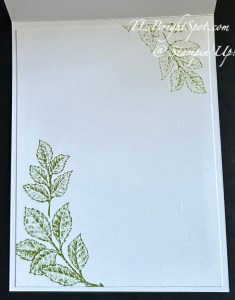
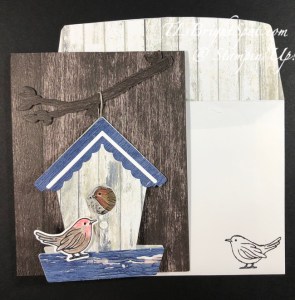
Envelope… more Unbounded Beauty DSP on the flap trimmed to fit; leaf from Flowers of Beauty stamped in Summer Splash full strength and then second generation.
And there you have it – all done! Change up the color of card stock, DSP, ribbon, die cuts and it becomes an entirely different card!
Now – on with the hop – see what the others have created. Click on the ‘next’ button or a particular name n- but don’t miss anyone :O) Enjoy!

Shop with me to earn fringe benefits to my customers: free tutorial of the month and a FREE Stampin’ Up! item valued to $10 – all for a $50 order, before shipping and taxes. Use my current host code to receive those benefits – especially when your order does not exceed $150. Make certain my name is listed as your demonstrator when checking out! :O) Shop here with me!
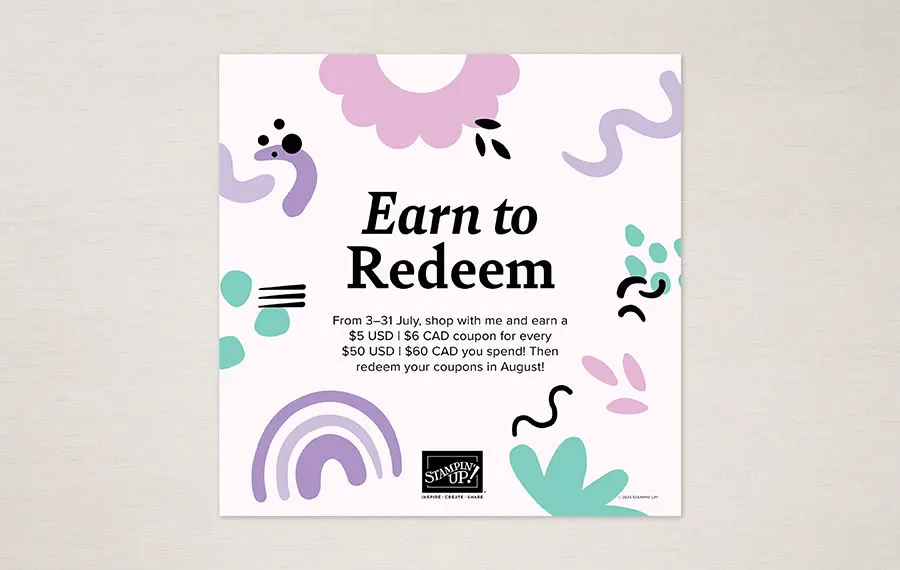
Bonus Days are an exciting time of receiving $5 coupons for every $50 purchase. Below are ALL the details for this Stampin’ Up! promotion. Are you ALL IN? I certainly hope so, ‘cuz I certainly am. So make that order $100n and receive two (2) coupons totalling $10 to be redeemed in August!
PROMOTION DETAILS
Earning Period: 3–31 July 2024
Ordering Deadlines
Phone: 31 July 2024 at 6:59 p.m. (MT)
Online: 31 July 2024 at 11:59 p.m. (MT)
- All order types qualify for this promotion. Phone and email orders still require an email address.
- Orders started before the promotion begins will not count toward earning coupon codes. For example, if you add items to your cart before 3 July and wait to purchase until that date or later, then those items will not qualify towards earning coupons. You must add items to your cart and complete your purchase during the earning period.
- There is no limit to the number of coupon codes participants can earn per order or throughout the duration of the earning period.
- Coupon codes can only be earned on commissionable items. Non-commissionable items (such as catalogs) do not count towards coupon earnings.
- Customers must use a valid email address during checkout in order to receive their coupon code. If a customer places an order over the phone, they must still provide a valid email address to receive their coupon code.
- Starter Kit orders are excluded from this offer. All other order types qualify.
- For workshop orders, each customer who reaches a qualifying amount will receive a coupon code to their provided email address.
- All coupon codes will be emailed right after a qualifying purchase has been made. Encourage your customers to create an account on our online store.
- If a participant earns multiple codes from a single order, they will receive one email with multiple codes. If they earn multiple codes from multiple orders, they will receive separate emails for each code earned.
- All order types qualify for this promotion. Phone and email orders still require an email address.
- Orders started before the promotion begins will not count toward earning coupon codes. For example, if you add items to your cart before 3 July and wait to purchase until that date or later, then those items will not qualify towards earning coupons. You must add items to your cart and complete your purchase during the earning period.
- There is no limit to the number of coupon codes participants can earn per order or throughout the duration of the earning period.
- Coupon codes can only be earned on commissionable items. Non-commissionable items (such as catalogs) do not count towards coupon earnings.
- Customers must use a valid email address during checkout in order to receive their coupon code. If a customer places an order over the phone, they must still provide a valid email address to receive their coupon code.
- Starter Kit orders are excluded from this offer. All other order types qualify.
- For workshop orders, each customer who reaches a qualifying amount will receive a coupon code to their provided email address.
- All coupon codes will be emailed right after a qualifying purchase has been made. Encourage your customers to create an account on our online store.
- If a participant earns multiple codes from a single order, they will receive one email with multiple codes. If they earn multiple codes from multiple orders, they will receive separate emails for each code earned.
- All order types qualify for this promotion. Phone and email orders still require an email address.
- Orders started before the promotion begins will not count toward earning coupon codes. For example, if you add items to your cart before 3 July and wait to purchase until that date or later, then those items will not qualify towards earning coupons. You must add items to your cart and complete your purchase during the earning period.
- There is no limit to the number of coupon codes participants can earn per order or throughout the duration of the earning period.
- Coupon codes can only be earned on commissionable items. Non-commissionable items (such as catalogs) do not count towards coupon earnings.
- Customers must use a valid email address during checkout in order to receive their coupon code. If a customer places an order over the phone, they must still provide a valid email address to receive their coupon code.
- Starter Kit orders are excluded from this offer. All other order types qualify.
- For workshop orders, each customer who reaches a qualifying amount will receive a coupon code to their provided email address
After earning those coupons, it’s important to know how to use/ redeem them :O)
Redemption Period: 1–31 August 2024
Ordering Deadlines
Phone: 30 August 2024 at 6:59 p.m. (MT)
Online: 31 August 2024 at 11:59 p.m. (MT)
Thanks for stopping by