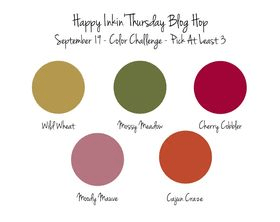
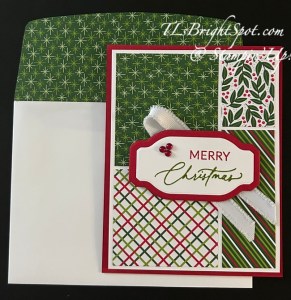
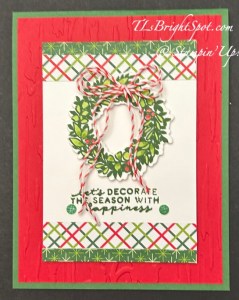
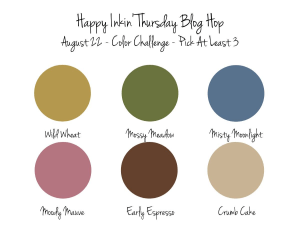
Good Thursday – and time for another Happy Inkin’ Thursday Blog Hop. We have a theme challenge today – Christmas. Love it! It could be packaging or a card or decoration. You have jumped here from the fabulous Tara or simply come here first. However you got here – welcome! I chose to use the Festive 12×12 Glimmer Paper to make my card.


This is full of glimmer and the Take A Bow 6×6 DSP, plus Spotlight on Nature Dies (one of my favorite die sets) and the Sentimental Wishes bundle.
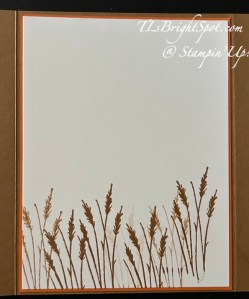
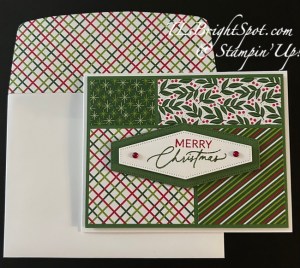
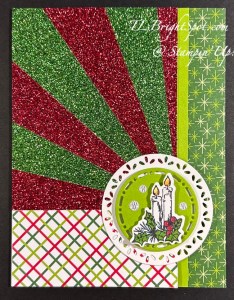
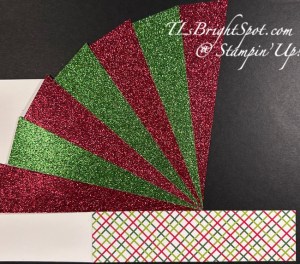
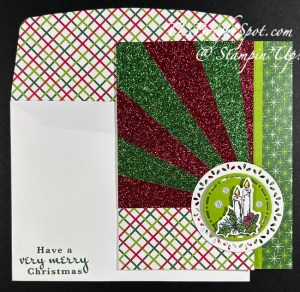
Begin with a card base 7 1/2 x 5 1/2 scored at 4 1/4. Add a panel of Take a Bow DSP on the card front on the bottom 1 1/2 x 3 1/4. Cut strips of Glimmer 12 x 12 Paper 1 x 6, then cutting diagonally to opposite corners. (These are Real Red and Garden Green glimmer papers.) Begin adding strips with the pointy tip at the edge of the card front, attaching just above the bottom panel of DSP. Keep adding until the card front is covered. It will look like the below photo. Notice the extra Glimmer at the top and excess DSP at the bottom?
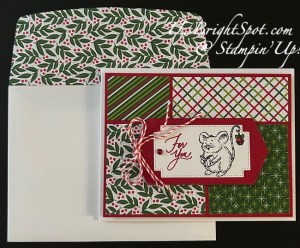
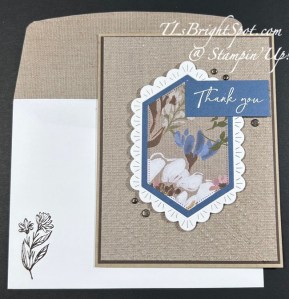
Now turn over the card front and remove excess DSP so it’s even with the card base. :O) Now create the decorated panel that will cover those pointy tips: Basic White 2 1/2 x 2 1/2, die cut circle using Spotlight on Nature Dies; die cut another circle using same die set and Granny Apple Green card stock & adhere to Basic White circle with dimensionals. Stamp this sweet candle/ greens stamp using Sentimental Wishes stamp set & Memento ink. Color with Stampin Blends – Old Olive, Real Red, Lemon Lolly with Peach Pie at the bottom of the flame. Add Wink of Stella to candle drippings and berries. Die cut with appropriate die from Sentimental Wishes Dies. Add with dimensionals. For embellishment, add Clear Ribbon Adhesive-Backed Dots. Add to card front, making certain it does not extend beyond card when closed.
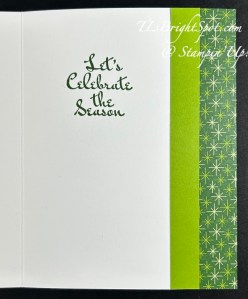
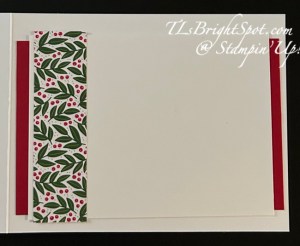
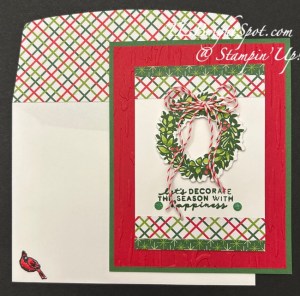
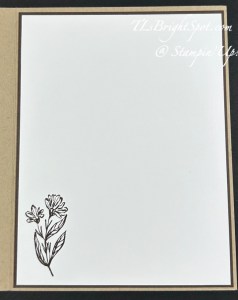
For the inside… add a 3/4 x 5 1/2 strip of Take a Bow 6×6 DSP to the outside edge of the inside of the card. Add another strip 1/2 x 5 1/2, this time in Granny Apple Green. Stamp the sentiment from Sentimental Wishes stamp set in Garden Green ink – and the card is complete!
For the envelope – more of the Take A Bow 6×6 DSP to the flap and trimmed to fit. Add the Sentimental Wishes sentiment in Garden Green ink and the card is complete! Time to count my Christmas cards… I’m pretty certain I do not have enough :O(
Please know you can shop with me anytime. See more information below! Time to see what the rest of the team have created. Follow the links to view more fabulous creations.


Today is the LAST DAY for the Stampin’ Up! Joining Promotion… take advantage of our Starter Kit Special! Those who sign up to be Stampin’ Up! demonstrators by October 31 will get $125 USD | $165 CAD $155 USD | $206 CAD worth of products in their Starter Kit for just $99 USD | $135 CAD! This offer also includes FREE business supplies and FREE shipping. Not to mention all the FUN that comes with being part of our fantastic crafting community. Join with me here…
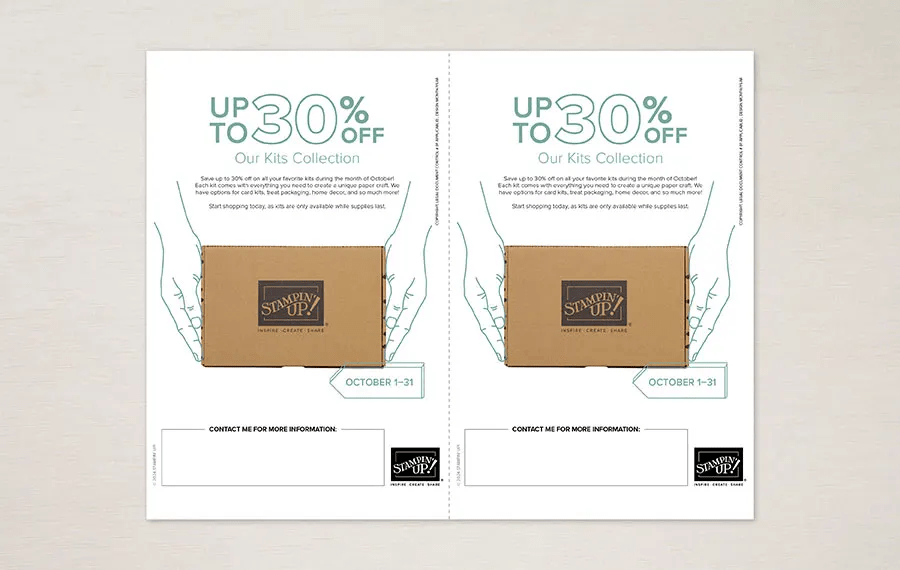
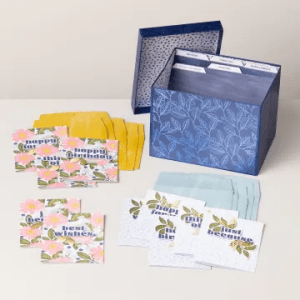
The Kits Collection Sale Ends Soon
Our Kits Collection sale is coming to an end. This the last few day for you to shop all our kits at up to 30% off. Shop our wide selection of kits before it’s too late! See the Kits Collections here.
OK – so time to order… don’t forget to use a HOST CODE FYAH4HG3 when placing a $50 order or more. This gets you a free item from me valued up to $10 for a Stampin’ Up! item – and a special tutorial for that month.
Thanks for stopping by… love to hear from you, thank you for comments shared. May you have a beautiful day!