Baby it’s cold outside. Baby it’s cold outside.When we let the dog out this morning to ‘tour’ the estate’ 😏 and check every nook and cranny, the snow was crunchy. Not only that but he didn’t stay out! He wanted right back in after taking care of business. This surprised me as he likes roaming around checking things out, just not this morning…It will be a cold walk for us once it’s daylight.
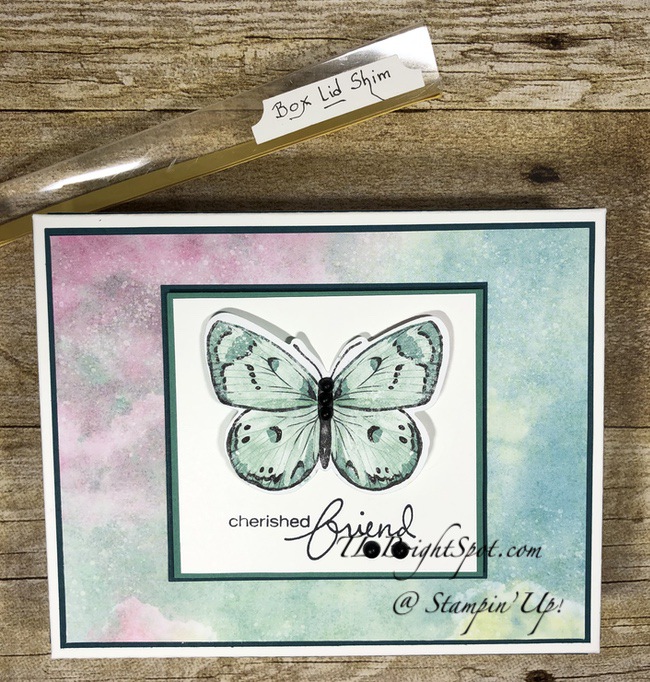
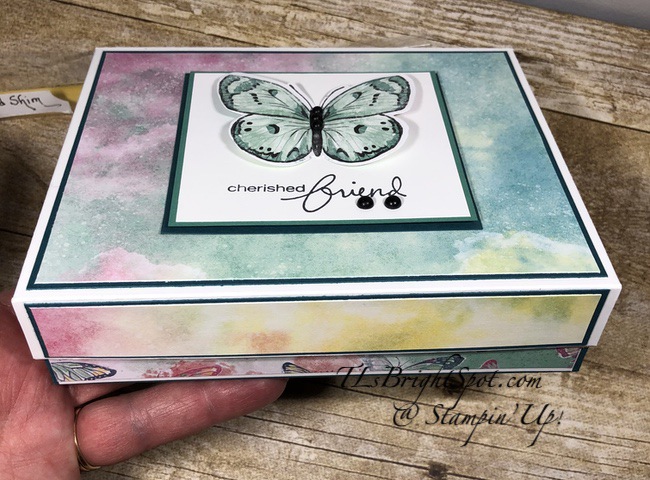
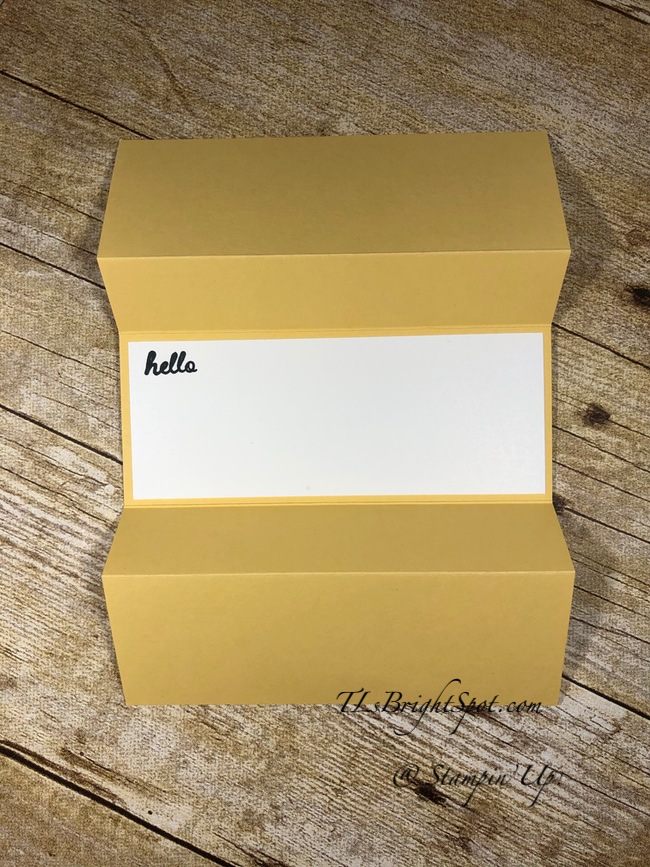
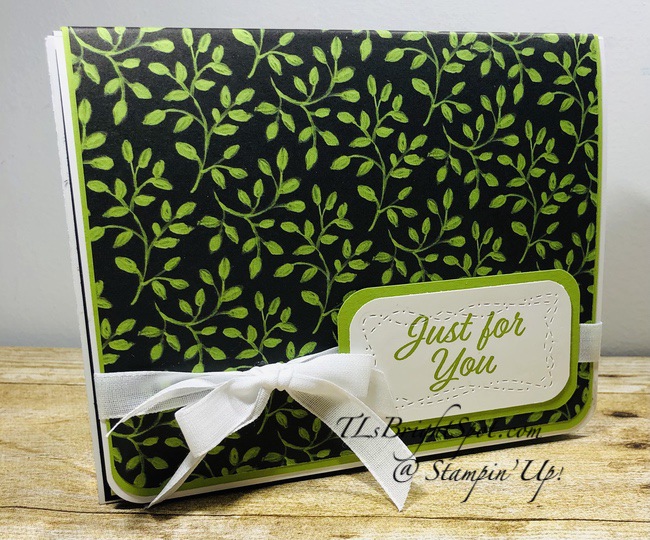
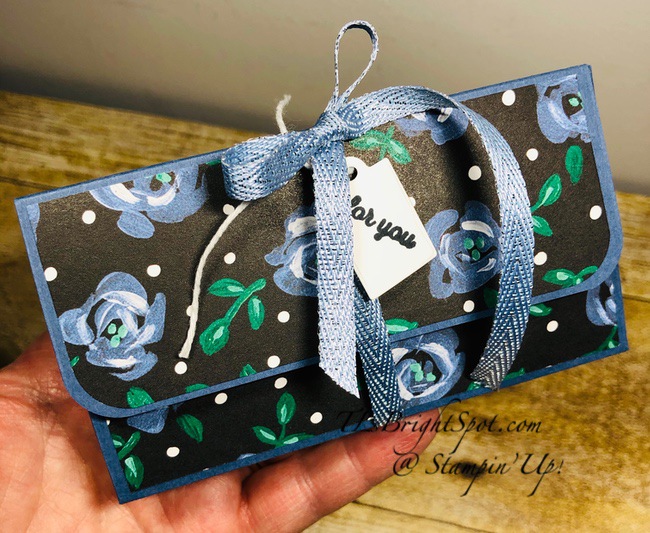
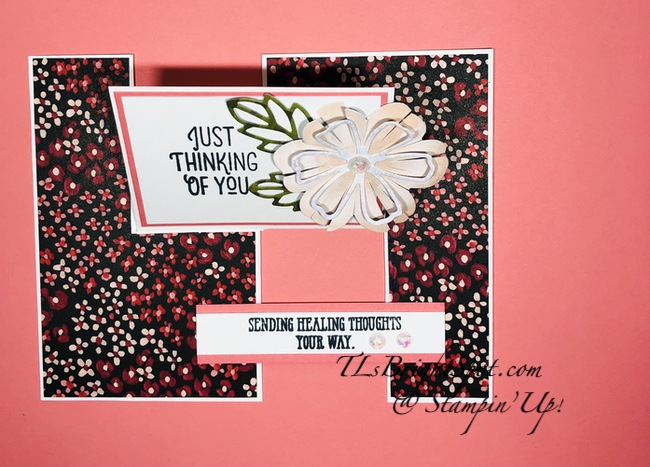
Today’s card ~ is called The Impossible card because it doesn’t seem as though it could be done, but it can – and I did. There are a couple of videos out there that I highly recommend, cuz written directions would be, well, next to impossible 🙂 And here’s the finished product.

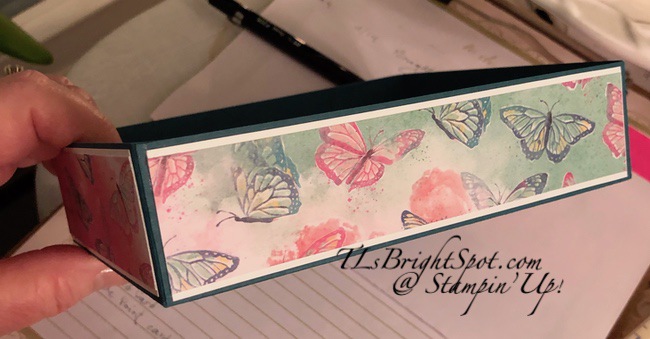
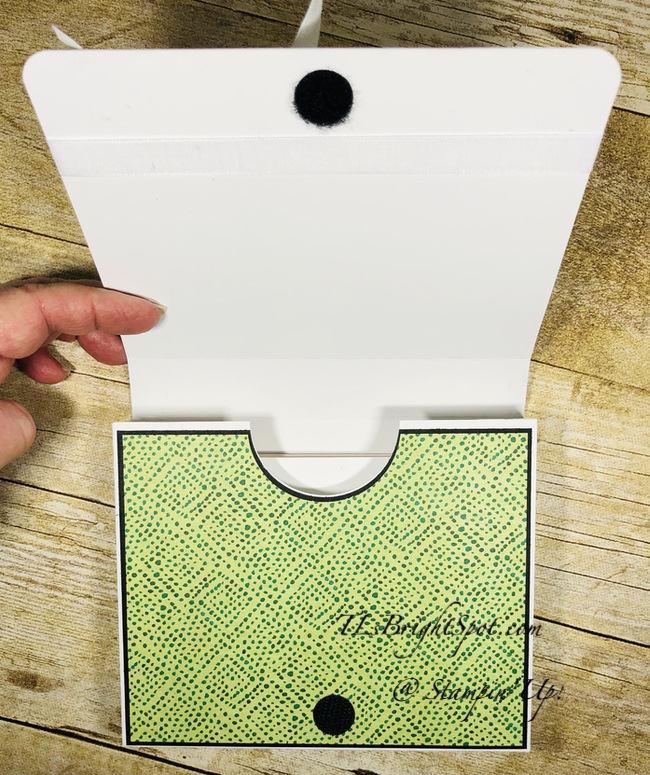
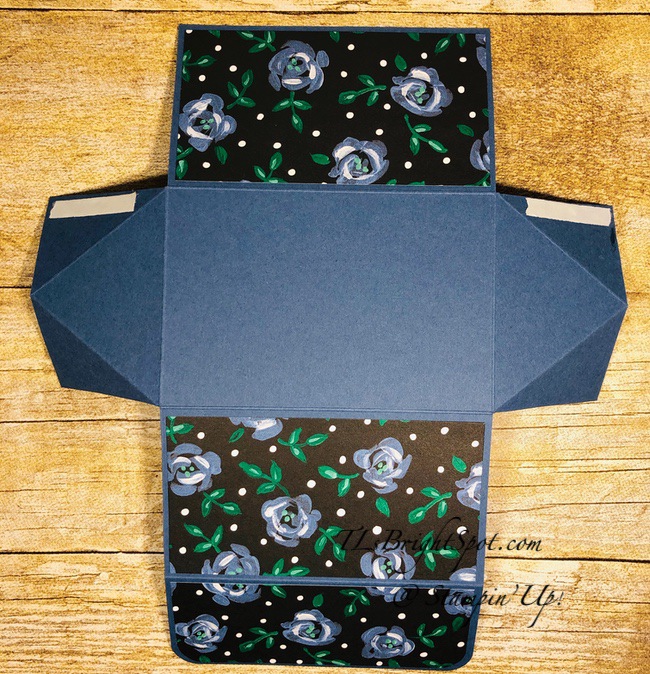
And here’s how it looks before it’s decorated.

Interesting, isn’t it? Let me give you some basic directions and if you decide to make this beauty, take a gander at a couple of videos: Jan Mansor Brown, Mary Deatherage, or May May are a few.
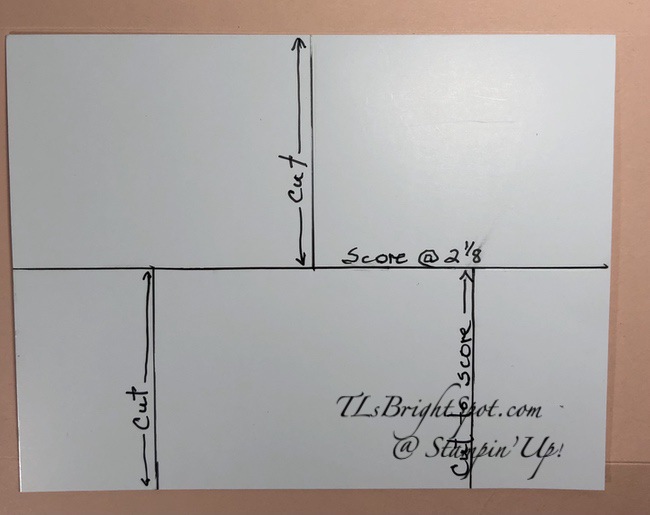
- Card base is 4 1/4 x 5 1/2: scored in half on the short side at 2 1/8.
- Turn and score on the long side at 2 3/4 JUST TO THE SCORE LINE.
- Turn the card base 180 degrees and score at 1 1/4 & 4, JUST TO THE SCORE LINE. That is 1 1/4 at each end
- Using your trimmer to make certain lines are very straight, cut on each score line.
Here are a couple of photos: one to show score lines, one with score lines cut.

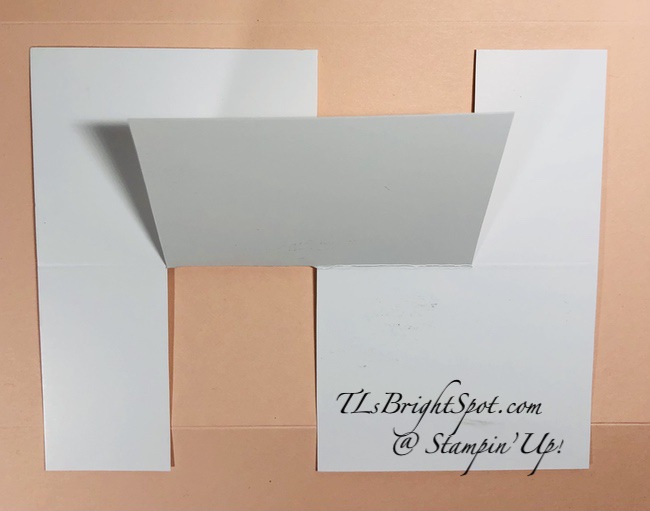
Holding the panel longways, what you have now is a piece with three (3) slits: one at top and two ‘legs’. Hold the left side of the card stock asnd rotate the other half 180 degrees and crease along the center fold, making certain edges are even. Essentially you have two ‘L’s’ with a connection. YAY! The hardest part is done. And here’s yet another photo.
Now let’s make a template to use to decorate this card base – and it will look like an L. Cut a piece 2 5/8 x 4 1/8. On the short side mark down the middle with a pencil. Turn this to the long side and mark down the middle. Look at the photo above again, and holding the piece in the portrait position, trim away the upper right quadrant. This is best done with the paper trimmer to keep lines straight but can be done with your paper snips as well. This becomes your template for decorating the card base.

Cutting pieces for this card:
- Larger sentiment panel: Flirty Flamingo 2 7/8 x 2; Basic White 2 3/4 x 1 7/8
- Sentiment panel to hold card together: Flirty Flamingo 3/4 x 3; Basic White 1/2 x 3
- Flower & Field DSP 2 1/8 x 4 1/8 (2). Trim, removing panel as shown in photo above. Remember they are opposite! I highly recommend cutting/ adhering panel one at a time to avoid a mistake. Yep – did it!
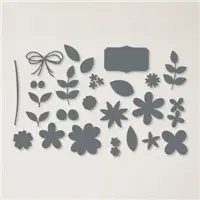
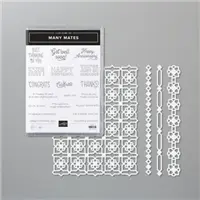
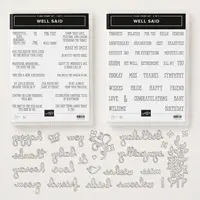
- Perennial Petals Dies for the flower, and Many Mates stamp set for the upper sentiment and Well Said stamp set for the sentiment strip. Opal Rounds for the flower and additional embellishment. I used Memento Black ink for stamping.
- The sentiment strip is what holds this card together so it isn’t floppy. It also keeps everything straight. When adhering this strip, use your grid paper to make certain everything is in alignment.
- This is a very flat card. Adhere everything together with liquid glue.
I decorated the envelope with the same DSP but did not take a photo – and it is mailed already. Here is photo again of the completed card – The Impossible card, made possible!
I do hope you try making this ~ and have fun doing it!
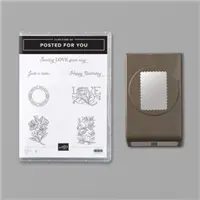
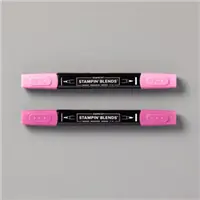
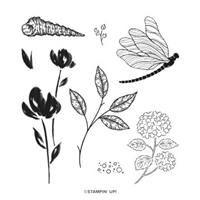
Products for todays card are from the new Jan-Jun 2021 Mini Catalog, the Sale-a-bration catalog and the 2020-2021 Annual Catalog ~ and those products are available now for purchase. You will find them in the product list below. As a reminder… I’ve made it easy for you to simply ‘add all to cart’. If I can help you in any way to order these items, or others, please give me a holler. As a thank you to my customers, when the order is between $50-$150 I offer a SU! item of your choice valued at $10. Remember to use MY CURRENT HOST CODE WZBPZ7N4- good Feb 4 – Feb 28. When the order is over $150, you still receive that free gift from me, but SU! has Stampin’ Rewards that may be used for additional products, so don’t use the host code at that time. Now is also Sale-a-bration – a time from now through the end of February when Stampin’ Up! offers FREE items with $50 and $100 purchases. Those products are shown below today’s product list as well. Happy shopping!
Now is the perfect time to become a team member of Stampin’ Up! – with your choice of items in your $99 Starter Kit (valued at $125!) you will receive five packs of new 6×6 DSP paper packs – only during Sale-a-bration though!!! Act quickly… JOIN MY Team here. Being a part of the Stampin’ community brings all kinds of fringe benefits ~ early access to new catalogs, guaranteed 20% discount on all Stampin’ Up! products, free tutorials, access to web sites that will encourage and strengthen your abilities. Join now… Again – you may do that here.


FREE product during Sale-a-bration with $50 purchase


FREE product with $100 purchase during Sale-a-bration


And if you HOST a party with $300 sales

Thanks for stopping by.
May you have a beautiful day.
Make someone happy sending them a handmade card filled with love.