Hello there… do you know what today? Besides Tue the 27th? It is one week until the 2021-2022 Annual Catalog goes LIVE…. which also means – it’s LESS THAN one week until the end of the 2020-2021 Annual Catalog. Remember there are last chance products awaiting and that sale ends May 3.
Today’s card is one I am using in a class for today. Folks will be learning tips & tricks to create SIX fun folds. They won’t be fully creating all of them, not in two hours, but they will do the folds and adhering card stock & DSP then adding sticky notes so they can finish them at home. This particular group wanted a firehose version. We’ll see how it goes – it’s a LOT in that short a time!
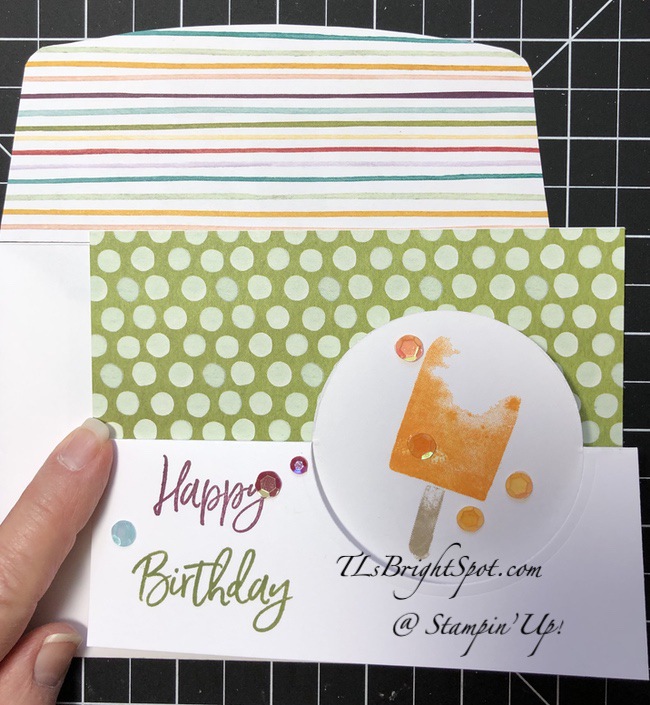
Above is the finished product. Here are two photos prior to decorating and with post-its.
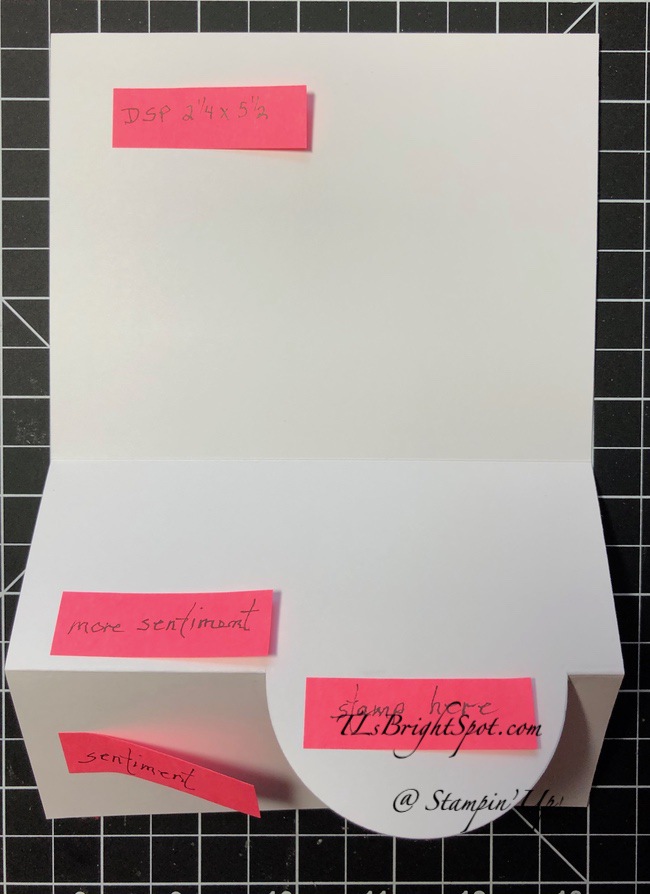
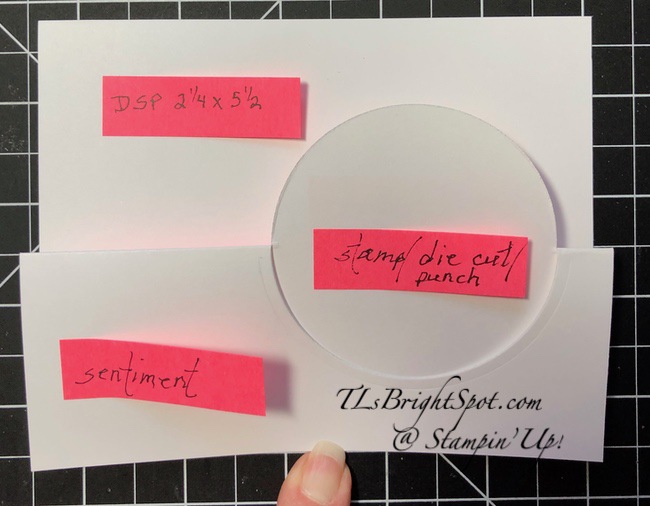
I began with a standard 5 1/2 x 8 1/2 Thick Basic White panel, scored at 4 1/4. I marked very lightly the 21/8 mark just where I wanted to die cut the circle. And of course, this doesn’t have to be a circle – it can be an oval or square or a diamond, but for this card, it’s a circle. With the marking I placed the Layering Circles die fairly close. to the right edge of the paper and placed it on the die cutting machine. In order to die cut just half the circle, place the top plate over the area to be die cut – and with the markings I knew just where that was. The neat part is, the machine will cut only where the top plate is 👍 Once removed from the machine, create the score line at 2 1/8, avoiding scoring the circle. Burnish the folds so they are mountain, valley – as shown. Now stamp and decorate!
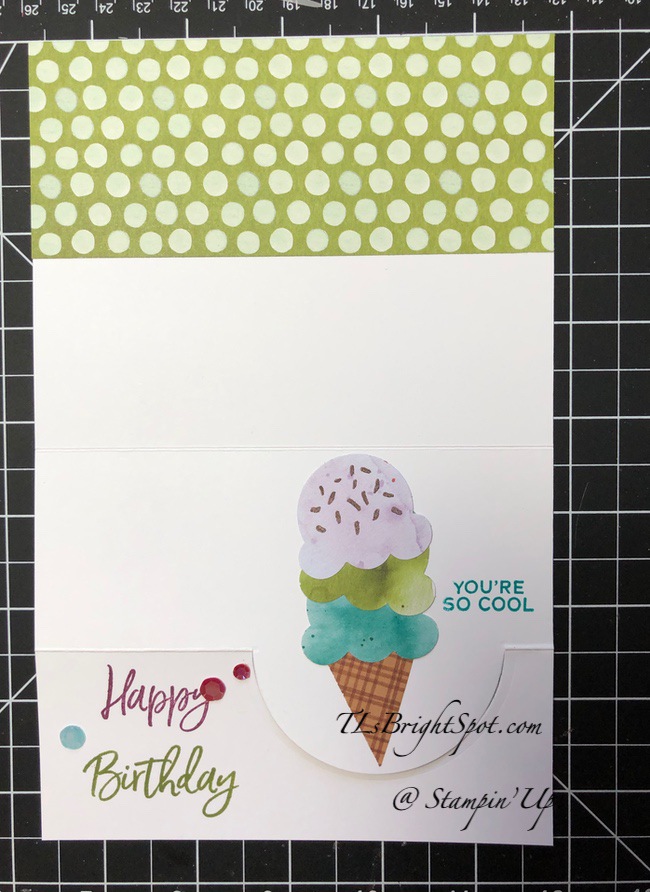
This is the ‘inside’ of the card. There’s lots of room for the sender to write something personal, yet, when the card is closed, it won’t be seen.
- The DSP is from the Ice Cream Corner DSP and can be found in the Jan-Jun Mini Catalog. It is cut 2 1/4 x 5 1/2 and adhered with liquid glue.
- The cone was created with more of the Ice Cream Corner DSP and using the Ice Cream Corner Builder Punch
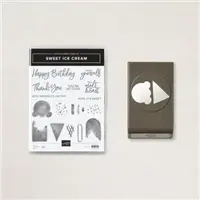
- Stamp the sentiments using the Sweet Ice Cream stamp set. I used Rich Razzleberry, Old Olive and Bermuda Bay
- Stamp the ‘sprinkles’ using Early Espresso ink
- Add Artistry Blooms Adhesive-Backed gems and this portion is complete
The front of the card is already partially done – just the circle needs decorating. I stamped the popsicle in Mango Melody ink and Sahara Sand ink and added more of the Artistry Blooms Adhesive Backed gems – and the card was done.
For the envelope I added more of the Ice Cream Corner DSP and the card was done – voila!
Products for todays project are from the 2020-21 Annual Catalog which ends May 3, and from the Jan-June Mini Catalog. They may be found in the list below. I’ve made it easy for you to simply ‘add all to cart’. 😉 If I can help you in any way to order these items, or others, please give me a holler. As a thank you to my customers, when the order is between $50-$150 I offer a SU! item of your choice valued at $10. Remember to use
MY CURRENT HOST CODE – 2HWX9GEA – good Apr 16-30
When the order is over $150, you still receive that free gift from me, but SU! has Stampin’ Rewards that may be used for additional products, so don’t use the host code at that time. If you have questions just let me know. Card cuts are listed at the bottom of this post. If you would like to be able to order products early from catalogs, join my team now… you may do that here. We have lots of fun and are a creative bunch that encourages & supports one another.


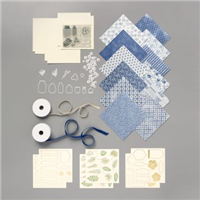
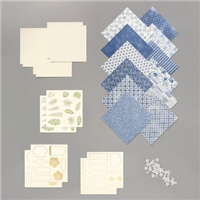
Trying some of the NEW Designer Series Paper from the 2021-2022 Annual Catalog gets you in the spirit of creating with some gorgeous papers. I’m offering a Designer Series Paper share from that Annual Catalog and it would be my pleasure to supply you! I‘ll place my share order early on May 4 and use the expedited shipping option so I should be able to have the shares cut, bundled and back out to you that very next week. Please place your order with me by May 2 @ 9 PM ET.
TLsBrightSpot 2021-2022 Annual Catalog
Designer Series Paper Shares!
New Designer Series Paper Share – $55.00 plus $7.75 for Priority Mail shipping
You will receive one 6×6 sheet of each design from the following DSP packs (the number behind the name indicates how many 6×6 sheets of that paper pack you will receive):
- Beauty Of The Earth – 6
- Bloom Where You’re Planted – 6
- Expressions In Ink Specialty – 6
- Hand-Penned – 6
- In The Wild – 6
- Pansy Petals – 6
- Simply Elegant Specialty – 6
- Sweet Symmetry – 6
- Tidings Of Christmas 6″ x 6″ – 6
- You’re A Peach – 6
- 2020-2022 In Color 6″ x 6″ – 10
- 2021-2023 In Color 6″ x 6″ – 10
- Brights 6″ x 6″ – 20
- Neutrals 6″ x 6″ – 20
- Regals 6″ x 6″ – 20
- Subtles 6″ x 6″ – 20
- Ombre Specialty – 4 (one of each color)
- 2021-2023 In Color Shimmer Vellum – 5 (one of each color)
- Gold & Rose Gold 6″ x 6″ – 2 (one of each color)
- Linen Specialty – 1
- Ombre Gift Bags – 5 (one of each color)
In all, you’ll receive 172 – 6” x 6” sheets of designer or specialty paper plus the awesome food safe gift bags!
Double DSP Share – $110 + $8 Shipping by Priority Mail – if you’d like double shares of the designer paper, I can do that as well. The designer paper sheets will be cut into 6×12 so that you’ll be able to get 3 full A2 size card fronts from each sheet (Tidings Of Christmas, 2020-2022 In color, 2021-2023 In Color, Brights, Neutrals, Regals, Subtles and Gold & Rose Gold 6×6, you’ll get double sheets of those since they’re already precut).
FREE Gift from me! – As a bonus for joining my share, you’ll get a sampling of the new host exclusive Pattern Party 12″ x 12″ Designer Series Paper!
Anyone is welcome to join in my share (please note, I can only ship to addresses within the US). If you’d like to join, either complete the form below or email the following information to tlsbrightspot@gmail.com.
- Your first and last name
- Your share selection
- The email address that is connected to your Paypal account. I only accept Paypal for payment unless you are a customer of mine. If you are a customer, I will accept payment by check. ***You do not need to have a Paypal account to pay the invoice, you can choose to pay by credit card without having a Paypal account.
Deadline to sign up for my share is Sunday, May 2 at 9:00 PM ET.
Thanks for stopping by.
May you have a beautiful day.
Make someone happy sending them a handmade card filled with love.