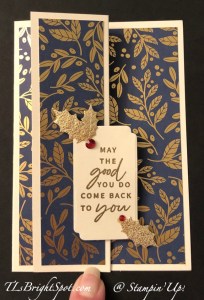
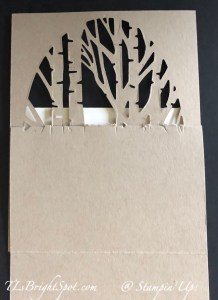
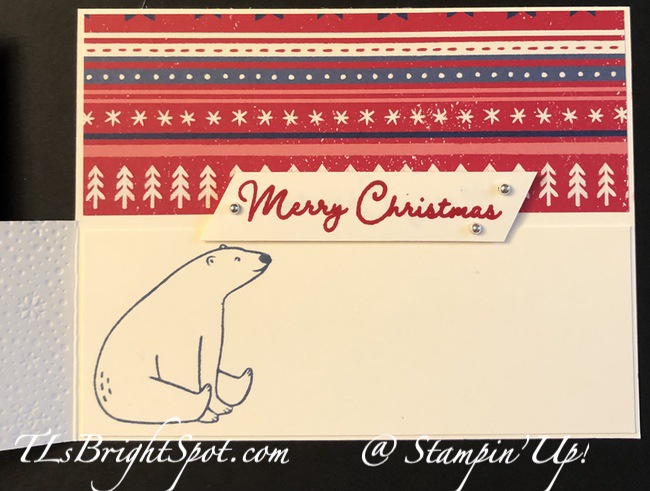
Hello Tuesday! I have a bright & fun Christmas Card for you today… made with Joy of Christmas Designer Series Paper, Wishes All Around dies and Christmas Classics stamp set.

I wanted this card to look country-ish, therefore the woodgrain and the plaid Joy of Christmas Designer Series Paper. While it doesn’t show much here, I did run the woodgrain DSP through the Merry Melody 3D Embossing Folder before adhering it. The wreath comes from Shaded Spruce card stock die cut with the a wreath from the Wishes All Around Dies. I also die cut three sprigs from Old Olive card stock with other die from this set. I attached the wreath to a Basic White circle die cut with the Deckled Circles Dies – using the 5th from smallest circle. Before adhering, I stamped the sentiment in Real Red ink using the Christmas Classics stamp set. After adhering, I added Gold Holly Leaves for a bit of sparkle. I also added a Real Red Ribbon bow from the Real Red & Garden Green Combo Pack which is attached with a glue dot. I slipped in lengths of Threaded Twine as I was tying the bow :O) Also notice the red dots – those are Pearlized Enamel Dots Effects in Real Red. They take a bit to dry & harden so it might be best to wait until the card is completed to do that step :O)

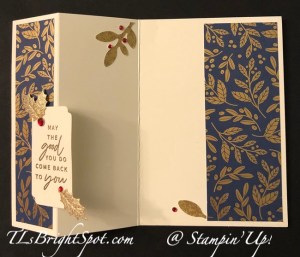
I really like the inside of the card… I stamped the pine needles in Shaded Spruce ink; the sentiments in Real Red ink and more Shaded Spruce ink. These come from the Christmas Classics stamp set – one of my favorites. This Basic White panel was added to the inside of the card: layers of Smoky Slate card stock and Joy of Christmas DSP on the Real Red card base.
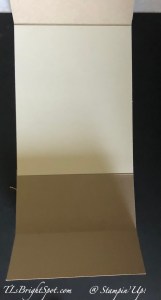
Ok – let me tell you how to make card cuts for this front flap fun fold- so easy.
- Card base is a standard 4 1/4 x 11 scored at 5 1/2.
- Remove 2 3/4 from the top portion of the card base: reserve for the front flap
- Layers for the top front of the card:
- Smoky Slate 2 1/2 x 4 1/8
- DSP 2 3/8 x 4
- Layers for the front flap
- Real Red, the removed portion of the card base
- DSP 2 5/8 x 4 1/8
- Inside
- Smoky Slate 4 1/8 x 5 3/8
- DSP 4 x 5 1/4
- Basic White 3 x 4 1/4

For the envelope, I added more of this stunning Joy of Christmas DSP to the flap & trimmed it to fit. I also stamped more of the pine fronds using Shaded Spruce ink and Christmas Classics stamp set. Isn’t this a friendly card? Who wouldn’t want to get this in the Christmas mail!
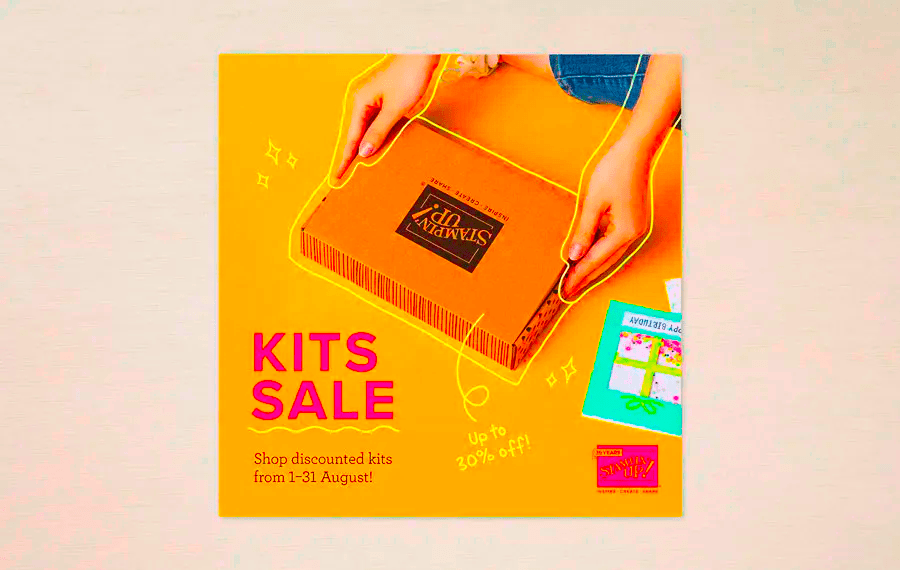
If you would like to order this or any other items, this is a link to my online store. You will find ONLINE EXCLUSIVES, Clearance Rack, Sep-Dec Mini Catalog, the Annual Catalog, kits, Paper Pumpkin – you name it. Shop at your convenience :O)
When ordering from me please use my HOST CODE 2J2X3YRM so that I receive proper notification and YOU GET THE Benefits of a FREE SU! item valued up to $10 :O) AND the Monthly Card Tutorial. If your order is over $150, please don’t use the host code as SU! has benefits. I’ll still be notified and you can receive that FREE ITEM!
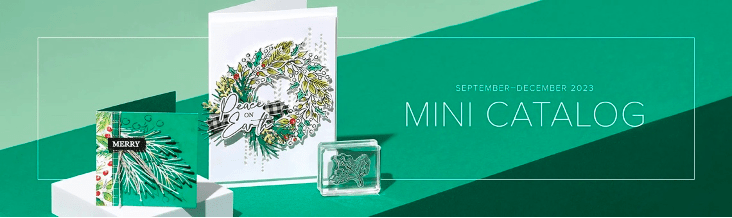
Note: Make sure that you can see my name on the final checkout page listed as your Demonstrator when you order so that you know that you’re ordering with me and you’ll get my rewards! PLUS… the monthly Online Tutorial when your oder is over $50. The October Tutorial features the beautiful Merriest Trees Bundle which can found in the Jul-Dec 2023 Mini Catalog on page 12!
Stampin’ Up! is offering an amazing deal as they are celebrating 35 years in business.

Starting Oct 3 and going through to Oct 31 is a Starter Kit Special you will not want to miss. Celebrating 35 years of Stampin’ Up!, new demonstrators will be able to choose 35% OFF the cost of their Starter Kit or get 35% MORE product with their Starter Kit.
With option 1 (35% off the normal cost of the starter kit), the new demo would receive $125 worth of products and pay $64.35 + tax. and of course, shipping is FREE.
With option 2 (35% more SU! product) the new demo would pay the usual $99 plus tax of course, and get $168.75 worth of SU! product that you get to choose! And as before – – shipping is FREE!
MORE – MORE – MORE… With either option, those who sign up for the starter kit between Oct 3 and Oct 31 will automatically get signed up for the ONSTAGE@HOME Registration, again FREE! This is a virtual event being held November 11. (Normally the cost of registration would be $77) If you join as demonstrator during the time frame mentioned, you will receive in your email, all the information necessary to attend this virtual event.
Have I intrigued you, inspired you, made you think maybe this is the time to join as a demonstrator? If so, – would love to have you. Remember, hobby demonstrator (for the 20% discount) or a business demo (at least 20% off all demonstrator orders – or more) or somewhere in between. It just doesn’t matter. What does matter is if you like to stamp, color, ink up, create – that’s where it all blends into having fun and doing it with others.
JOIN MY TEAM HERE.
BUT WAIT! There’s MORE!!
You’ll ALSO get FREE OnStage@Home Registration!
Those who sign up for a Starter Kit during this offer will also be automatically registered for FREE* to our virtual OnStage event on 11 November – that’s a $77 value! And – you don’t even have to travel – just do it from home. In your jammies, if you like!
- Those who sign up for this offer have the opportunity to watch the event independently, gathered together with other demonstrators, or with their Team Leader.
- Demonstrators who join during this promotion will be automatically added to the OnStage attendees; you won’t even need to register separately.
- Demonstrators who join during this promotion will also receive an email with all the information about this event.
Whether you’d like to start a little side business or simply take advantage of the awesome 20% discount, I would very much love for you to join my Krew team! We have a great time together – even though we live all over the country!
RUSTIC CHRISTMAS COUNTDOWN KIT

This kit includes:
- Enough supplies to create 25 individual envelopes
- Printed die cuts, printed labels, adhesive, embellishments, clothespins, and twine
- Folded envelope size: 4″ x 3″ (10.2 x 7.6 cm)
- Coordinating colors: Cherry Cobbler, Crumb Cake, Mossy Meadow, Old Olive
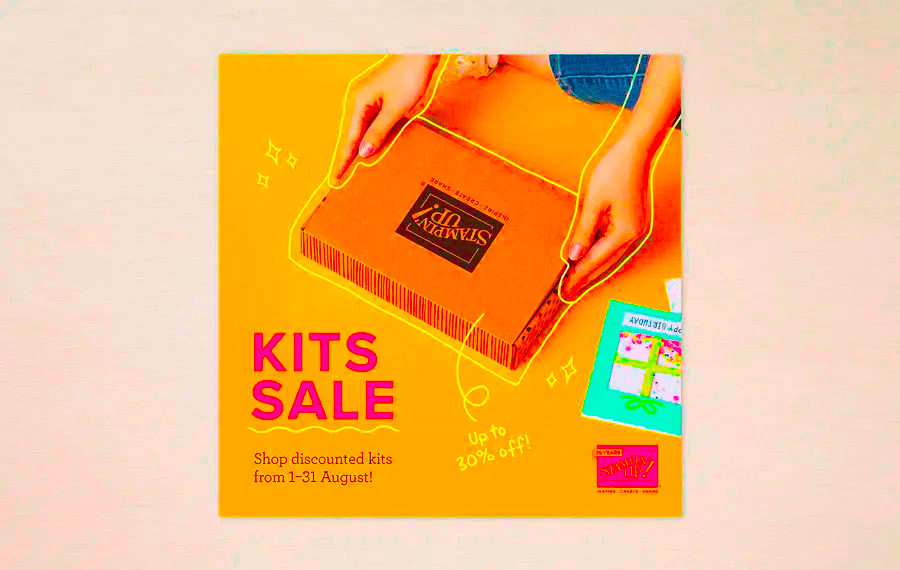
This is just one of the kits available – shop here
Thanks for stopping by. May you have a beautiful day!