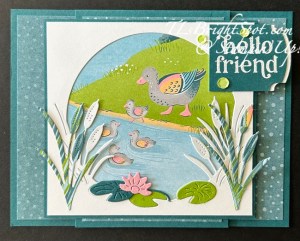
Today we have a theme challenge titled ‘birds’ and I have chosen to use the Charming Duck Pond bundle & it’s coordinating Lily Pond Lane 6×6 DSP – and made another front flap fun fold :O) For my birds – I chose to use these sweet ducks.


Oh my goodness – such a cute array of stamps and dies in this bundle. I especially like the dies! So let me explain how I did this card.
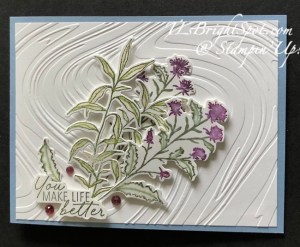
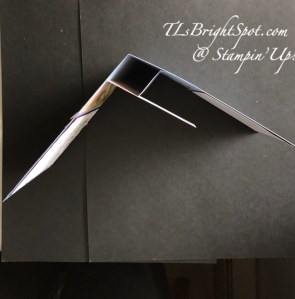
The card base is 4 1/4 x 5 1/2 in Pretty Peacock. I layered it with a panel of 4 x 5 1/4 Lily Pond Lane 6×6 DSP. I cut another piece of Pretty Peacock card stock 3 x 8 1/2 and scored it at 4 1/4. This was adhered to the card base front with the fold at the top and centered – this is the front flap fold. I decorated this first with another piece of Lily Pond Lane 6×6 DSP in the same pattern as the card front, cut 2 3/4 x 4 and adhered it in place. From a Basic White panel 4 x 3 3/4 I centered this stunning circle die that cuts & embosses the fun design. It has cattails and reeds and lily pads – perhaps you can see the embossing on the cattails from this die. I created another die cut with Granny Apple Green card stock 1 x 3 for additional lily pads – and a scrap of Pretty Peacock for one more lily pad – and a flower in Pretty in Pink card stock. I layered these in place with liquid glue. The additional reed and cattails were die cut from another piece of the Lily Pond Lane 6×6 DSP and adhered these also with liquid glue. I took yet another piece to showcase these adorable ducks & cut this 3 7/8 x 3 5/8 and adhered it to the back of the Basic White die cut. These I added to another piece of Pretty Peacock cut 4 1/8 x 3 7/8 and adhered this to the front flap. For a sentiment… I used the Labeled with Love Punch and Pretty Peacock to create the sentiment banner. I cleaned the piece with the embossing buddy then stamped the sentiment in VersaMark ink, then sprinkled with embossing powder over it and heat set with the heat tool. I punched another banner from basic White and adhered it to the back, trimmed the one end so as not to cover mamma duck and adhered it in place with liquid glue. As a final touch I added three Adhesive-Backed Shiny Sequins and the card front was complete.
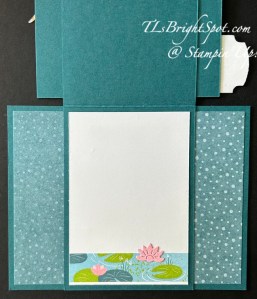
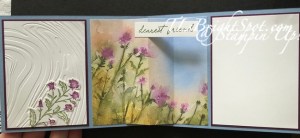
For the inside I took a piece of basic White 2 3/4 x 4 and added a strip of Lily Pond Lane 6×6 DSP, then attached this to the inside of the flap. Done!
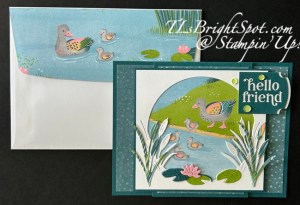
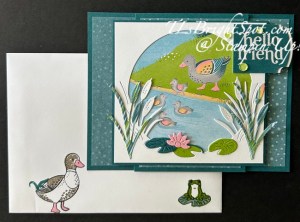
The envelope back has a piece of Lily Pond Lane 6×6 DSP adhered & trimmed to fit. The envelope front is stamped with two images from Charming Duck Pond stamp set in Memento ink, then colored with other stamps in the set: the duck… beak & feet with Pretty in Pink ink, body in Gray Granite ink, tail feathers in Pretty Peacock ink; the frog… body in Granny Apple Green ink and the lily pad in Pretty Peacock Stampin’ Blends. What a fun set! Hope you enjoy this card.
Time to check what the others have created today. If you wish to visit Carol, simply click the ‘next’ button and it will take you to her site. If you so desire to visit someone else, click on their name and off you go. Whichever you do, be sure to visit everyone! Happy Hopping!

Terry Lynn Bright – you are here!
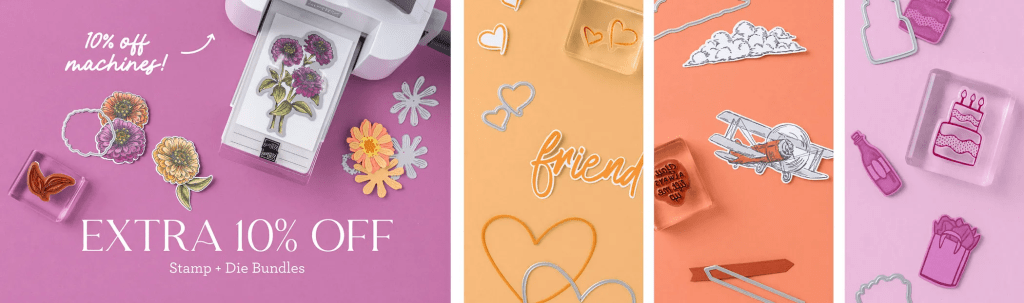
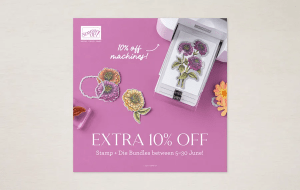
Bonus Days are an exciting time of receiving $5 coupons for every $50 purchase. Below are ALL the details for this Stampin’ Up! promotion. Are you ALL IN? I certainly hope so, ‘cuz I certainly am.
PROMOTION DETAILS
Earning Period: 3–31 July 2024
Ordering Deadlines
Phone: 31 July 2024 at 6:59 p.m. (MT)
Online: 31 July 2024 at 11:59 p.m. (MT)
- All coupon codes will be emailed right after a qualifying purchase has been made. Encourage your customers to create an account on our online store.
- If a participant earns multiple codes from a single order, they will receive one email with multiple codes. If they earn multiple codes from multiple orders, they will receive separate emails for each code earned.
- All order types qualify for this promotion. Phone and email orders still require an email address.
- Orders started before the promotion begins will not count toward earning coupon codes. For example, if you add items to your cart before 3 July and wait to purchase until that date or later, then those items will not qualify towards earning coupons. You must add items to your cart and complete your purchase during the earning period.
- There is no limit to the number of coupon codes participants can earn per order or throughout the duration of the earning period.
- Coupon codes can only be earned on commissionable items. Non-commissionable items (such as catalogs) do not count towards coupon earnings.
- Customers must use a valid email address during checkout in order to receive their coupon code. If a customer places an order over the phone, they must still provide a valid email address to receive their coupon code.
- Starter Kit orders are excluded from this offer. All other order types qualify.
- For workshop orders, each customer who reaches a qualifying amount will receive a coupon code to their provided email address.
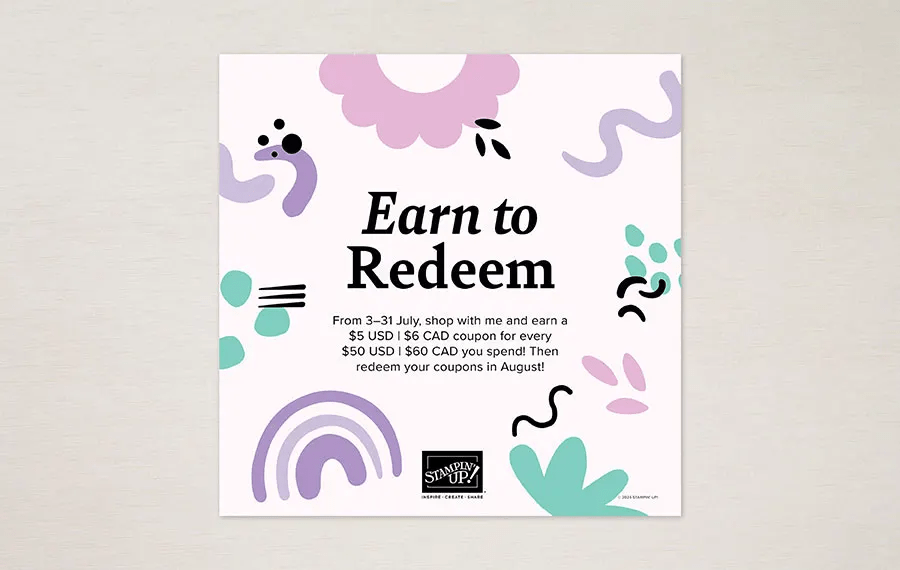
After earning those coupons, it’s important to know how to use/n redeem them :O)
Redemption Period: 1–31 August 2024
Ordering Deadlines
Phone: 30 August 2024 at 6:59 p.m. (MT)
Online: 31 August 2024 at 11:59 p.m. (MT)
- There is no limit to the number of coupon codes participants can redeem on an order during the redemption period. If using multiple codes, they must be separated by a space.
- Coupon codes may be redeemed one time only. They cannot be redeemed after the 31 August.
- Coupon codes may be redeemed for any product (excluding Starter Kits and demonstrator supply items). They cannot be used on exchanges.
- Bonus Days coupon codes can be applied to new prepaid Paper Pumpkin subscriptions.
- Coupon codes will reduce the commissionable amount of an order
Check out this video to see what Stampin’ Up! says about BONUS DAYS. Just click on the red arrow
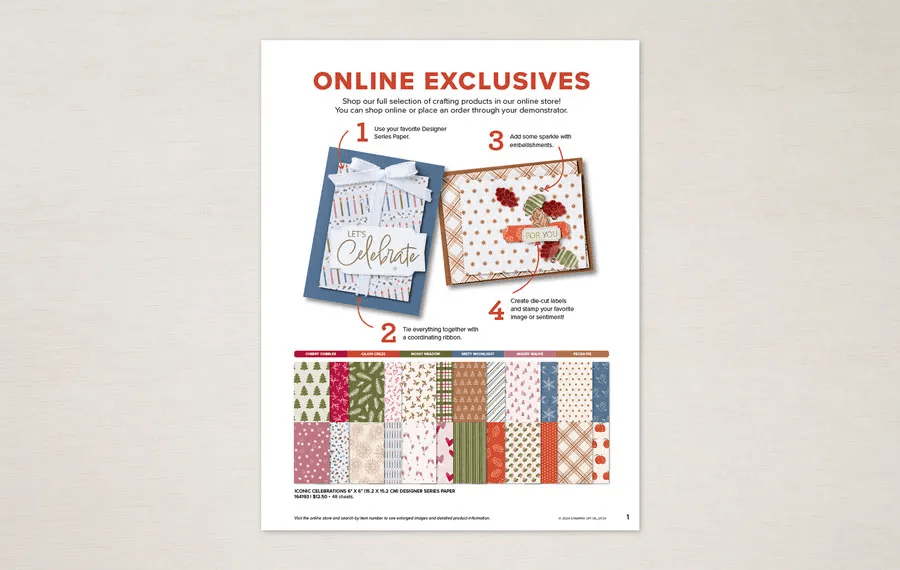
Here are some of the ONLINE EXCLUSIVE PRODUCTS AVAILABLE JUL3


Join with me by following this link...
To view all the available ONLINE EXCLUSIVES, click here.
Clearance items may be found here
While you’re looking around in my store, remember there are some stunning kits available, for all ages and all seasons – even Christmas! And while you’re shopping, I offer fringe benefits to my customers: free tutorial of the month and a FREE Stampin’ Up! item valued to $10 – all for a $50 order, before shipping and taxes. Use my current host code to receive those benefits – especially when your order does not exceed $150. Make certain my name is listed as your demonstrator when checking out! :O)
HOST CODE HFXSJCNB
Thanks for stopping by. May you have a beautiful day. Make someone happy when sending them a handmade card filled with love.