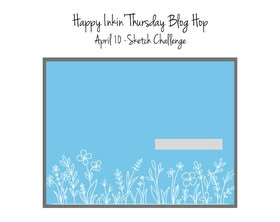
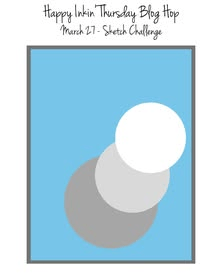
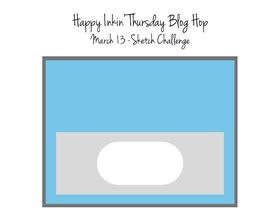
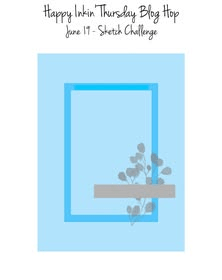
Good Thursday – thanks for stopping in to view the creations from this fabulous team of bloggers! We have a sketch challenge today as you’ll see below and I’ve chosen to use the fabulous new Painterly Pears products that will be available Jul 1 for customers in my online store.

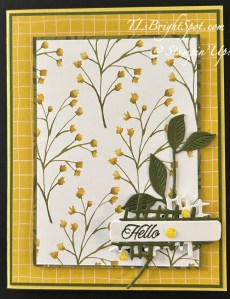
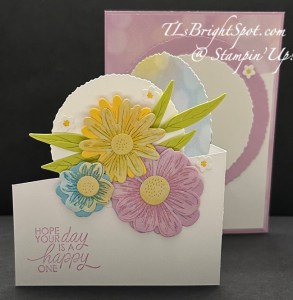
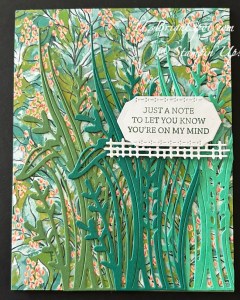
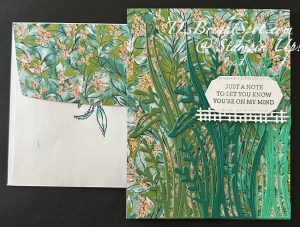
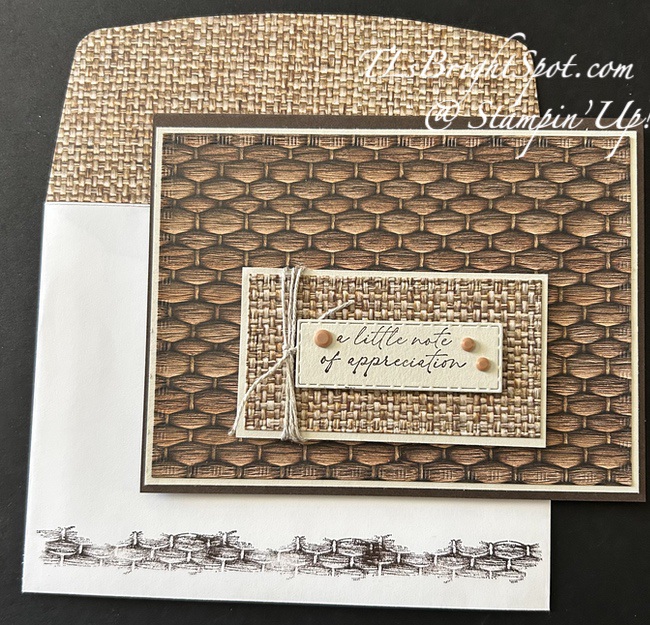
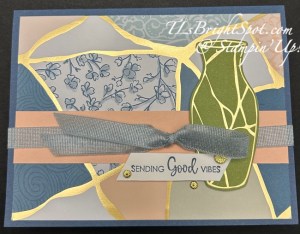
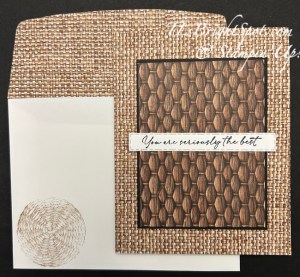
I begsn with a card base of Darling Duckling and added a panel of Mossy Meadow 4 1/8 x 5 3/8, then a piece of Painterly Pears DSP 4 x 5 1/4. I next cut a piece of Painterly Pears 3 1/8 x 4 3/8 and added it to another piece of Painterly Pear 3 1/4 x 4 1/2. I die cut this gorgeous leaf from Mossy Meadow card stock and adhered it off to the side – this comes from the Painted Pears Dies. I die cut two really fun pieces -open pieces almost like a webbing – one in Mossy Meadow and another in Basic White, also from the Painted Pears Dies. I adhered them offset & together with dots of liquid glue. i stamped the sentiment from the Painted Pears stamp set with Mossy Meadow ink on a strip of Basic White and die cut it with the coordinating dies in the Painted Pears Dies. I adhered this over the fun die cuts mentioned earlier, attached dimensionals to the back and put these in place over the leaf die cut. As a final touchnI added Low Profile Sparkle Dots in Darling Duckling.
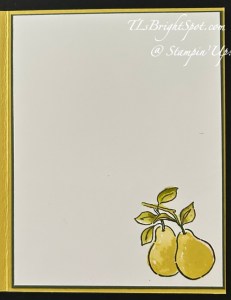
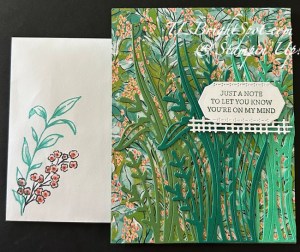
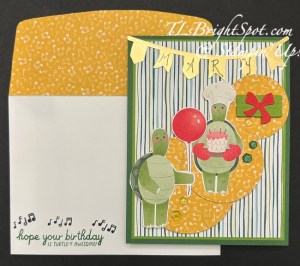
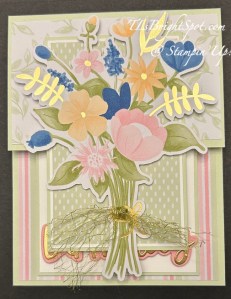
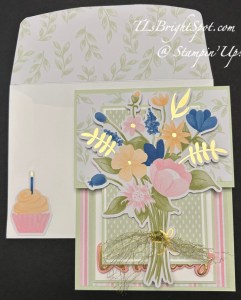
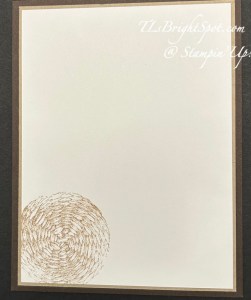
For the inside of the card… I stamped these two adorable pears using the Painted Pears stamp set and Mossy Meadow ink. I added color to the leaves with Stampin’ blends light Granny Apple Green then a bit of light Old Olive. For the pears themselves, I stamped them in Darling Duckling ink then added Wink of Stella for some glam :o)
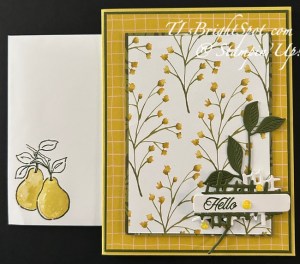
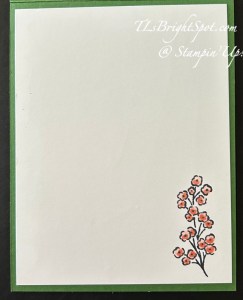
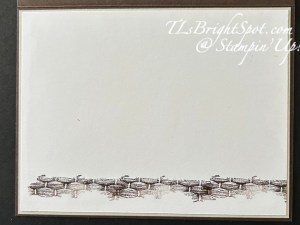
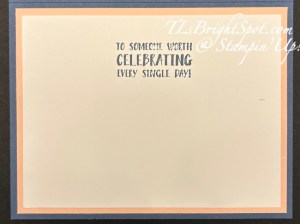
For the envelope… I again stamped the oh so cute pears in Mossy Meadow ink, then added the two-step stamp in Darling Duckling for coloring the pears. And yes, more Wink of Stella on the pears. While it doesn’t show in this photo, I did add more of the Painterly Pears DSP to the envelope flap, & trimmed it to fit.
The products to make this card are part of the Painterly Pears suite of products available Jul 1 in my online store. The only item in the suite not used is the stunning Mossy Meadow & Gold ribbon. I cannot wait to play more with this suite! One way to be able to learn about new products before everyone in the world – is to become a demonstrator. Once a demonstrator – and I’d love to have you on my team! – 20% discount on every order, 20% commission on all orders, making connections with some super fun and awesome creative folks. There are other benefits as well – like attending conventions in various states and actually meeting many of the creators. So – connect with me to learn more or join here!
O – time to see what other team members have to share on this hop today. Click the next button to take you to Amy or click on a name to visit their site. Happy hopping!

Terry Lynn Bright – you are here!
BUY ONE GET ONE 50% OFF has begun
On All SUITES and SUITE PRODUCTS!
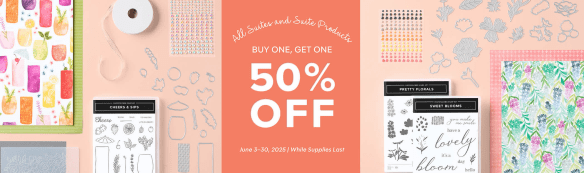
Starting June 3, all available suites and suite products from the 2025–2026 Annual Catalog and Online Exclusives are buy one, get one 50% off! If you’ve had your eye on a new suite from the annual catalog or you really like the look of a stamp set from an Online Exclusives suite, you don’t have to choose—you can get both!
Sales Period: June 3–30, 2025
Ordering Deadlines
Phone: June 30, 2025, at 6:59 p.m. (MT)
Online: June 30, 2025, at 11:59 p.m. (MT)
- All available suites and suite products from the 2025–2026 Annual Catalog and Online Exclusives are buy one, get one 50% off.
- When you shop the sale, the 50% off discount will apply to the lower-priced item (for example, if you buy a suite collection and a stamp set from a suite, the suite would be full price, and the stamp set would be 50% off).
- Suite collections are available if all items are in stock; if all items are not in stock, you can still shop the available suite products.
- You don’t have to buy a suite and suite products all from the same suite collection for the discount to apply. You can buy any suite products from any suite.
- The discount will appear in your cart once you’ve added two items within the sale parameters to your cart.
- Products are available only while supplies last.
- See and shop all qualifying suites in the online store.
SHOP LAST CHANCE PRODUCTS HERE… NEW ITEMS ADDED TO THE LIST… MAKE CERTAIN MY NAME IS LISTED AS YOUR DEMONSTRATOR WHEN YOU CHEVCK OUT! :O) REMEMBER…Browse the selection of Last Chance paper crafting products. Additional items are added every other month. These products are available only while supplies last so be sure to buy them before they are discontinued! Discounts vary and are subject to change.
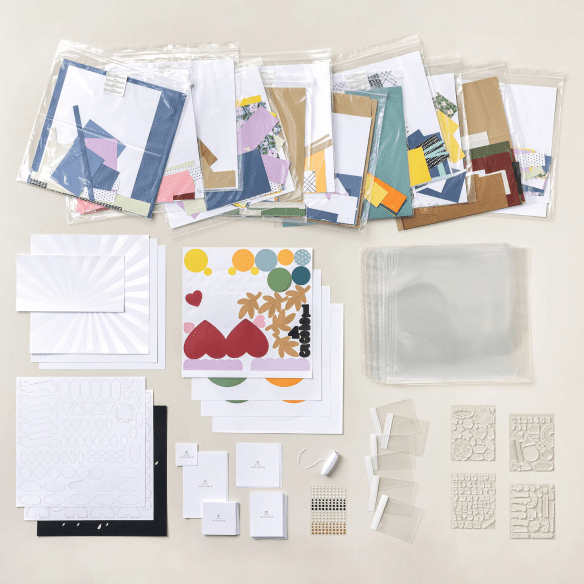
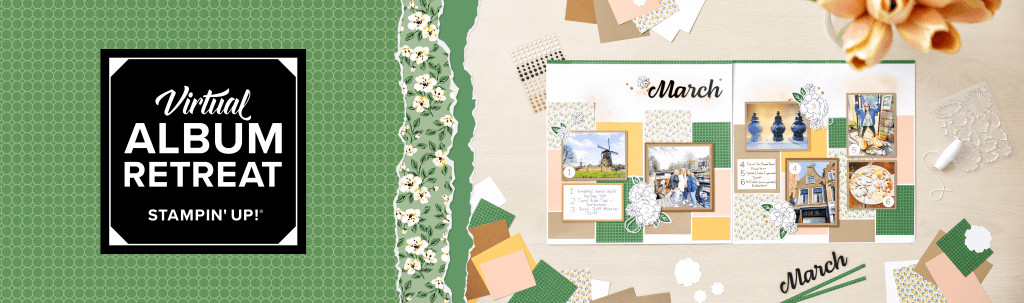
VIRTUAL ALBUM RETREAT!!!
Who: Crafters who love to scrapbook!
When: July 16–18, 2025, 2:00–10:30 p.m. (MT)
Where: Private Facebook Group
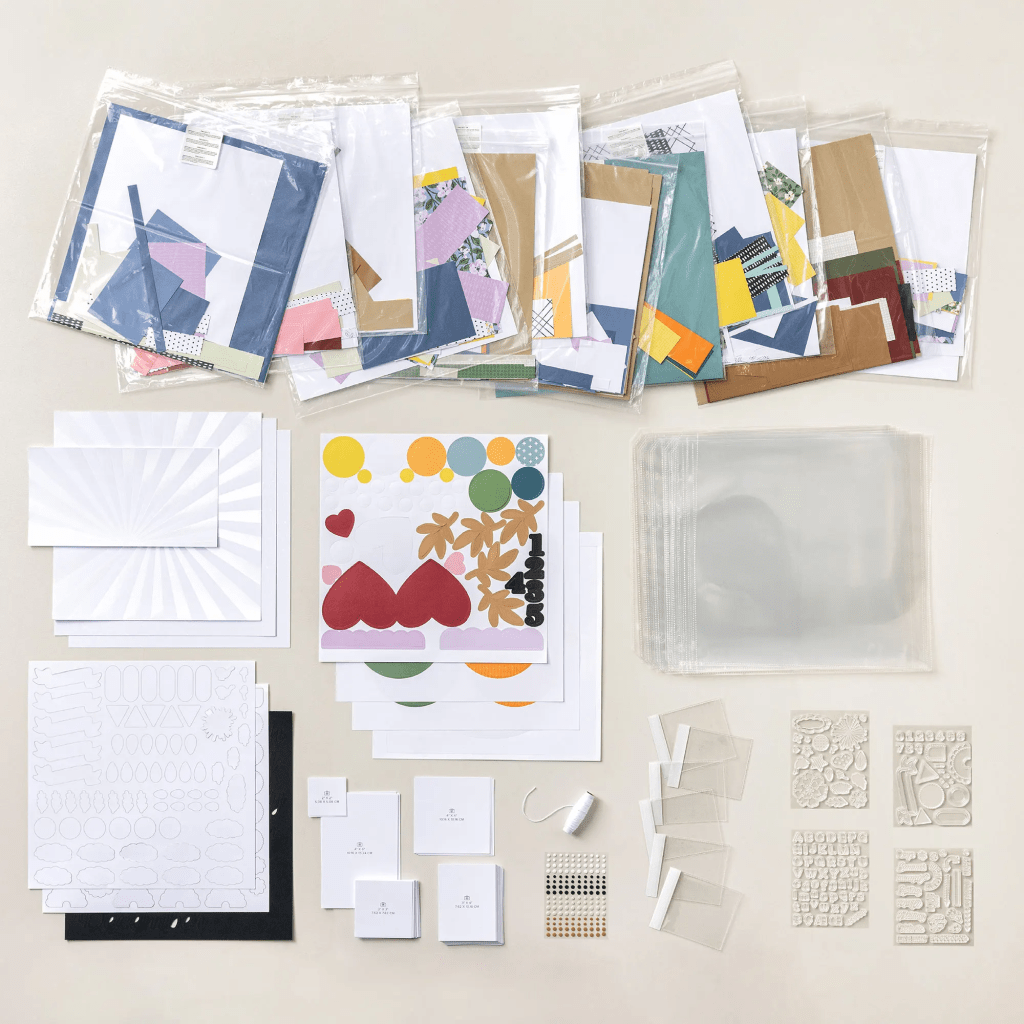
Registration: There is no registration for this event! By purchasing the Month by Month Album Retreat 2025 kit, you’ll get access to an exclusive Facebook group where the live event will stream.
Price of Month by Month Album Retreat 2025 kit: $250
Language of Event: This event will be presented in English only.
After the Event: You can access the recorded event videos on the Virtual Album Retreat Facebook group page.
CONTACT ME FOR INFORMATION RE: ADDITIONAL SUPPLY LIST
Click HERE to join with me & create your Starter Kit! What’s to lose – 20% discount/ 20% commission on all orders.
Thanks for stopping by. May you have a beautiful day. Make someone happy sending them a handmade card filled with love. ❤️
<!– /wp:paragraph — Product List![Darling Duckling 8 1/2" X 11" Cardstock [ 165622 ]](https://assets1.tamsnetwork.com/images/EC042017NF/165622s.jpg "Darling Duckling 8 1/2\" X 11\" Cardstock [ 165622 ]")
![Mossy Meadow 8-1/2" X 11" Cardstock [ 133676 ]](https://assets1.tamsnetwork.com/images/EC042017NF/133676s.jpg "Mossy Meadow 8-1/2\" X 11\" Cardstock [ 133676 ]")
![Basic White 8 1/2" X 11" Cardstock [ 166780 ]](https://assets1.tamsnetwork.com/images/EC042017NF/166780s.jpg "Basic White 8 1/2\" X 11\" Cardstock [ 166780 ]")
![Mossy Meadow Classic Stampin' Pad [ 147111 ]](https://assets1.tamsnetwork.com/images/EC042017NF/147111s.jpg "Mossy Meadow Classic Stampin' Pad [ 147111 ]")
![Darling Duckling Classic Stampin' Pad [ 165277 ]](https://assets1.tamsnetwork.com/images/EC042017NF/165277s.jpg "Darling Duckling Classic Stampin' Pad [ 165277 ]")
![Granny Apple Green Stampin' Blends Markers Combo Pack [ 147274 ] (Retired)](https://assets1.tamsnetwork.com/images/EC042017NF/147274s.jpg "Granny Apple Green Stampin' Blends Markers Combo Pack [ 147274 ] (Retired)")
![Old Olive Stampin' Blends Markers Combo Pack [ 144597 ] (Retired)](https://assets1.tamsnetwork.com/images/EC042017NF/144597s.jpg "Old Olive Stampin' Blends Markers Combo Pack [ 144597 ] (Retired)")
![Clear Wink Of Stella Glitter Brush [ 141897 ]](https://assets1.tamsnetwork.com/images/EC042017NF/141897s.jpg "Clear Wink Of Stella Glitter Brush [ 141897 ]")
![Basic White Medium Envelopes [ 159236 ]](https://assets1.tamsnetwork.com/images/EC042017NF/159236s.jpg "Basic White Medium Envelopes [ 159236 ]")
![Paper Trimmer [ 152392 ]](https://assets1.tamsnetwork.com/images/EC042017NF/152392s.jpg "Paper Trimmer [ 152392 ]")
![Stampin' Cut & Emboss Machine [ 149653 ]](https://assets1.tamsnetwork.com/images/EC042017NF/149653s.jpg "Stampin' Cut & Emboss Machine [ 149653 ]")
![Stampin' Dimensionals [ 104430 ]](https://assets1.tamsnetwork.com/images/EC042017NF/104430s.jpg "Stampin' Dimensionals [ 104430 ]")
![Multipurpose Liquid Glue [ 110755 ]](https://assets1.tamsnetwork.com/images/EC042017NF/110755s.jpg "Multipurpose Liquid Glue [ 110755 ]")
![Stampin' Seal [ 152813 ]](https://assets1.tamsnetwork.com/images/EC042017NF/152813s.jpg "Stampin' Seal [ 152813 ]")
![Bone Folder [ 102300 ]](https://assets1.tamsnetwork.com/images/EC042017NF/102300s.jpg "Bone Folder [ 102300 ]")
![Take Your Pick [ 144107 ]](https://assets1.tamsnetwork.com/images/EC042017NF/144107s.jpg "Take Your Pick [ 144107 ]")


![Textured Notes Bundle (English) [ 165556 ]](https://assets1.tamsnetwork.com/images/EC042017NF/165556s.jpg "Textured Notes Bundle (English) [ 165556 ]")
![Woven Textures 12" X 12" (30.5 X 30.5 Cm) Designer Series Paper [ 165560 ]](https://assets1.tamsnetwork.com/images/EC042017NF/165560s.jpg "Woven Textures 12\" X 12\" (30.5 X 30.5 Cm) Designer Series Paper [ 165560 ]")
![Early Espresso 8-1/2" X 11" Cardstock [ 119686 ]](https://assets1.tamsnetwork.com/images/EC042017NF/119686s.jpg "Early Espresso 8-1/2\" X 11\" Cardstock [ 119686 ]")
![Crumb Cake 8-1/2" X 11" Cardstock [ 120953 ]](https://assets1.tamsnetwork.com/images/EC042017NF/120953s.jpg "Crumb Cake 8-1/2\" X 11\" Cardstock [ 120953 ]")
![Early Espresso Classic Stampin' Pad [ 147114 ]](https://assets1.tamsnetwork.com/images/EC042017NF/147114s.jpg "Early Espresso Classic Stampin' Pad [ 147114 ]")
![Adhesive Backed Textured Dots [ 163338 ]](https://assets1.tamsnetwork.com/images/EC042017NF/163338s.jpg "Adhesive Backed Textured Dots [ 163338 ]")