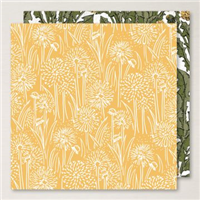
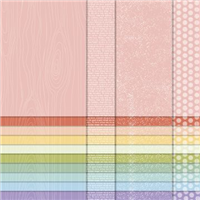
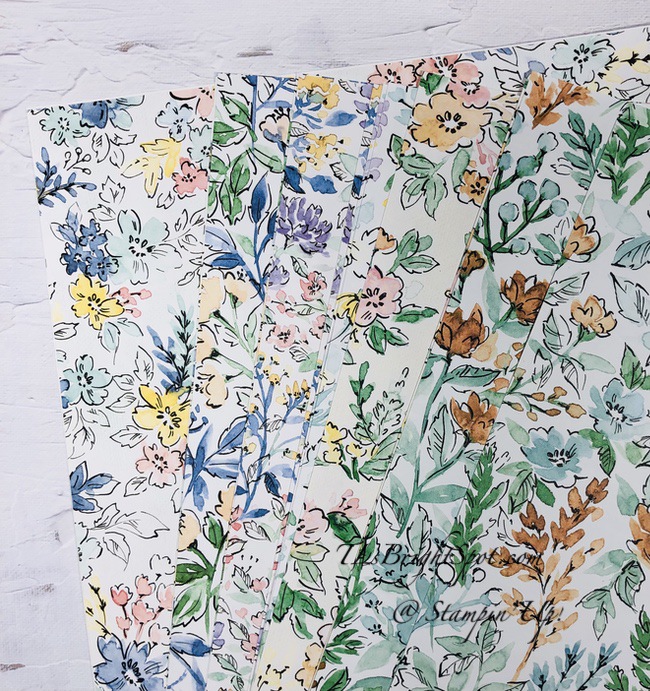
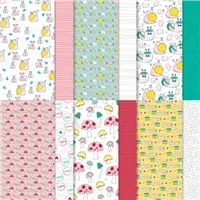
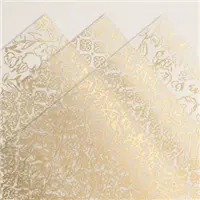
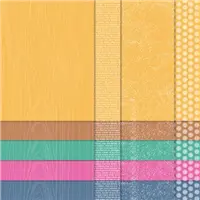
Oh my goodness, some of the Designer Series Papers are so different – and fun. I’m enjoying playing with them. Today’s card really showcases one of the new DSP packs and is a wonderful masculine card – Beauty of the Earth DSP.

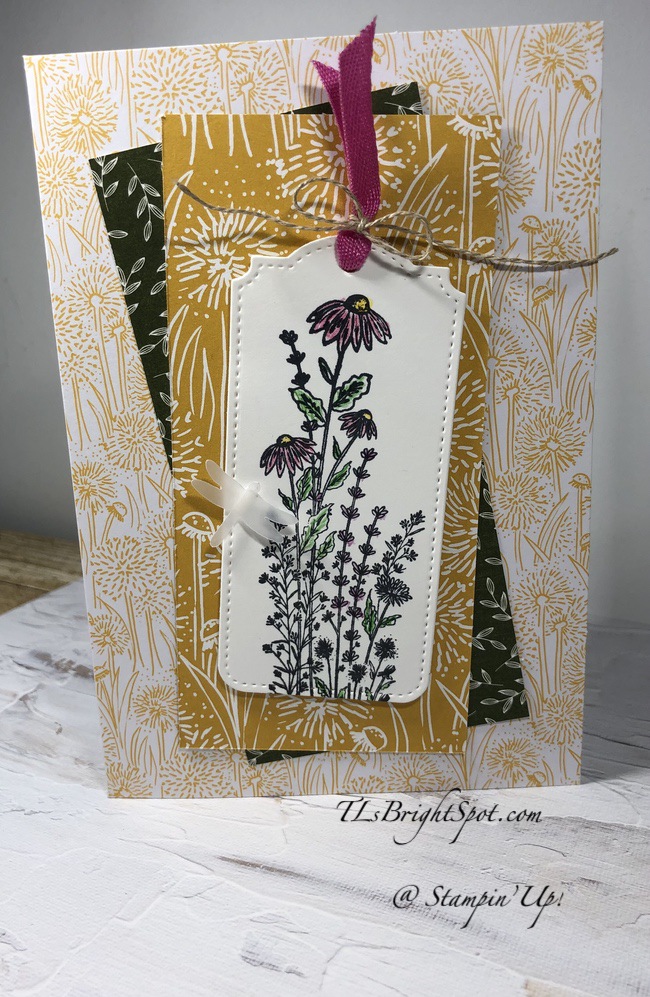
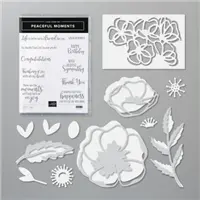
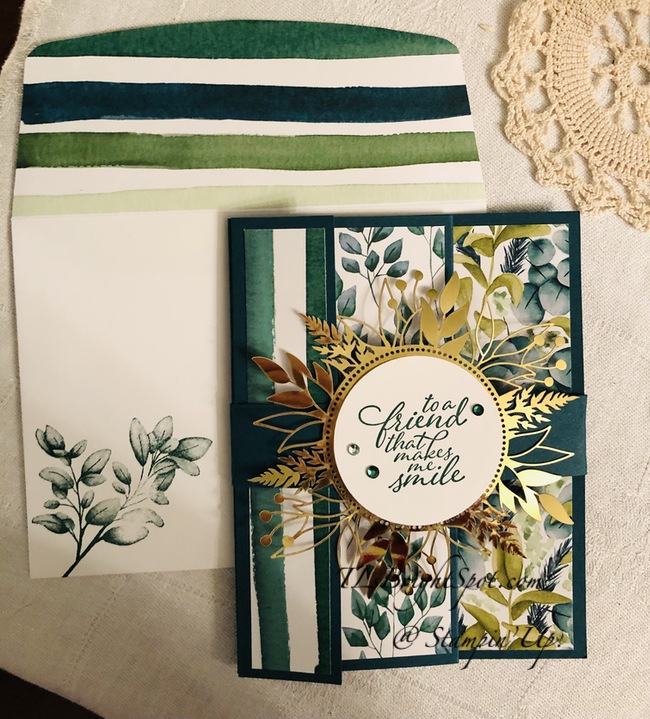
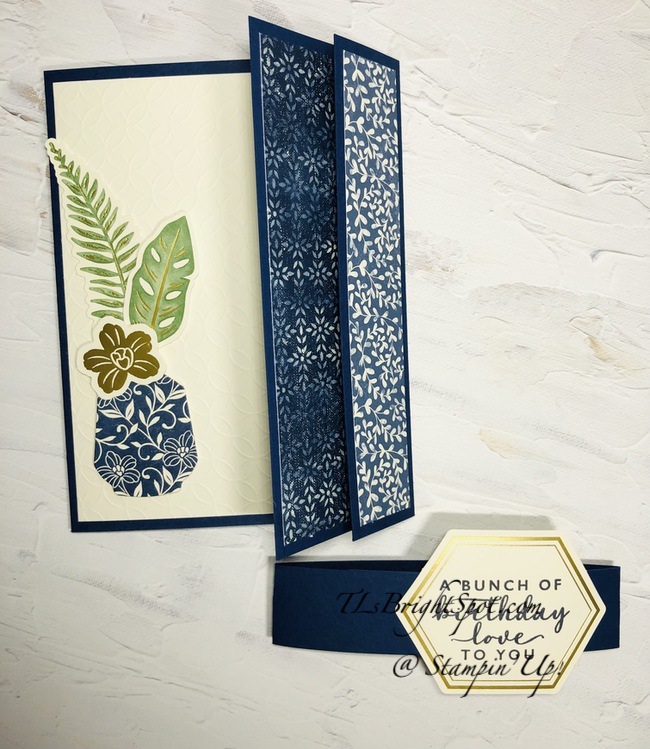
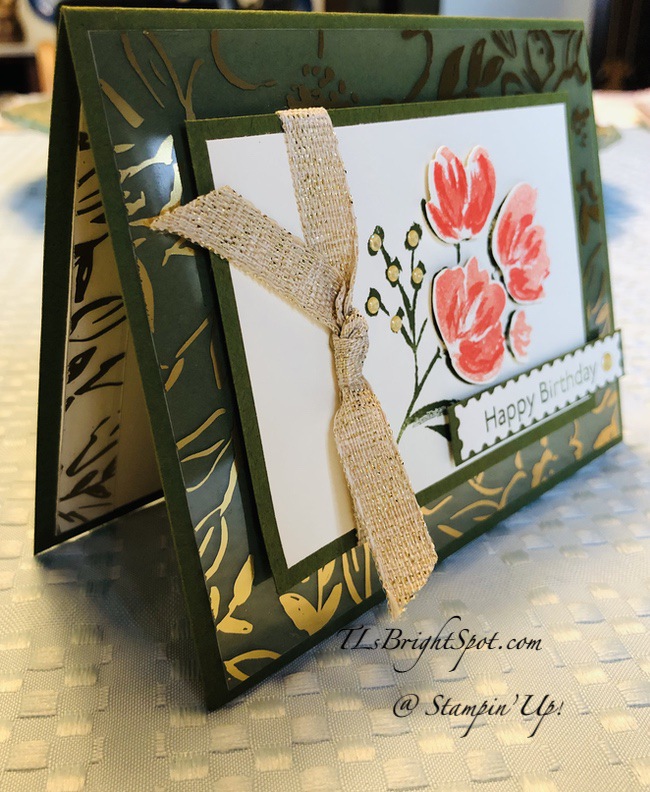
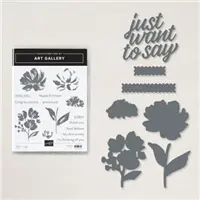
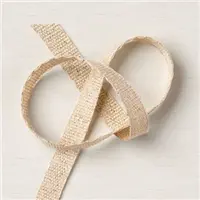
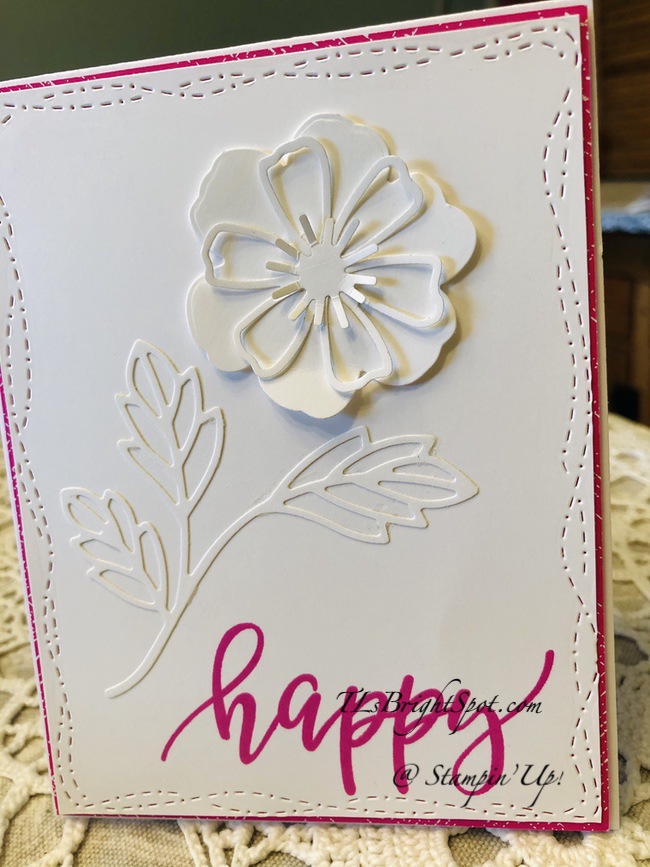
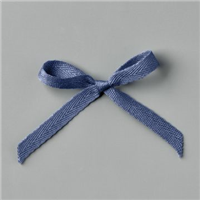
Does this look like watercolor or what?! It’s just stunning. The sentiment on the front of the card AND on the envelope come from a new bundle called Beauty of Friendship, which includes Beautiful Trees Dies. I’ve adhered the DSP to a slightly larger panel of card stock, Misty Moonlight. I wrapped the Misty Moonlight ribbon (which will be retiring soon BTW) around and tied a knot. I then stamped the sentiment from the Beauty of Friendship stamp set in Misty Moonlight ink on a Basic White scrap and die cut it with one of the dies from the Beautiful Trees Dies. I put dimensionals on the back and adhered it over the ribbon. I put dimensionals on the back of the larger panel and adhered it to a Basic White Thick card stock base. Voila – the card front is done.

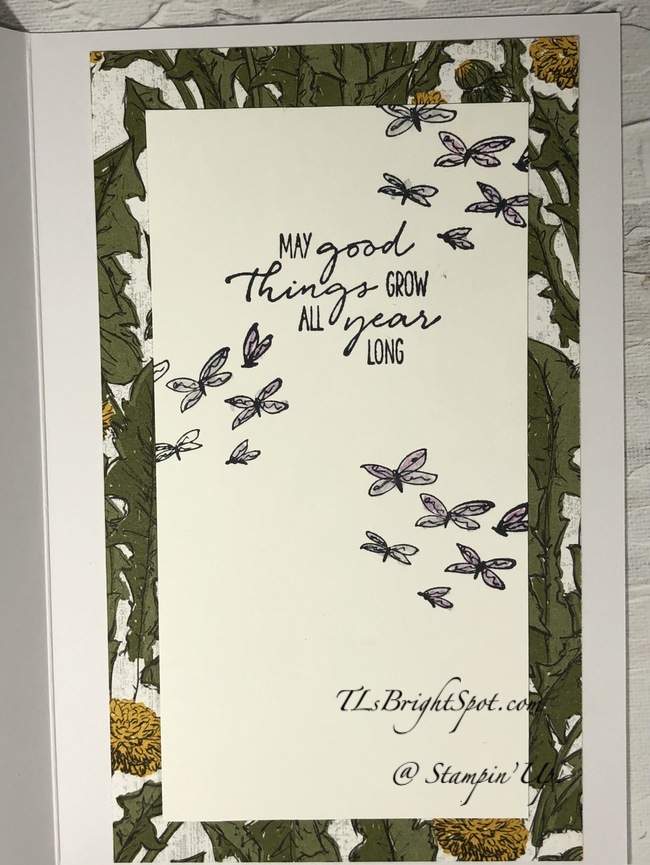
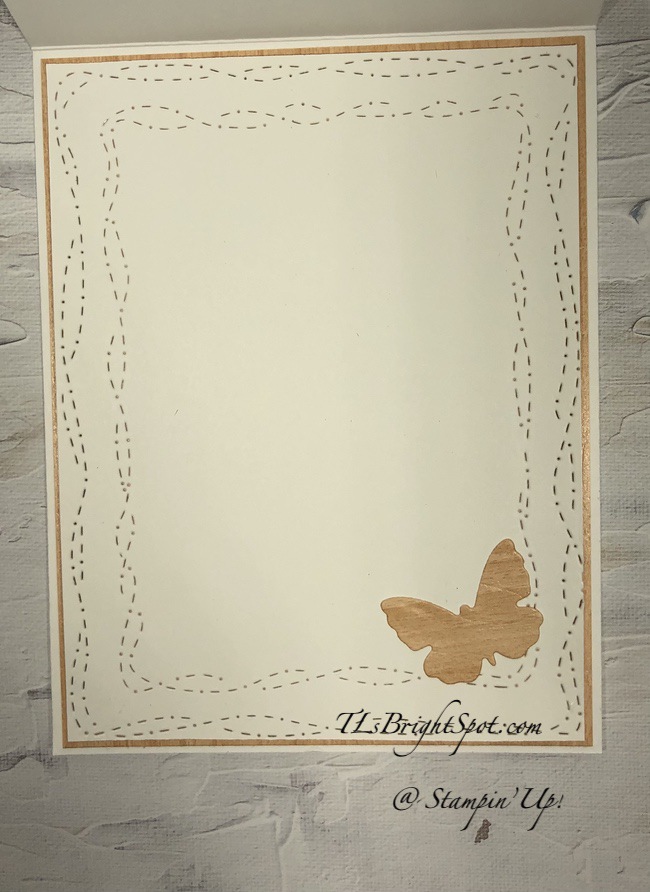
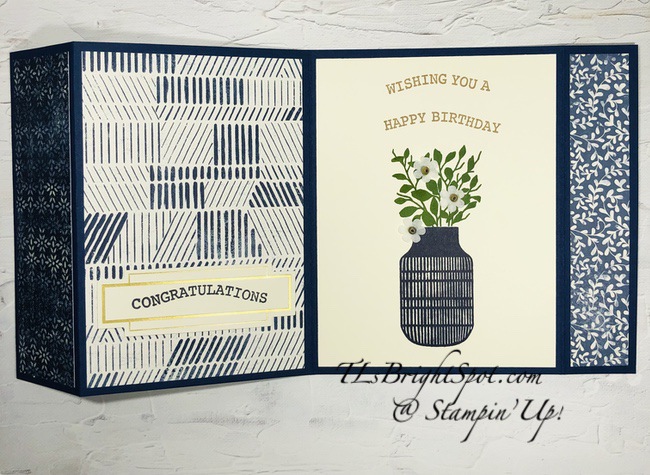
This is a beautiful tree outline that is part of the stamp set Beauty of Friendship and I have stamped it in Crumb Cake ink. I have also added a thin strip of the Beauty of the Earth DSP to the Basic White panel. This was adhered to a slightly larger panel of Misty Moonlight card stock and the card was complete! It is simple, it is beautiful and it is masculine.

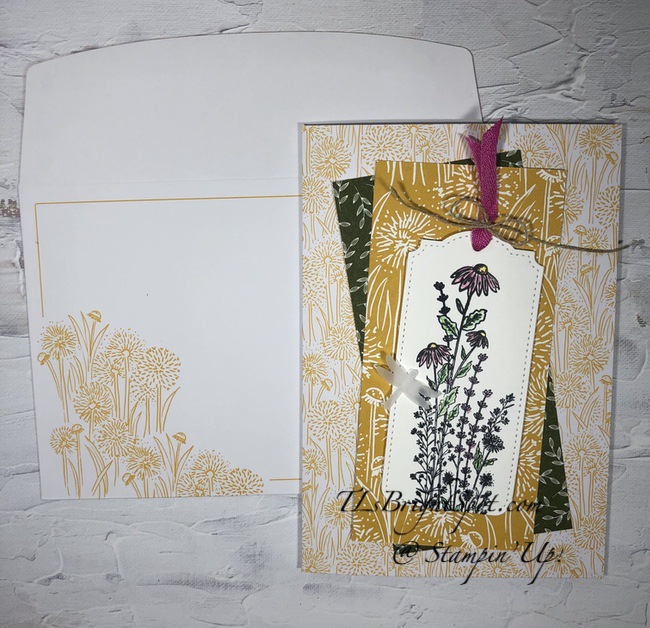
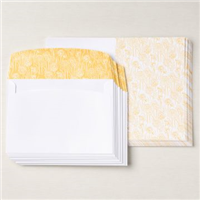
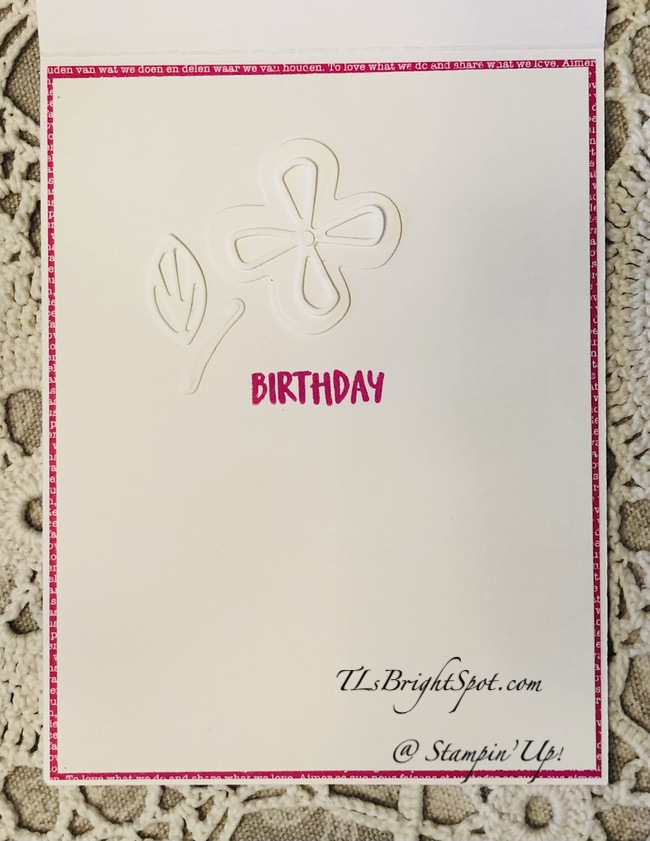
For the envelope I adhered a panel of the same Beauty of the Earth DSP to the envelope flap and trimmed it to fit. I stamped the single word ‘Hello’ in Misty Moonlight ink from the Beauty of Friendship stamp set and the card is ready to go. This can so easily be a card of encouragement.
Products for today’s card are mostly from the upcoming 21-22 Annual Catalog – to get you excited about what’s to come. I will be offering a paper share this time around and will have that information available in tomorrow’s post. I can’t wait for you to see them in person!
Products for todays card may be found in the list below. I’ve made it easy for you to simply ‘add all to cart’. If I can help you in any way to order these items, or others, please give me a holler. As a thank you to my customers, when the order is between $50-$150 I offer a SU! item of your choice valued at $10. Remember to use MY CURRENT HOST CODE – 63SXY3X6– good April 1- 15 . When the order is over $150, you still receive that free gift from me, but SU! has Stampin’ Rewards that may be used for additional products, so don’t use the host code at that time. If you have questions just let me know. Card cuts are listed at the bottom of this post. If you would like to be able to order products early from catalogs, join my team now… you may do that here. We have lots of fun and are a creative bunch that encourages & supports one another.
Remember that Stampin’ Up! has lots of wonderful items on their retired list.
SHOP EARLY BEFORE ITEMS ARE SOLD OUT! Sale ends May 3.


Card cuts:
Basic White Thick card stock 4 1/4 x 11 scored at 5 12
Basic White 3 1/2 x 4 3/4 + scrap for sentiment
Designer Series Paper (Beauty of the Earth) 3 1/2 x 4 3/4; 2 1/4 x 6 (envelope) + 1/4 x 3 1/2 strip
Misty Moonlight card stock 3 5/8 x 4 7/8 (2)
Thanks for stopping by.
May you have a beautiful day.
Make someone happy sending them a handmade card filled with love.