
Are there ever some colors you wouldn’t think of putting together and yet – kabamm – they are awesome! Today’s card features Mossy Meadow & Calypso Coral combo that I really, really like!
But first – Spring is in the air here on the East coast… Helebores or Lenten Rose as some folks call them, are up and beautiful… and I just have to share… Daffodils, Jonquils, crocus are up and in full bloom as well, but Helebores are special. 🙂

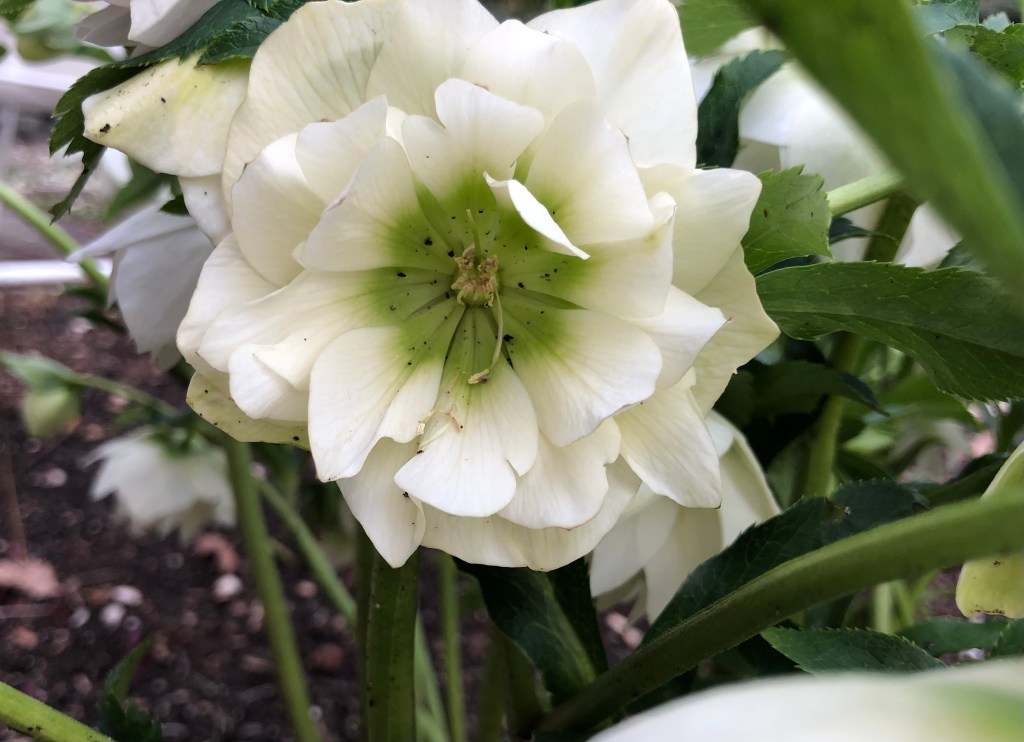

Are these gorgeous or what! Pretty soon – well, in a few weeks really – they will be enveloped by the large Hostas that surround them. They are one of the first bloomers of Spring and thrive in. the cool temps this season provides.
OK – the project for today…

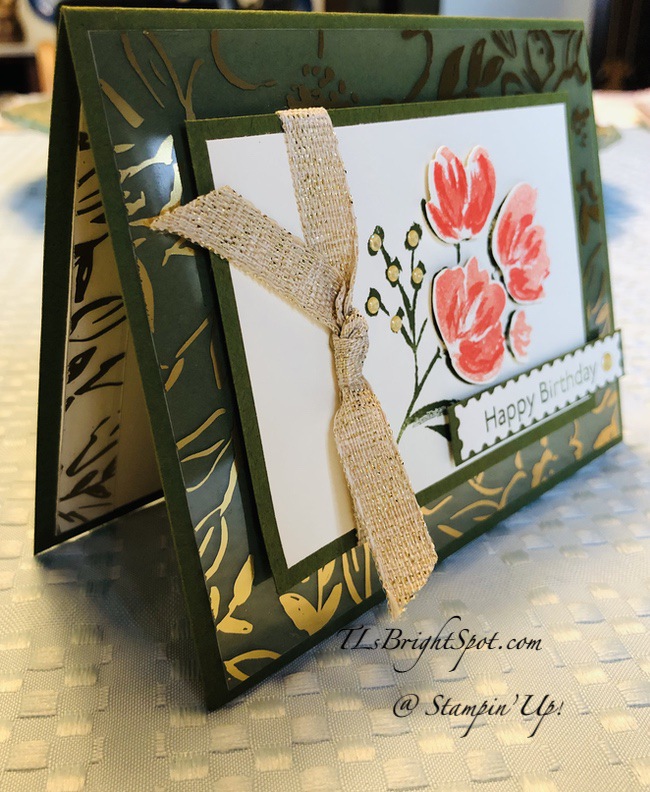
This photo does not show how stunning this card really is – or maybe I should use the word elegant. It’s subtle due to the Mossy Meadow card base, and elegant with the use of the Golden Acetate DSP and contrasting flowers in Calypso Coral ink. The Fine Art 3/8″ ribbon and Gold Glitter Enamel dots just really pull this all together. LOVE IT! To give credit where credit is due, this was part of our team tutorial and created by a team member Sue Prather – thank you Sue!
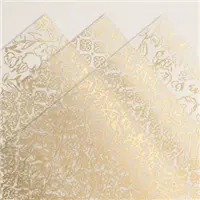
The card base as I mentioned earlier is Mossy Meadow card stock. I adhered the Golden Acetate DSP to the front of the card with Stampin Seal, just in the center of the acetate. This will be covered by the next layer.
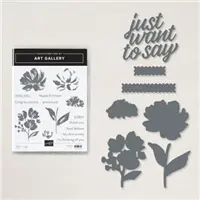
Stamp the small floral bouquet from the Fine Art Gallery stamp set in Mossy Meadow ink onto a panel of Very Vanilla card stock. On a smaller panel of Very Vanilla, stamp the same floral bouquet in stamped-off once Calypso Coral ink. Now stamp the floral filler with full strength Calypso Coral ink to create the wonderful contrast. Die cut the bouquet with the appropriate dies from the Floral Gallery Dies, then snip the flower heads off the stem and trim as necessary. Fit over the Mossy Meadow stamped image by adhering with dimensionals. Stunning! Now adhere the Gold Glitter Enamel dots to each of the ‘buds’. Adhere this panel to a slightly larger piece of Mossy Meadow card stock with liquid glue. Wrap a length of the Fine Art Ribbon around the left end of this panel and knot. Secure with a glue dot under the knot. Adhere to the front of the card with dimensionals.
All that’s left to do for the front of the card is the sentiment panel. Stamp the sentiment from the Art Gallery stamp set in Mossy Meadow ink on a Very Vanilla scrap. (Amy suggests using VersaMark and gold embossing powder.) Die cut with this fun rectangle die from, the Floral Gallery Dies, then adhere to a slightly larger piece of Mossy Meadow card stock. Adhere the strip with dimensionals, adding a second layer on the far right end. Add one more Gold Glitter Enamel Dot to the right end and voila – the card front is done…
Sorry, I did not photo the inside of the card – however… adhere a 1/2″ strip of the Golden Acetate DSP to a Very Vanilla panel on the far left side, all the way to the edge with just a swipe of Stampin Seal at top & bottom. Stamp one of the floral images as before: stamped-off Calypso Coral ink first, then full strength for the filler. Now do the envelope.

I used a strip of Mossy Meadow card stock and ran it through the Painted Texture 3D embossing folder then adhered it to the envelope flap and trimmed to fit. I stamped the floral image as before: stamped-off once Calypso Coral ink then full strength Calypso Coral for the filler. I then took my Calypso Coral marker and made little pin dots just above the flower – and this beauty is done!
Products from today’s project may be found in the list below – for easy shopping 🙂 Just FYI – this bundle and the embossing folder are something you will continue to see… hint, hint. As a reminder… I’ve made it easy for you to simply ‘add all to cart’. If I can help you in any way to order these items, or others, please give me a holler. As a thank you to my customers, when the order is between $50-$150 I offer a SU! item of your choice valued at $10. Remember to use MY CURRENT HOST CODE – XTK4JNGQ– good Mar 16 – 31. When the order is over $150, you still receive that free gift from me, but SU! has Stampin’ Rewards that may be used for additional products, so don’t use the host code at that time. If you have questions just let me know. Card cuts are listed at the bottom of this post.
Also, should you be interested in similar tutorials from our team, you may join my team now… you may do that here. We have lots of fun and are a creative bunch that encourages & supports one another.


Discounts on favorite products from the 2020-2021 Annual Catalog ~ shop early so you don’t miss out.

Sales Period: 24 March, 1:00 PM (MT) – 3 May 2021, 11:59 PM (MT)
Thanks for stopping by.
May you have a beautiful day.
Make someone happy sending them a handmade card filled with love.
Card cuts:
- Mossy Meadow card stock ~ 8 1/2 x 5 1/2 scored at 4 1/4, 3 x 4 1/4 for front panel, & sentiment strip – approx 1/2 x 3, 2 1/4 x 6 embossed for envelope flap
- Very Vanilla card stock ~ 3 7/8 x 5 1/8 for front panel, 4 x 5 1/4 for inside and scrap for sentiment
- Golden Garden DSP ~ 4 x 5 1/4 for front, 1/2 x 3 7/8 for inside

Beautiful card! And beautiful flowers! 🙂
LikeLiked by 1 person
Thanks Amy!
LikeLike
Wonderful card! And lovely flowers – bet the deer love them, too!?
LikeLiked by 1 person
Because our yard is fenced I can’t answer about the deer & loving Helebores. They eat everything in sight in our front yard, that’s for sure. Lots of sun there too, and Helebores are shade lovers, so there’s that.
LikeLike
These colors are super together! And those Helebores are such a treat and for inspiration for your cards!
LikeLike
Thank you!
LikeLike