Good morning! We have returned from convention in Pittsburgh and today I am d-r-a-g-g-i-n-g. Yep – ever return and feel rung out or run over by a mack truck? It’s not quite that bad, but … I made a gift bag last night and took pictures then realized I did it sorta wrong. This morning I made another for this post :O) and I’m hoping instructions will be more clear.

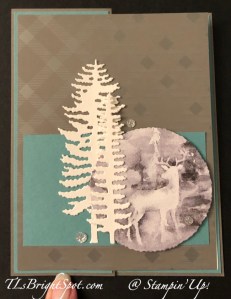
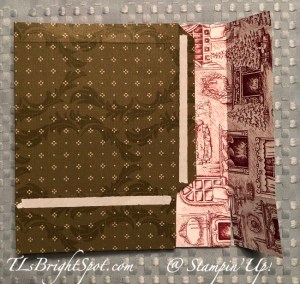
Gift bag made last night after many hours of travel – not decorated yet, but at least has a ribbon! The Designer Series Paper is called Traditions of St. Nick DSP and is found as part of the Special Release on the ONLINE EXCLUSIVES. It’s beautiful, isn’t it? Here’s the how to put this together with photos to help you create it.
- DSP is cut 6 x 12 (please make note… better if DSP is non directional) This is Traditions of St Nick 12 x 12 DSP
- score on the long side at 1 1/2, 5 3/4, is 7 1/4 and 11 1/2
- score on the short side at 1 1/2 and 5 1/2. (the 5 1/2 end is the top of the gift bag)
- Trim along score lines of the long side to the 1 1/2 score line on the short side
- Remove excess ‘end’ as shown in photo


Please look at photos to the left for proper cutting lines, Then add Tear n’ Tape at spots indicated in the near photo – there are four places. The area at the bottom of the photo becomes the side of the gift bag while the cut flaps become the bottom of the gift bag. The next photos will show how to fold the gift bag.
- Fold gift bag as shown in photo below
- Remove right length of Tear n’ Tape and close

- Remove Tear ‘n Tape from short flaps and fold in; remove Tear ‘n Tape from long flap and fold in; then fold in the remaining long flap.
- Secure by using a bone folder and rub against all flaps from the inside of the gift bag.
- Pinch in at top and punch holes – see photos


- Run Ribbon through holes and tie bow. On the red gift bag I used Burlap Ribbon from the Real Red & Burlap Ribbon Combo Pack.
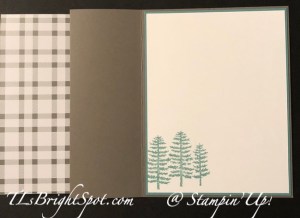
- Heres’ a photo of the bag again completed as a side view and one of the front view.


The first gift bag I made with this design was made with foil paper and turned out really cute, but I had to be so careful when scoring not to tear through the DSP. This is much stronger and I did not have to be so careful. These bags are not decorated yet. I will share a photo later in the week fully decorated :O) But now – you can make your own gift bag with ease :O) HERE is a link to the foiled bag.

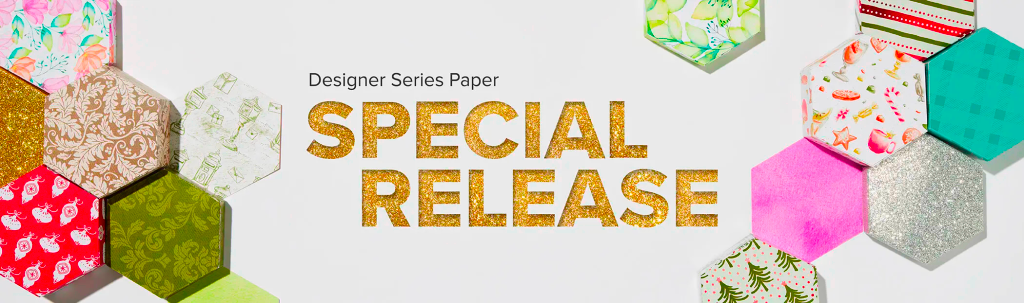
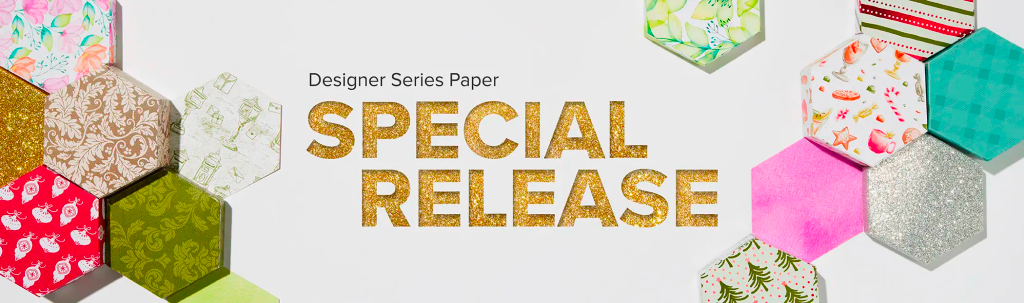
Click on the image above to see the rest of the Special Release designer series papers and other ONLINE EXCLUSIVES.
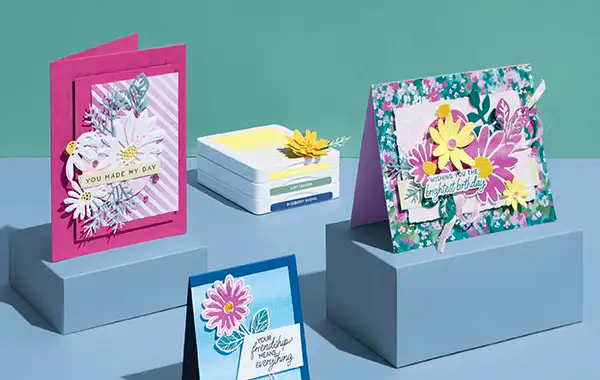
Surprise, surprise! We’re offering a special release of five beautiful new Designer Series Paper options! These papers include fabulous holiday prints, gorgeous seasonal styles, and some spectacular timeless designs.
We originally created these papers to be part of our second Sale-A-Bration offering. However, since our next release of new Online Exclusive products won’t happen until November (and you won’t be able to find any of these papers in a catalog), we’ve adjusted our strategy and decided to release these paper options starting 6 September! That way, you have the chance to get ahead on Christmas cards, seasonal crafts, and much more. These products are available while supplies last.
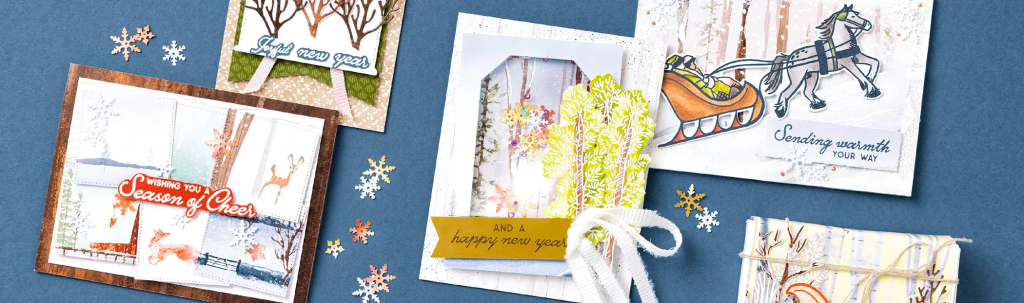
Stampin’ Up! has two catalogs right now for shopping: theSep-Dec 2023 Mini Catalog has quite a number of holiday stamps/ dies/ and papers & punches as well as some items that are excellent for eveyday use. Click on the catalog image below to shop those products.

Regular card stock & LOTS of products are available in the 2023-2024 Annual catalog. Feel free to click on that image below to take you to what’s available there.
Remember when shopping with me, with every purchase of $50 or more you will receive a Stampin’ Up! item of your choice valued up to $10. You get to choose the item! Unfortunately, due to rising costs of shipping, I am not able to send card stock or designer series papers, but there is so much more from which to choose – from either of the Mini catalog or the Annual catalog. Yeah! Just make sure you are shopping with me when you check out.

Thanks for stopping by. May you have a beautiful day!


)