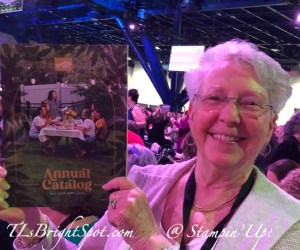
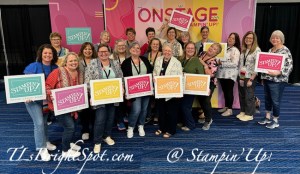
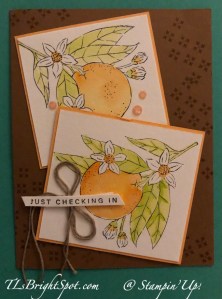
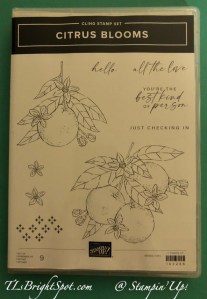
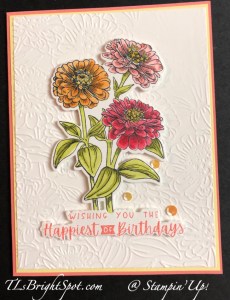
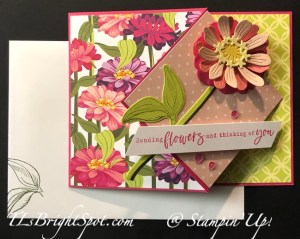
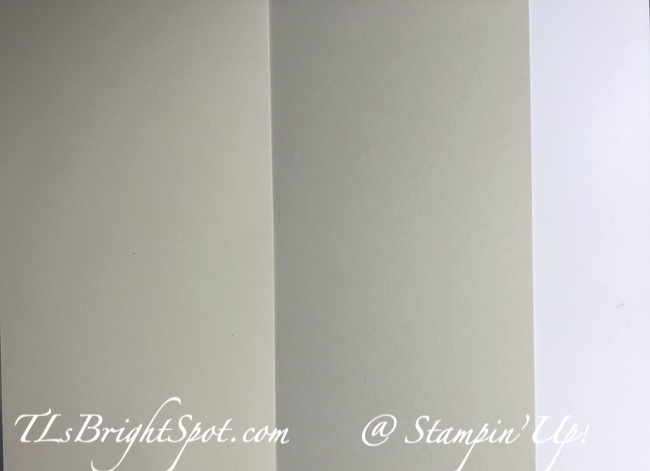
Happy Thursday – and happy Spring as of the 19th! WooHoo. As I noted in an earlier post, I attended the SU! convention in Houston, and when I returned all my daffodils were (and still are) in bloom. So exciting! Love this season… My card today uses a brand new bundle called Citrus Blooms and it is gorgeous. Today I focused on just one of the dies. I used the die on a NEW DSP called Full of Life 6×6 DSP. I really like it. The card base is also a NEW COLOR – called Basic Beige. Later in the post I’ll show a photo of Basic White, Basic Beige and Very Vanilla as a comparison.

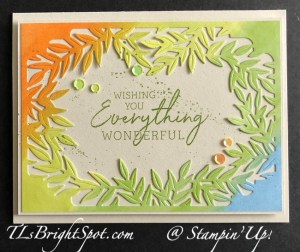
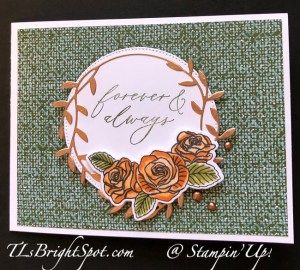
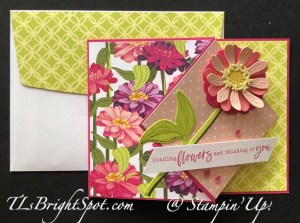
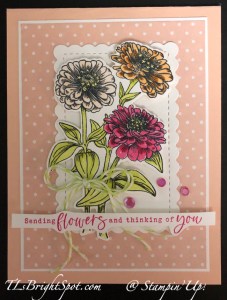
I simply adore the colors in this DSP… they are clear colors and flow from one to the other. The orange is the sunrise peeking through the leaves and the blue of course, is the sky :O). I know, I know, but this is what I see. And with the sun rising earlier here on the East coast, this DSP fits. So there. :O) The background paper is the new Basic Beige and it just ‘fits’ so easily with this DSP. I’m very excited about this new Basic Beige. So I used this gorgeous die from Citrus Blooms Dies to die cut the DSP, then adhered it to a Basic Beige just slightly larger. I then stamped it with Granny Apple Green ink using a sentiment from Charming Sentiments stamp set. These two papers were then added to a Basic Beige card base with dimensionals. I added some glam… Adhesive-Backed Shiny Sequins.
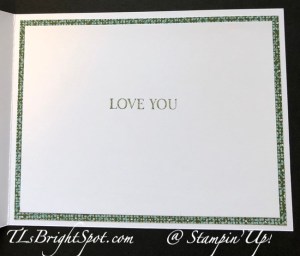
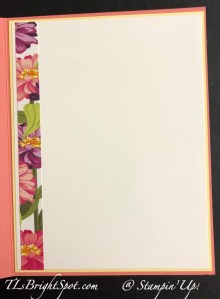
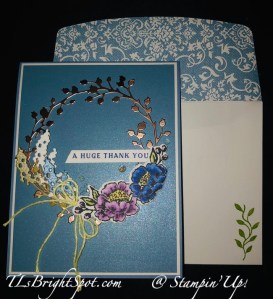
For the inside…
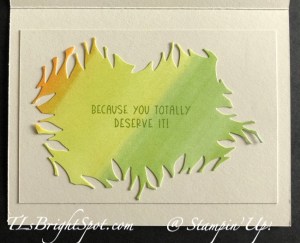
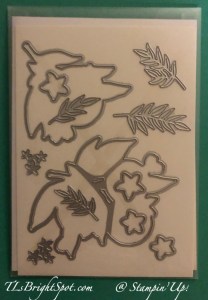
From the Citrus Blooms Dies cutting the DSP on the card front, this DSP piece was lest over. I stamped it in Granny Apple Green ink and adhered it to a panel of the Basic Beige card stock, then that to the inside of the card. When I look at this DSP on the inside of the card, I see a couple of things – first, a heart; second, simply a die cut piece :O)
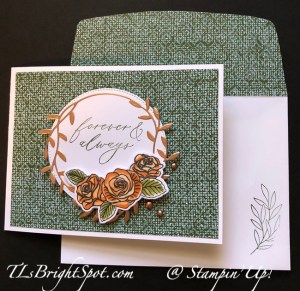
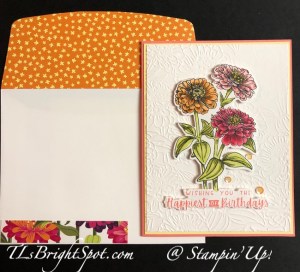
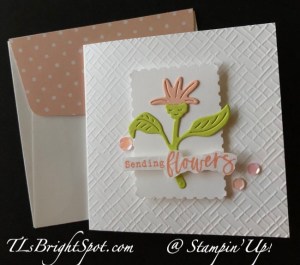
For the envelope…
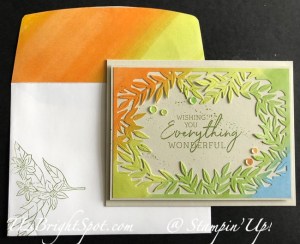
I stamped the envelope front with one of the Citrus Blooms stamps in Granny Apple Green ink. For the flap, I used a remnant from the Full of Life DSP, adhered it in place and trimmed to fit. The envelope is a Basic White envelope. And there you have it – quite a pretty and simple card & envelope. Hope you like!
Look below for how & when to order this bundle… Now it’s time to continue the hop – don’t miss a single stop :O) visit each and ever one.

Today’s card is a teaser… meaning, unless you are a demonstrator, you cannot order this bundle until early May . Bummer, right? BUT – you CAN join my team and be one of the lucky folks who can order early. You can JOIN MY TEAM HERE.
Comparing Very Vanilla, Basic Beige and Basic White card stocks. Quite a contrast with Basic White, but not so much between Basic Beige and Very Vanilla. Basic Beige ios a go-between and I think you will find it used a LOT in the coming days/ weeks.
Whether you are looking to purchase these materials right away, know that when you join THIS TEAM you will receive all kinds of help and friendliness.
There’s lots of other ‘stuff’ going on in the Stampin’ Up! world: Paper Pumpkin for one and ONLINE EXCLUSIVES for another, kits too. Here’s how to open each of these categories:
Paper Pumpkin – such a fun way to get started with regular deliveries and posts, etc., etc. Click here to learn more about Paper Pumpkin. Best Value when ordering Paper Pumpkin Kits When you prepay for 3 months, 6 months or a year, you get to select Sale-a-Bration gifts, too! The Best Value is to prepay for a year and enjoy Sale-a-Bration gifts, Stampin’ Rewards (host benefits) and Free SU! ITEMS from me.

Click any of the links below to sign up for a subscription.
Paper Pumpkin Subscription 3-Month – 137859 – $69.50
Paper Pumpkin Subscription 6-month – 137860 – $127.00
Paper Pumpkin Subscription 1- year – 137861 – $243.00
Stampin’ Up! Kits collection – Click here to see all the kits available.
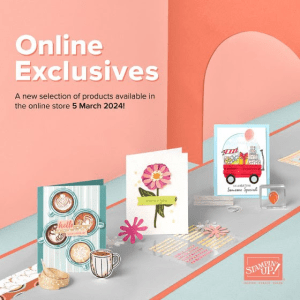
Online Exclusives are items not listed in a catalog. Which means – they may or may not sell out. So if you see something you like, it’s better to purchase right away. Click here to see all the products in that line

While you’re looking around in my store, remember there are some stunning kits available, for all ages and all seasons – even Christmas! And while you’re shopping, I offer fringe benefits to my customers: free tutorial of the month and a FREE Stampin’ Up! item valued to $10 – all for a $50 order, before shipping and taxes. Use my current host code to receive those benefits – especially when your order does not exceed $150.
HOST CODE A9DDBEPZ
THANKS FOR STOPPING BY!