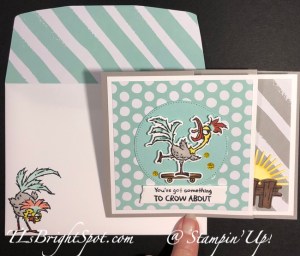
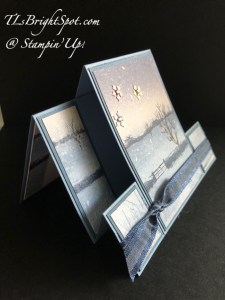
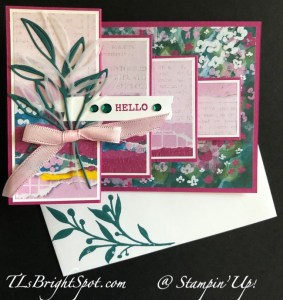
Good Wednesday morning! We took our walk early this morning and it was sprinkling just a bit – and you know what, it was refreshing. :O) But you aren’t here for that… I have a really F-U-N card for you today.
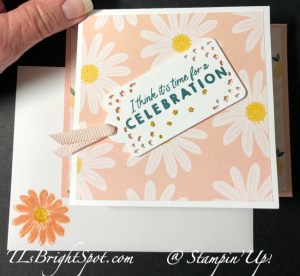
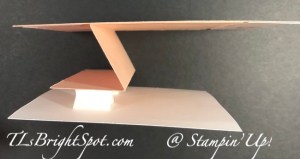
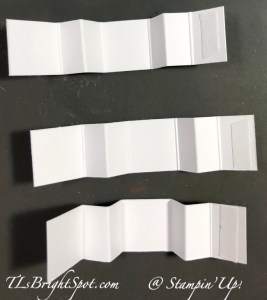
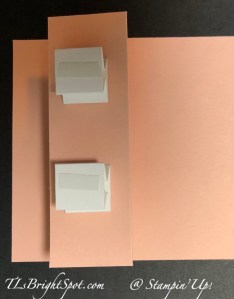
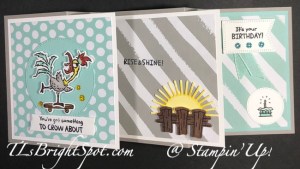
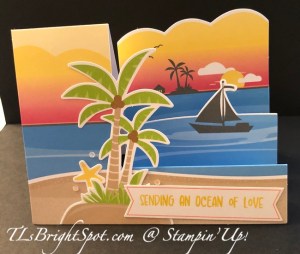
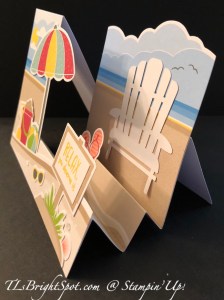
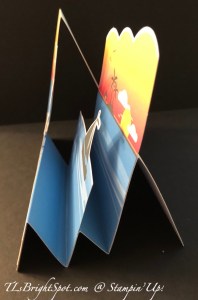
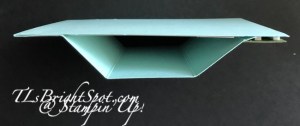
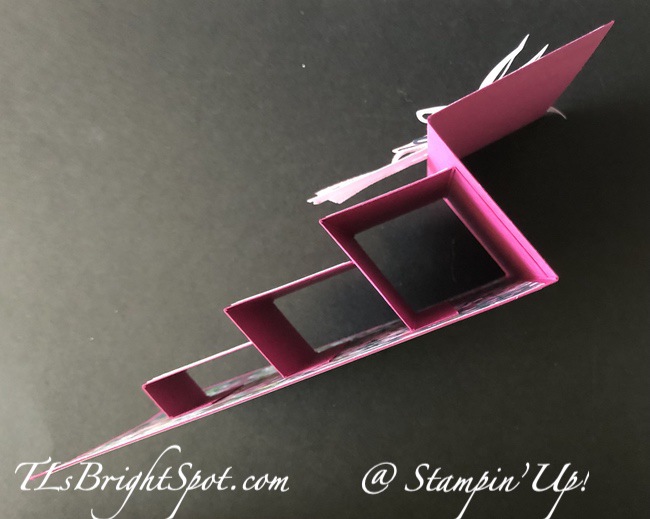
What I like about this card: colors, three dimension, texture and fun fold! All these wrapped up in one :O) I used Masterfully Made DSP for each of the panels; Gorgeously Made bundle for the die cuts and sentiment; Adhesive-Backed Sequin Trio Pack and Sheer Ribbon Combo Pack; and Vellum. The card base is Berry Burst. Here’s a view from the top.
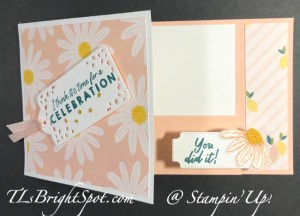
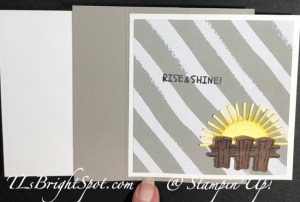
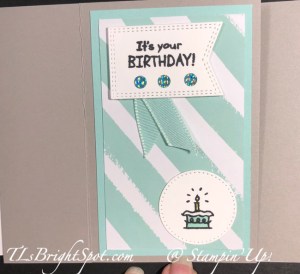
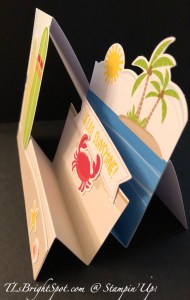
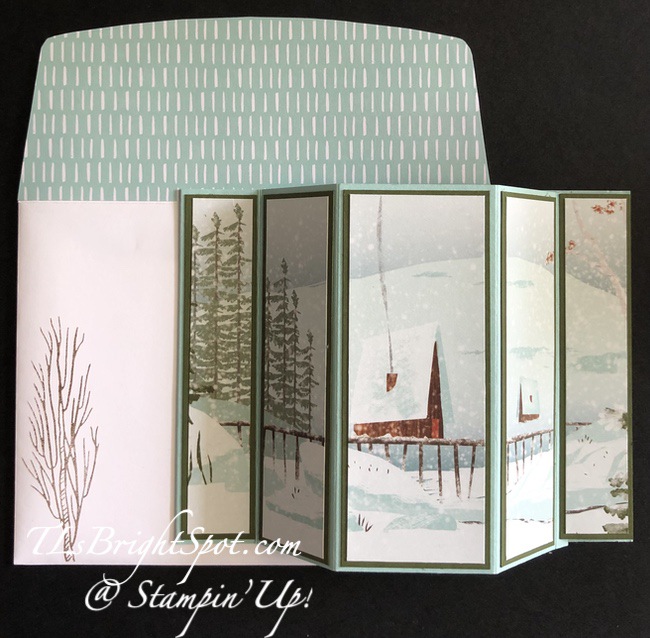
Here’s a view of the back where you add your additional message.
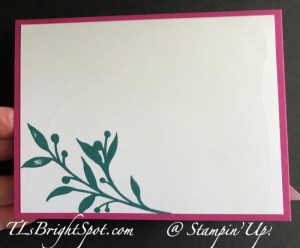
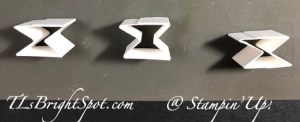
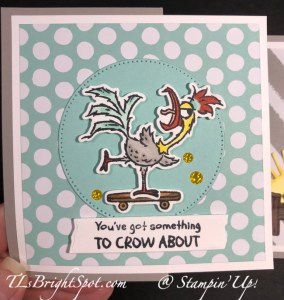
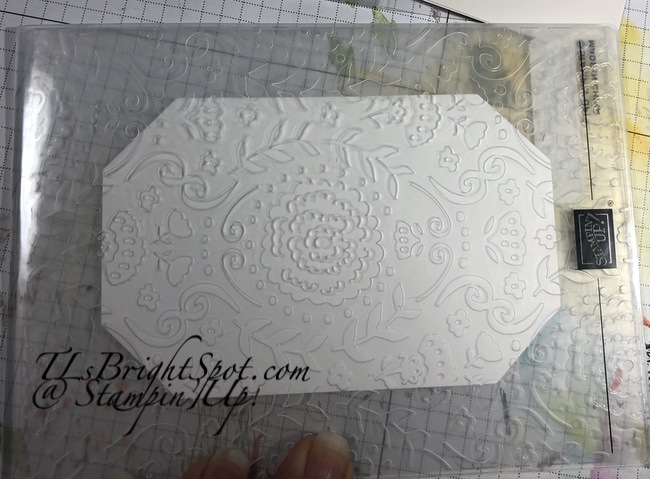
This was stamped in Pretty Peacock ink and the stamp is from Gorgeously Made stamp set; Basic White panel.
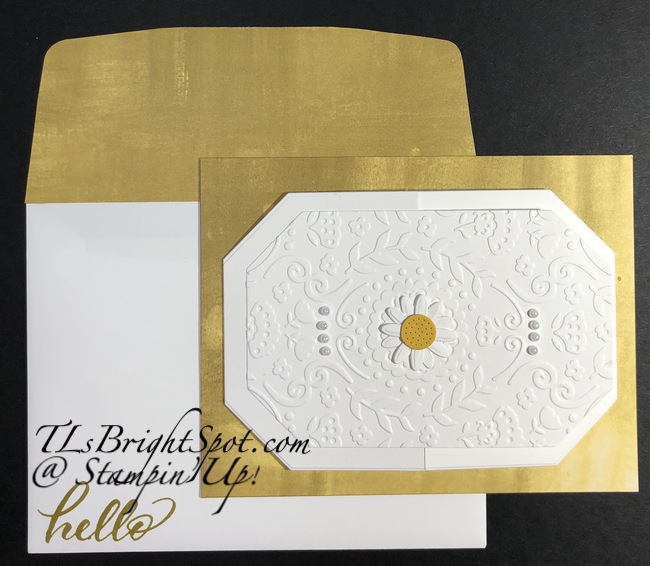
Envelope front and envelope back…

The envelope front was stamped in Pretty Peacock ink. The envelope flap was stamped in second generation Smoky Slate – both stamps from Gorgeously Made stamp set.
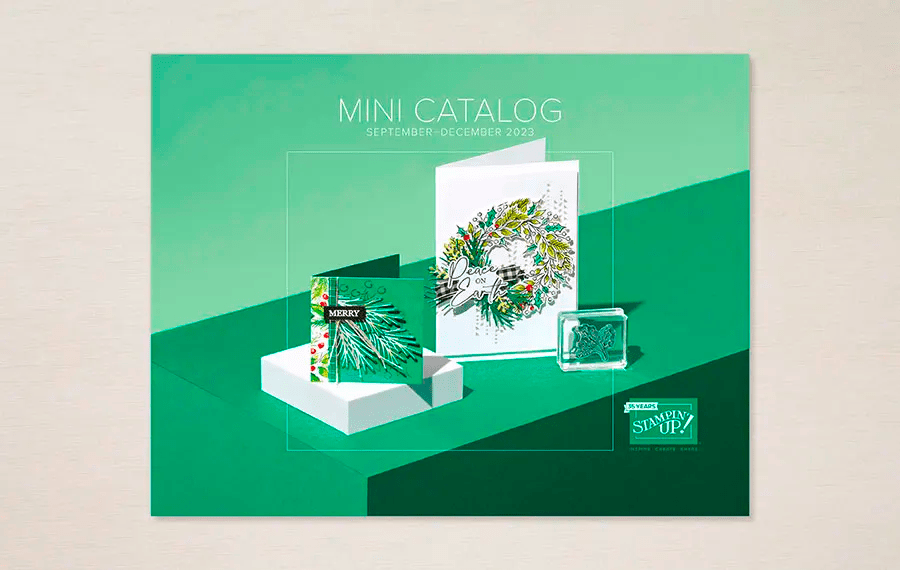
I’m a SU! demonstrator and have early access to products. That brings me to the Designer Series Papers on the card above. I am offering Paper Shares from the Mini 2023 September-December Catalog – and here are the details.
How my shares work: I order full packs of all the Designer Series Papers listed below. I cut them into 6×6 pieces (or 6×12 for double shares) and give you one panel of each design from each pack on the list. I pack up the paper and get it back out to you just as quickly as possible! Shares give you a good working sample of all of the papers and makes it easier to decide which papers you like most and want to order.
Below is a list of the papers for this Designer Series Paper Share.
A single paper share is $30 plus $8.50 Priority Mail Shipping.
A double paper share is cut 6 x 12 and is $60 plus Priority Mail Shipping.
Remember, one 6×6 sheet of each design from these DSP packs. Most original DSP packs come in 12 x 12 size unless otherwise noted.
The list includes: name of DSP, number of sheets of that DSP in the pack.
- A Walk in the Forest – 6
- All About Autumn – (6×6 size) -12
- Beary Christmas – 6
- Melon Mambo & Granny Apple Green Foil Sheets – 2
- Garden Walk – (6×6 size) – 8
- Glow-In-The-Dark 6×6 Specialty Paper – 1
- Joy of Christmas – 6
- Joyful Specialty Paper – 4
- Merry Bold & Bright – 6
- O Holy Night – 6
- Oxidized Copper Specialty Paper – 2
- Shining Brightly Specialty Paper – 6
- Snowflake Magic Specialty Paper – 3
- Them Bones – 6
- Winter Meadow – 6
Anyone is welcome to join this paper share opportunity, but shipping is limited to addresses within the US. If you would like to join in these shares, please email the following information to tlsbrightspot@gmail.com
- Your first & last name (yep, I need both :O)
- The email address connected to your PayPal account. You DO NOT need to have a PayPal account to pay the invoice; you can choose to pay by credit card without having a PayPal account.
- Deadline to sign up for my shares: Monday, September 4 @ 3 PM ET
Other Stampin’ Up! opportunities…
If you have not received a catalog or do not have a demonstrator, I would be happy to be that person for you. If you are interested in ordering those products now and get 20% off in the bargain, it’s easy to join my team here. And when you do join my team, there are other benefits as well.
- 20%+ Discount on your demonstrator orders
- Be a part of a fun and supportive team and the Stampin’ Up! community – this is one of the best parts, meeting new folks and new ideas, creating together
- Early access to new catalogs and promotion information
- Early ordering for new products
- Be a hobby demonstrator or start a business
- No pressure to sell products
- My full support when you join my team
- access to monthly class tutorials :O) Each month it’s different, this month it’s the Timeless Arrangements bundle, and that’s gorgeous!
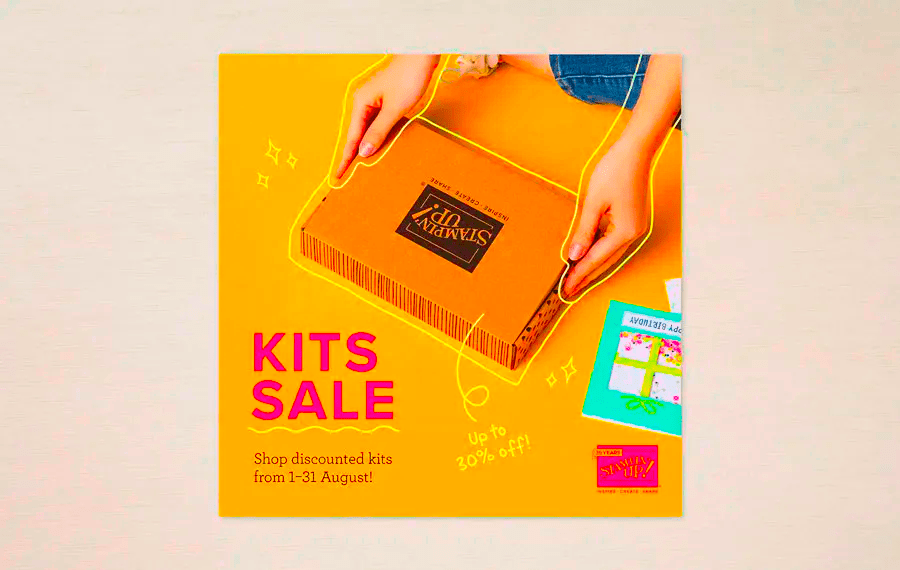
- Kits are fun, quick and easy, and all-inclusive so there’s nothing extra to buy and nothing to store afterward.
- Completing a kit gives everyone a sense of artistic accomplishment.
- Completed kits make great gifts. Make the projects and then give them away for someone else to use.
- Because kits come in so many styles and project types, there’s something for everyone. Want to HOST a kits collection party? Let me know and I’ll help pull that off. Kt together in September with kits on sale now. :O)
KITS COLLECTION BY STAMPIN’ UP! You can shop with me here.
Sales Period: 1–31 August
Just make certain when you’re checking out that my name is at the top as your demonstrator. THANKS! If your order is over $50, please use my HOST CODE 3QH63UB7 so I can send to you a SU! item valued to $10. If your order is over $150, Stampin’ Up! has it’s own rewards, so don’t use the HOST CODE then. I will still send a SU! item valued to $10 :O)
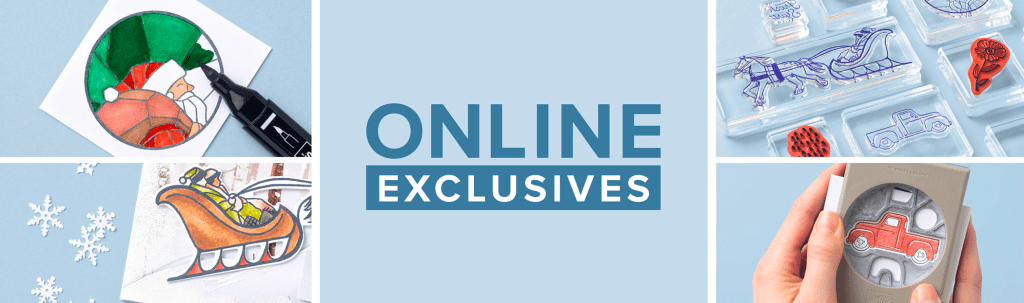
Online Exclusives are just that – not in any Stampin’ Up! catalog. . I use them a LOT. Visit here to shop these EXCLUSIVES.
There’s always more to share about Stampin’ Up! products. Please reach out with your questions if you need more information.
Thanks for stopping by. May you have a beautiful day!