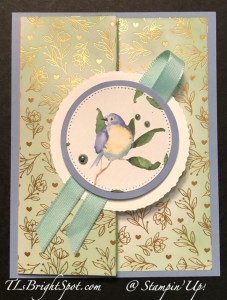
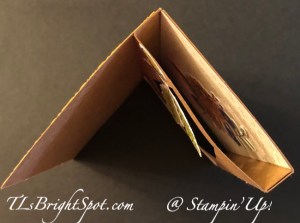
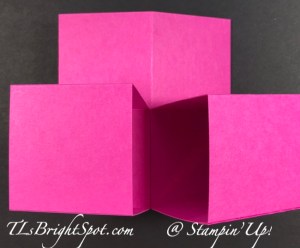
Good morning! I’m still in my birthday week and folks have been so generous, both in sending cards and the giving of gifties. Of course, the best gift of all is the gift of friendship :O) Today’s card is just super cute – a triple box card. I may have done one of these in the past, but some time ago.

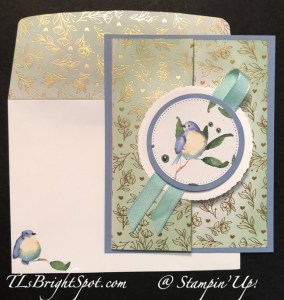
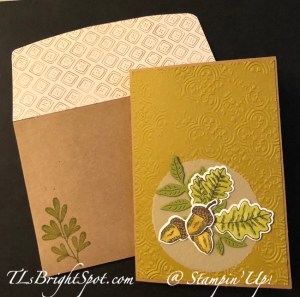
Is this cute or what?! The Translucent Florals stamp set is a distinctive stamp set, which means it has lots of dimension in the stamp. And it prefers an ink pad that is not too inky. The flower is stamped in Fresh Freesia ink and the leaves are stamped in Parakeet Party ink – both stamps from the Translucent Florals stamp set. Each was die cut with the coordinating Translucent Florals Dies. I also used the Leaves Punch and Vellum to punch some background for the main flower. These are attached to a Basic White Hexagon Punched background, some with with Stampin’ Seal or liquid glue. The flower is on a dimensional in order to tuck the leaves and Vellum elements behind it. The double bow is made with Baker’s Twine Three Color Pack, Lemon Yellow & attached with a single glue dot to hold it in place.
The box itself is made with Berry Burst for the card base and Delightful Floral 12 x 12 DSP.
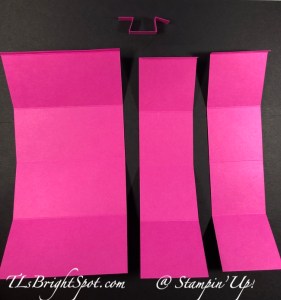
Card base: 8 1/4 x 4, scored at 2, 4, 6, & 8
Small boxes for front (2) – same color as card base: 8 1/4 x 2 scored at 2, 4, 6, 8
Mechanism to hold decorated element- same color as card base: 3 x 1/2 scored at 1/2, 1, 2, & 2 1/2
DSP (Designer Series Paper): (2) 3 3/4 x 1 3/4; (10) 1 3/4 x 1 3/4
Directions:
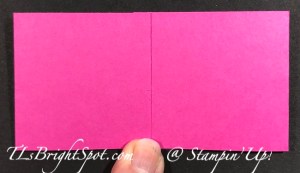
- Burnish all score lines. See photos for reference
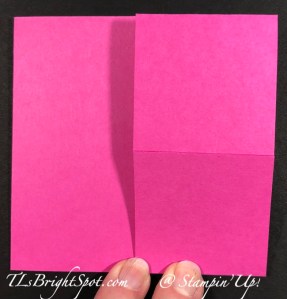
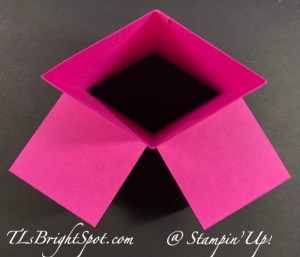
- Add adhesive to smallest scored section, fold over and adhere. Do this for all three boxes.
- Add DSP to inside of tallest box sections. This will be the inside back of the box.
- Adhere one of the smaller boxes to the tall front box.
- Adhere the other smaller box beside it.
- Decorate fronts of all three boxes with the 1 3/4″ DSP – this will use six (6) pieces
- Adhere shorter pieces of DSP to inside of smaller boxes – this will use the last four (4) 1 3/4″ squares.

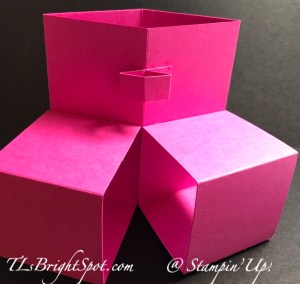
- 8. Attach mechanism to upper portion on fold line half way up
- 9. Adhere Hexagon decorated floral piece to mechanism
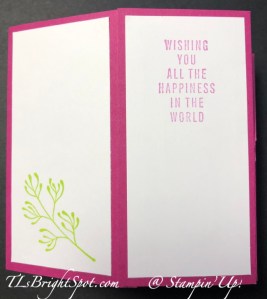
- 10. Cut two (2) Basic White panels 1 3/4 x 3 3/4, stamp & adhere to back for writing message
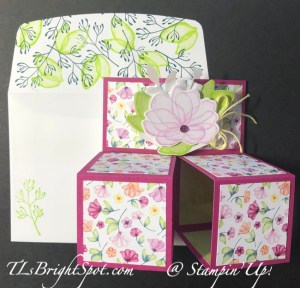
Decorate envelope… on flap, stamp leaf image from Translucent Florals stamp set in Parakeet Party ink; then stamp frond image from Translucent Florals stamp set in Pretty Peacock ink. On envelope front, stamp frond image from Translucent Florals stamp set in Parakeet Party ink – and done!
This is just such an incredibly sweet Triple Box card and can fit so many special occasions. I hope you try it.
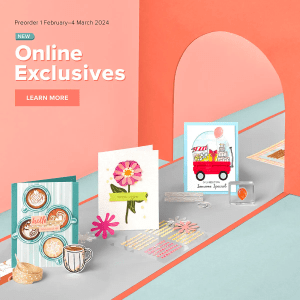
The products to make this card are both in the 2023-2024 Annual Catalog and the ONLINE EXCLUSIVES (the DSP). You may purchase those products here for the Annual Catalog and here for ONLINE EXCLUSIVES. Click here for Sale-a-Bration products. You will be shopping with me :O) and when you do, please use my current host code listed below to receive benefits from me as well. I like to treat my customers…
CURRENT HOST CODE PV2QWYHJ
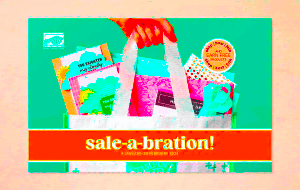
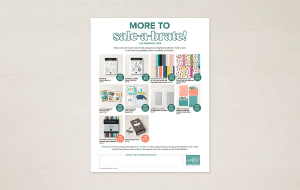
It is nearing the end of Sale-a-Bration – the Jan-Feb special time of receiving FREE PRODUCT when making qualified purchases. Whats good to know is… it doesn’t matter how you purchase product from Stampin’ Up! during this time period, the FREE PRODUCTS are still available to you when making qualified purchases. Below are some links that just might encourage you to consider purchasing between now and the end of Sale-a-Bration

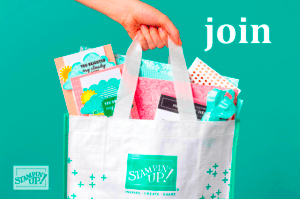
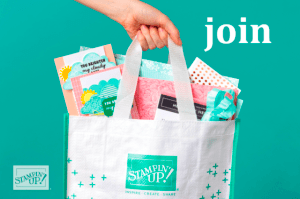
Joining Stampin’ Up! as a demonstrator has extra benefits during Sale-a-Bration – but remember those benefits end at midnight Feb 29. Nothing brings people together quite like creativity. As an independent demonstrator, you can share what you love and expand your circle of friends to build a close-knit, collaborative community of crafters. You’ll meet, connect, learn from, and create with other demonstrators from all around the world through virtual events, in-person conventions, support groups, and social media. And don’t forget the importance of hosting your own crafting parties! You can host events with your favorite people and show off your favorite Stampin’ Up! projects. Let’s discover the joy of being a demonstrator together!
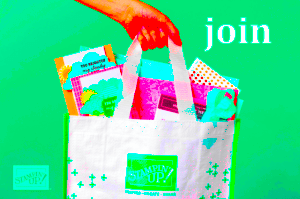
Join by 29 February 2024 and choose between two fabulous offers:
Option 1: Get $125 worth of product PLUS our new Stampin’ Glass Mat Studio (a $60 value) for just $99!
Option 2: Get $125 worth of product PLUS an additional $30 worth of product of your choice when you join for $99. That’s a $155 value!
Click here to JOIN MY TEAMhttps://www.stampinup.com/community/join-stampin-up