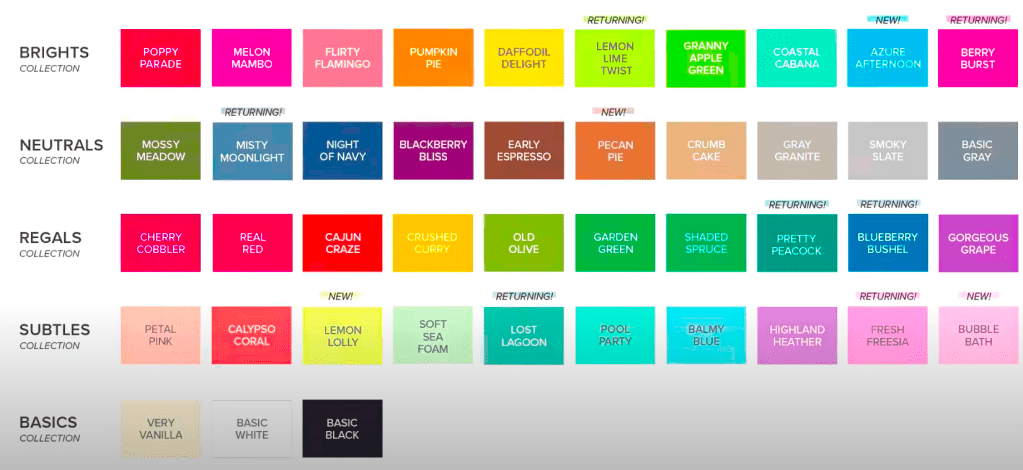
Hello – it’s Friday and I have a fun fold for you today… a Double Pop-Up Card that I saw on Splitcoast Stampers. You can go to YouTube for a video. This fun fold intrigued me and I simply had to make it. We made this card in my card class a bit ago and everyone had a REALLY good time :O)

These little birds are so stinkin’ cute! And I love them with glasses, which is a stamp in the set :O)
I used Stampin’ Blends to color everything: on the front – Daffodil Delight for the bird, S300 & S400 for the Branch, Old Olive for the leaves and I fussy cut them. The sentiment on the front comes from Cheerful Daisies stamp set and stamped in Basic Gray on Basic White card stock, die cut with Cheerful Daisies Dies. It was adhered with dimensionals to an Old Olive piece die cut with Deckled Rectangles Dies and adhered with liquid glue to the card front. Tinsel Gems 4 pack in Berry Burst were added for sparkle & glam.
Delightfully Eclectic was my choice of DSP and I used Old Olive for all the constructive parts. Let me walk you through this card, cuz it’s a fun one. You do need to pay attention to measurements and score lines. :O)
Measurements & detail:
- Card base is 8 1/2 x 5 1/2 scored at 4 1/4. Lightly mark the center of the score line @ 2 3/4
- Cut DSP for inside back: 5 3/8 x 4 1/8 and adhere to inside back
- Cut panel 5 1/2 x 5 1/2, score @ 3, burnish
- cut DSP to decorate: 5 3/8 x 2 7/8 (left inside section); 5 3/8 x 2 3/8 (right inside section)
- stamp or decorate as desired (this is a thick card, so I
- highly recommend only stamping)
- add to inside of card base with front edges even with one another – see photo

You can see I colored here again… Stampin’ Blends Daffodil Delight for the birds; books are Copper Clay, Pebbled Path, and Pecan Pie. For the book edges I used Light Smoky Slate.
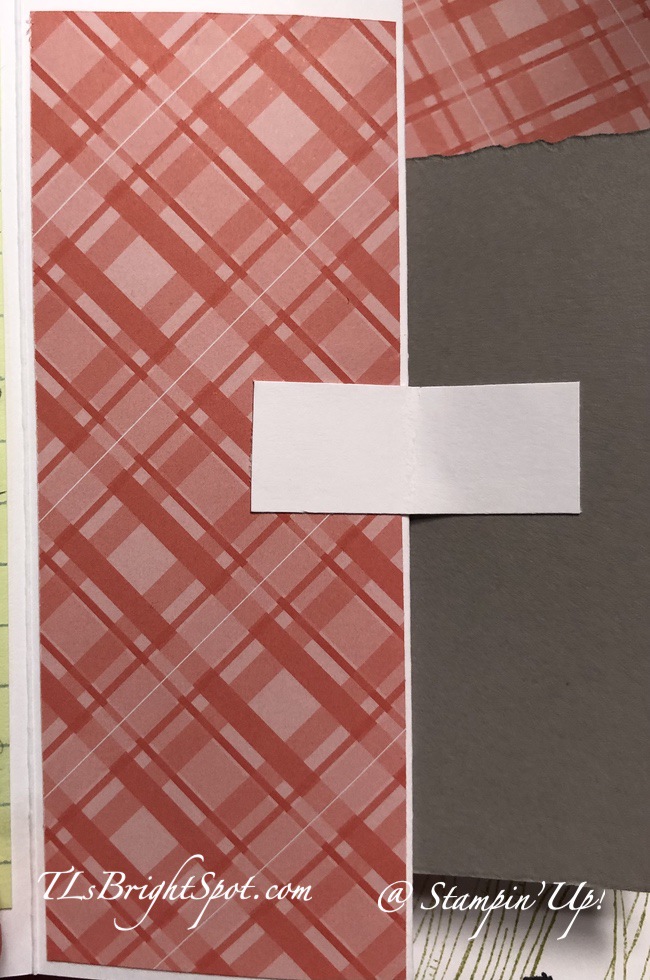
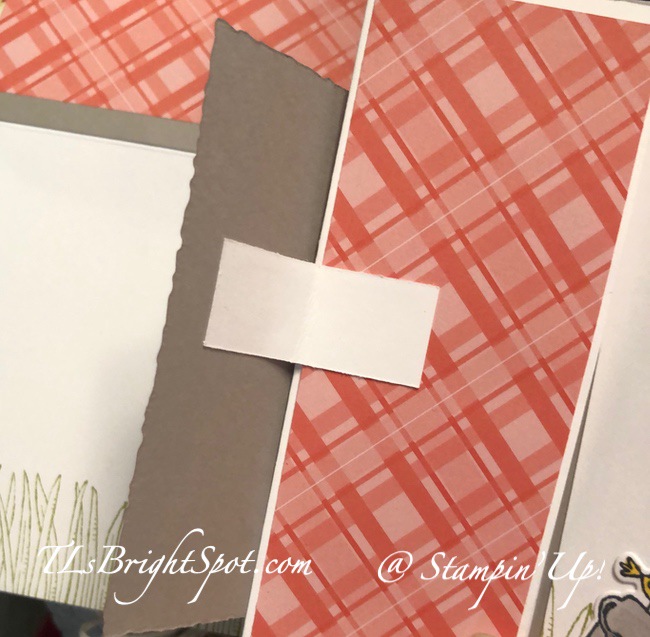
Adhere panel 5 1/4 x 4 of Designer Series Paper Delightfully Eclectic to the inside back panel.
- Mechanism: 5 3/8 x 2 3/8 scored @ 1 1/4, 2 1/2, 3 3/4 & 5; burnish
- With 1/2″ end on left, lightly draw lines from first score line to 3rd score line, diagonally to create an X
- score over these lines, erase pencil marks and burnish
- add Tear n tape to the 1/2″ end
- at opposite end of mechanism, add liquid adhesive and adhere to inside card base, left side, centering with score line and pencil mark. You do not want to interfere with the fold, so butt it up against the centerfold


Decorated squares of pop-up:
- Cut 2 panels 2 3/8 x 2 3/8 same color as card base. Here it is Old Olive.
- Cut 2 panel 2 1/4 x 2 1/4 from Basic White or patterned paper. I chose Basic White and stamped, colored the 2 squares
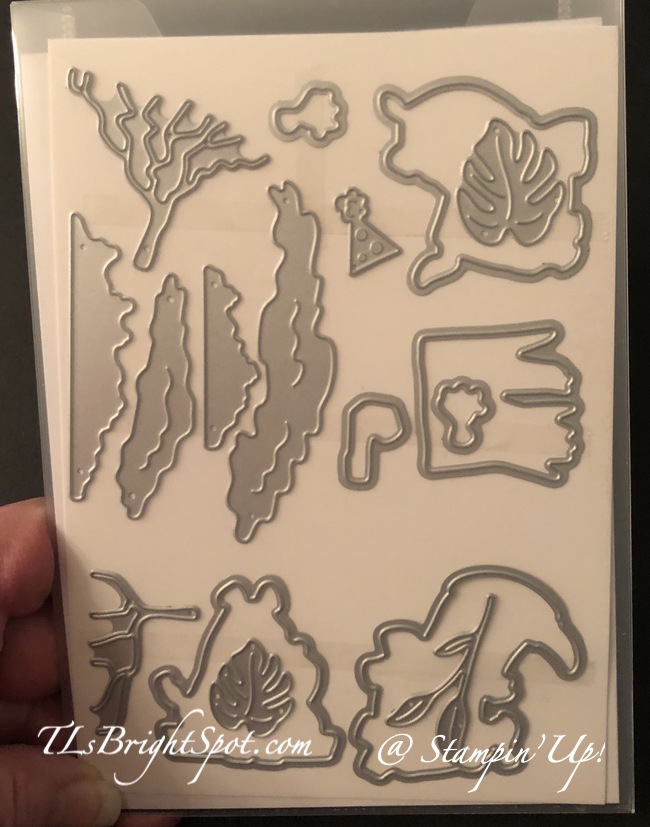
- top square is colored with Daffodil Delight. The ‘branch’ is a die cut from Cheerful Daisies Dies that is really a stem. But cut in Early Espresso it looks like a branch – and is adhered with liquid glue.
- bottom square is all over stamped eye glasses from the Birds Eye View stamp set.
- Add these two squares together then to mechanism. Notice how they are separated about 1/4″ This is so they do not interfere in the opening and closing of the card. When the card is closed these pop-ups simply fold right into the card. :O)

For the envelope… I added more of the stripe from Delightfully Eclectic to flap and trimmed it to fit. For the envelope front I stamped this cute bird from Birds Eye View in Basic Gray ink and colored it with Daffodil Delight Stampin Blends. Gads – no photo! What the heck…
If you wish to order the products to make this card, be sure to use my current HOST CODE to receive rewards. What does that mean? With every order of $50 you receive a FREE GIFT from me of a SU! items of your choice valued to $10. If your order is over $150, don’t use my host code, but you’ll still get my free gift item.
HOST CODE CV4N6Y6M
Note: Make sure that you can see my name on the final checkout page listed as your Demonstrator when you order so that you know that you’re ordering with me and you’ll get my rewards!
BONUS DAYS for Stampin’ Up! have begun… and run for this entire month

BONUS DAYS! Because do you know what’s a great deal? Getting rewarded for all the crafting supplies you’re already going to buy! When you shop between 6–31 July and spend $50 USD | $60 CAD you will earn a $5 USD | $6 CAD coupon! Make sure you save all your coupons because you can redeem them (and we mean ALL of them) between 1–31 August.
- Coupon codes may be redeemed for any product (excluding Starter Kits, demonstrator supply items, and Paper Pumpkin month-to-month subscriptions).
- If a participant earns multiple codes from a single order, they will receive one email with multiple codes. If they earn multiple codes from multiple orders, they will receive separate emails for each code earned. Make sense?
- New prepaid Paper Pumpkin codes may be discounted using Bonus Days coupon codes.
- You can shop with me here.

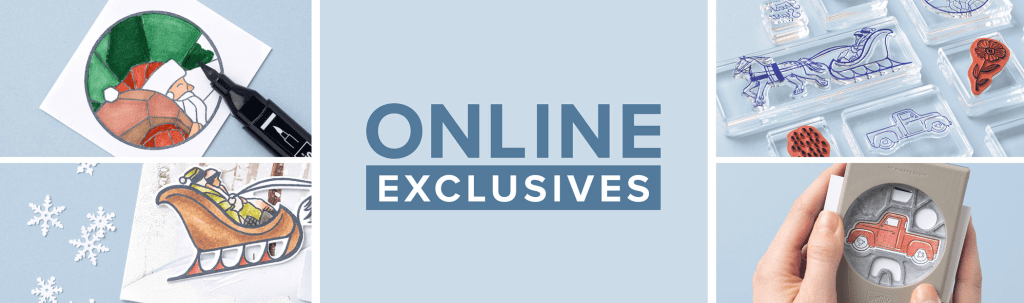
New Product release in the Online Store as of Jul 6.
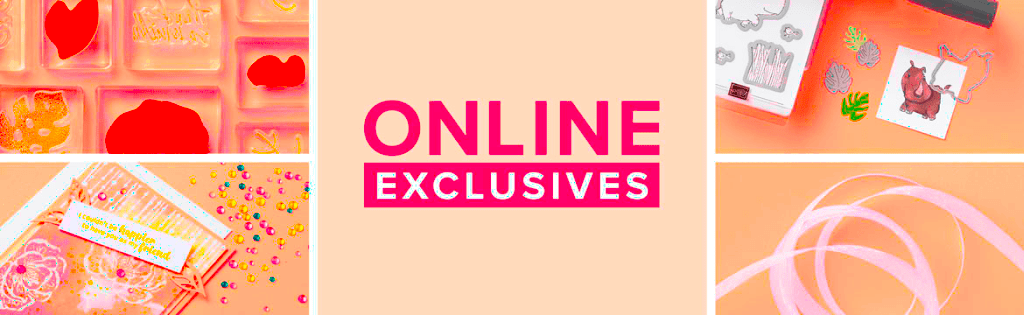
ONLINE EXCLUSIVES are just that – ONLINE ONLY products not shown in any Stampin’ Up! Catalog. New products mean new inspiration and new ways to express your creativity and develop your business! 6 July, there will be even more Online Exclusive products for you to shop. The best way to see what is available is to view the online store.
Visit here to shop these EXCLUSIVES.
Here are more places to shop for goodies…
Clearance Rack…Shop Clearance rack here.
KITS COLLECTION BY STAMPIN’ UP! You can shop with me here.
Thanks for stopping by. May you have a beautiful day!