Welcome to our hop… you may have come from the talented Tara or just popped in here. However you arrived at my blog – hello! On our walk yesterday we saw trees with changing colors already – so surprised as here we are at the beginning of September. Cool nights have been as low as 49 degrees – and for this early in September – gosh! Here we are though and the theme challenge for this Thursday Blog Hop is fall leaves.


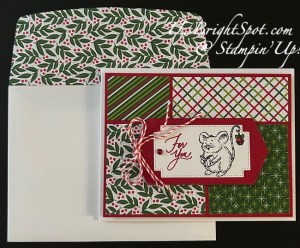
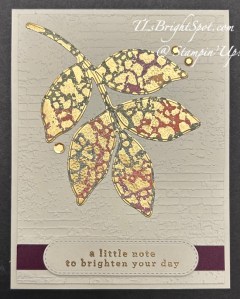
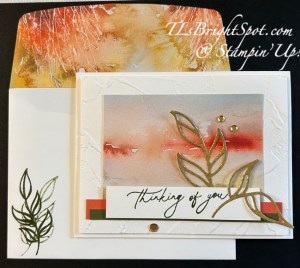
My card base is Cherry Cobbler 8 1/2 x 5 1/2 scored at 4 1/4. Layered to that is Crushed Curry 4 x 5 3/8. I took a panel of this stunning gorgeous Season Elegance SDSP from the Sep-Dec 2024 Mini Catalog cut about 6×6 and ran it through the Changing Leaves Hybrid Embossing Folder (ONLINE EXLUSIVE). I trimmed it down to 3 1/2 x 5 and reserved what was left for the envelope flap (2 1/4 x 6). With the trimmed down embossed piece I used a Blending Brush and Cajun Craze ink and Crushed Curry ink to color many of the leaves – not darkly, but enough to create shading/ highlighting. I added this panel to a Cajun Craze 3 5/8 x 5 1/8 and attached them to the card front with dimensionals. I die cut one leaf and two ‘sprays’: the leaf in Crushed Curry that I again used the Blending Brush and Cajun Craze to color; the two sprays in Crushed Curry and Cajun Craze. These are from Changing Leaves dies. I added them to the front with liquid glue and a double bow from the Natural Tones Linen Thread in Copper Clay with a glue dot. I stamped the sentiment from Changing Leaves stamp set in Cajun Craze on a scrap of Basic Beige and die cut it with a die from Changing Leaves Dies.This was attached over the die cuts with dimensionals. The final touch is embellishments – Neutrals Adhesive-Backed Sequins in Copper Clay.

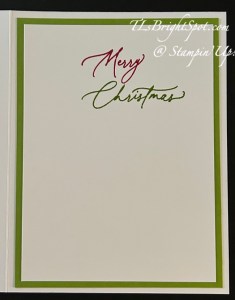
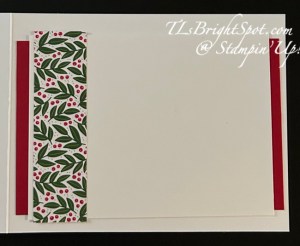
For the inside… Another panel of Crushed Curry (4 x 5 1/4) adhered to the card base. The stamped image is on a Basic Beige panel 3 1/2 x 5 and is from the Changing Leaves stamp set. I used Crushed Curry and Cajun Craze inks along with Sponge Daubers (page 88 in the Annual Catalog) to create color on the maple leaf stamp.

For the envelope, I used the very same maple leaf stamp and without re-inking it, spritzed it with water in a Stampin’ Up! Spritzer and stamped it on the envelope. The flap has more of the Seasons of Elegance SDSP that was embossed with the Changing Leaves Hybrid embossing folder.
Now… time to move along on the hop and see what wonderful creations are in store for you – Carol is next, so click on the next button to go straight to her site. Enjoy the hop!

To shop the ONLINE Exclusives, click here: The Changing Leaves Bundle may be found in this section.
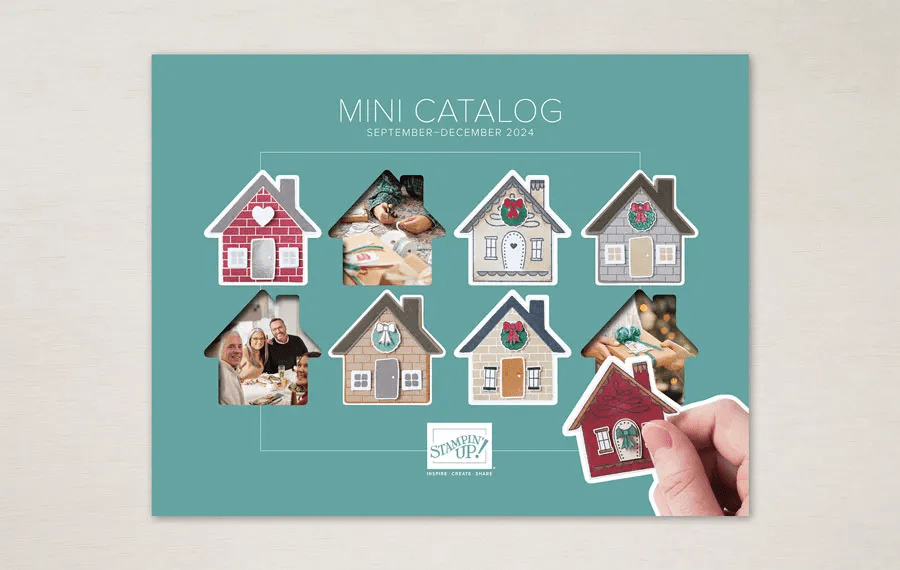
If you do not have a demonstrator or a catalog – reach out to me so we can remedy that situation. Below is an image of the cover of this catalog. Click on the image to see what’s inside!

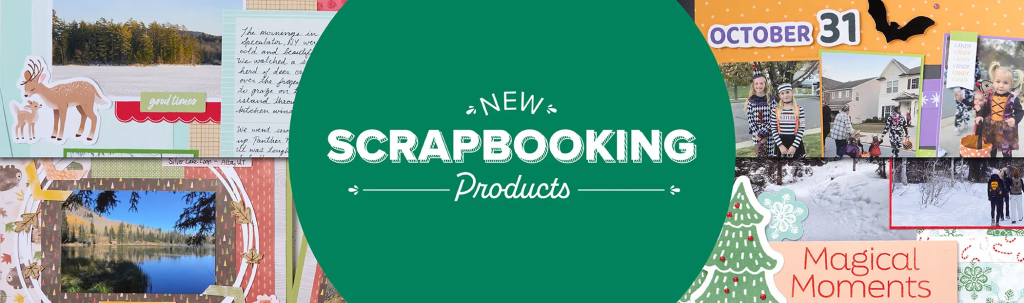
There are new kits available beginning Sep 4 – (yesterday) check those out by clicking here.


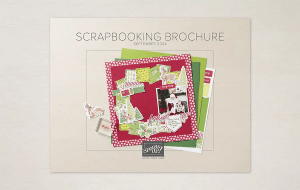
This is a digital-only scrapbooking brochure, full of scrapbooking essentials and exciting new products. As a companion brochure to the September–December 2024 Mini Catalog, the products inside coordinate with products from the mini catalog (and some online only products, too!). With Workshop Kits and some new product releases *hint* Two-Tone Cardstock *hint*, we hope this adds variety and inspiration to your and your customers’ holiday crafts this year! If you are into making memories – click the image below to view the Stampin’ Up! Scrapbooking Brochure
OK, how else may I help you? Remember that when you shop with me, there are benefits… with a $50 order, receive a SU! item valued up to $10. Use my HOST CODE so that I’m sure to get that item to you. Plus monthly tutorials are sent with a $50 order as well – for September it features the Autumn Expressions Bundle, a new bundle in the Sep-Dec Mini Catalog.
host code ZBAU6PKX
Thanks for stopping by. May you have a beautiful day. Make someone happy sending them a handmade card filled with love