Hi Everyone. Ever have one of those nights where sleep is over at 3 AM? It doesn’t happen to me often but it certainly did last night/ this morning… I’ll probably need a nap when I finish this post! I had fun creating five cards with the Memories and More Card Pack, Cards and Envelopes and made five pretty quickly. Because the Cards and Envelopes are all the 2020-2022 In Colors, I wanted to do one of each. I layer, it’s just what I do, so I’ll list all the products used after the pictures.

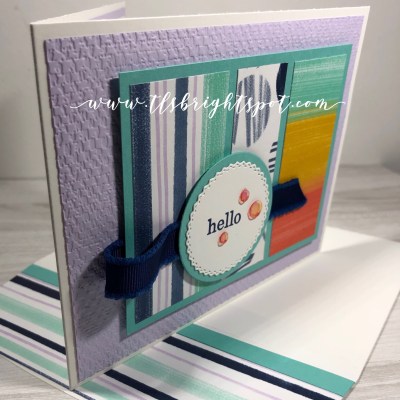
Flowers For Every Season Memories and More Card Pack #1
Butterfly Wishes stamp set, inside #1

Detailed Bands Dies, inside #2

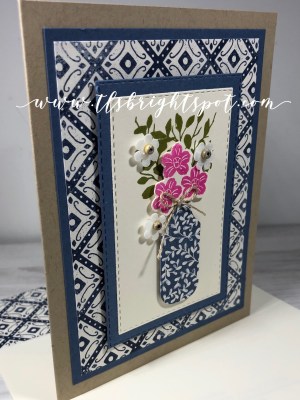
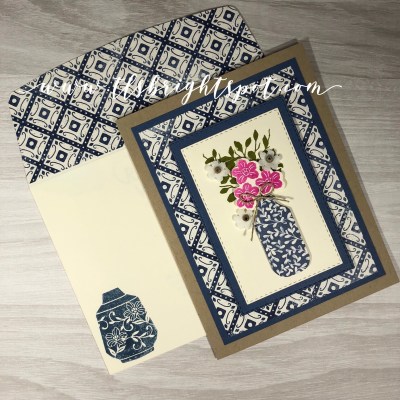
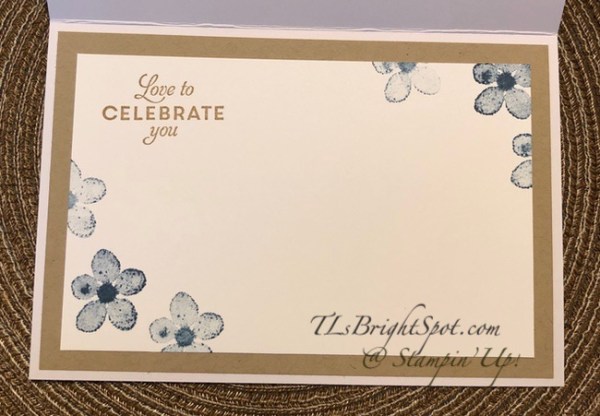
Flowers For Every Season Memories & More Card Pack #2

Flowers For Every Season Memories & More Card Pack #3

Tasteful Touches stamp set, inside #3

Flowers For Every Season Memories & More Card Pack #4
Daisy Lane stamp set, inside #4

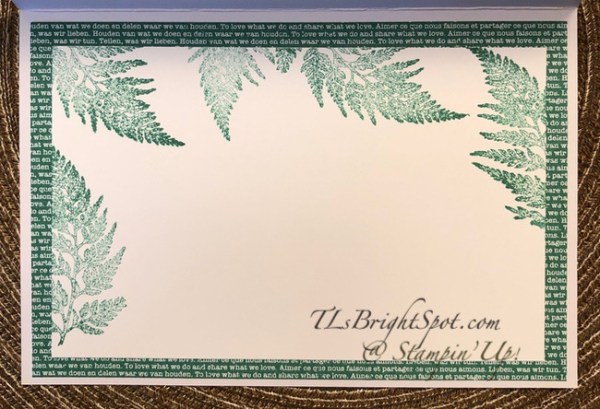
Flowers For Every Season Memories & More Card Pack #5

Flowers For Every Season Memories & More Card Pack #5 inside
Aren’t these a fun set? Next project I think is to make a box for them ~ maybe for tomorrow’s post 🙂 At any rate, these were my 3 AM creations… not napping now, our LIVESTREAM worship service begins soon. I keep getting distracted, phone calls, breakfast, life… so this post has taken longer than it should have. Ah well.
Product list:
Ribbons
- Flowers For Every Season Ribbon combo Pack ~ Whisper White 1/2″ Faux Linen
- 2020-2022 In Color Ribbon ~ Cinnamon Cider, Just Jade
- 3/16″ Braided Linen Trim
- 1/4″ Gingham Ribbon
Papers
- 2020-2022 In Color DSP
- Whisper White, Bumblebee, Crumb Cake, Just Jade
Stamp sets/ Dies/ Punches
- Butterfly Wishes,Tasteful Touches, Daisy Lane
- Detailed Bands Dies
- Timeless Label Punch, Butterfly Duet Punch
Embellishments
- Pearl Basic Jewels, Gold Glitter Enamel Dots, Boho Indigo Product Medley – flowers
Inks/ Markers
- Just Jade, Cinnamon Cider, Misty Moonlight inks
- Misty Moonlight, So Saffron markers
OK – now it’s your turn to go create some fun cards using the Flowers For Every Season Memories and More Card Pack. If you do not have a demonstrator I would be happy to work with you, send a catalog, get you connected. When you order from me, please use my host code when your order is $50-$150 to receive a SU! item worth $10 from me. If your order is more than $150, do not use the host code… as SU! will allow you to use Rewards to order additional products. Right now SU! is offering BONUS DAYS from now through Aug 3. During that time you will earn a $5 coupon for every $50 order… and that coupon can be redeemed Aug 4-31. August 4 is also when the August- December 2020 M ini Catalog goes live for customers – and I can send that catalog to you as well 😏👌

Thanks for stopping by.
May you have a beautiful day.
Make someone happy by sending them a handmade card made with love.