It’s Thursday and time for another Krew Blog Hop! See what fun creations have been made for this sketch challenge.


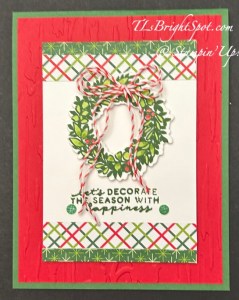
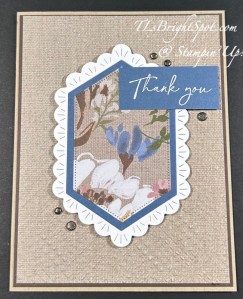
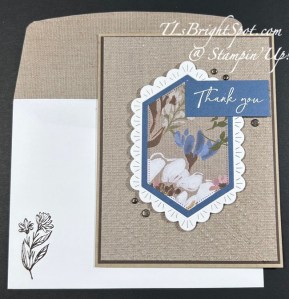
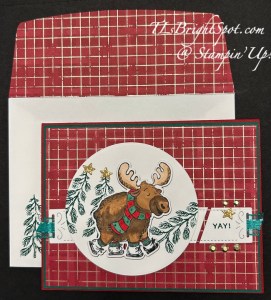
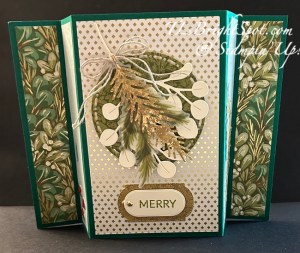
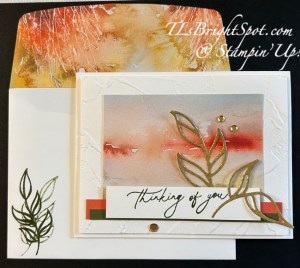
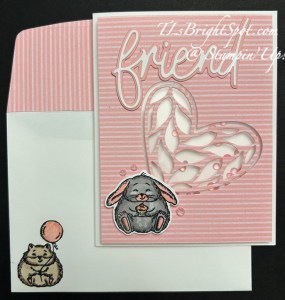
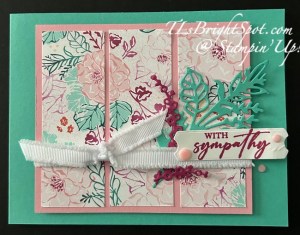
This was a fun card to do , a different kind of sketch. I love mixing papers and this was a perfect opportunity to do that. The DSP is Take a Bow 6×6 DSP (page 39) from the Sep-Dec 2024 Mini Catalog that goes live Sep 4. And this wreath is from Sophisticated Sled from the ONLINE store. More items from the Sep-Dec 2024 Mini catalog are: the Birch Wood 3D embossing folder (page 31) to add texture to the large red panel in the background. and the ribbon is Real Red & White Baker’s Twine found on page 27. The embellishments are called Earth Tones Shimmer Gems and are found on page 31.
- Card base – Garden Green 4 1/4 x 11 scored at 5 1/2
- Real Red layer – 4 x 5 1/4 embossed with the Birch Wood 3D EF
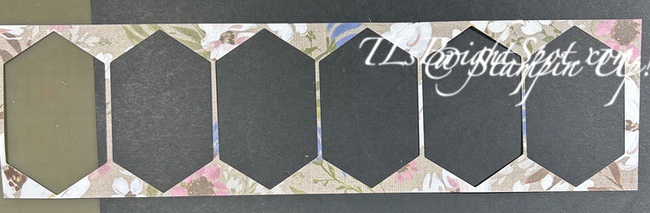
- Basic White – 3 x 4 1/2 with strips of Take a Bow 6×6 DSP, 1/4″ and 1/2″ widths, sentiment from Sophisticated Sled stamped in Garden Green ink, added to card front with dimensionals
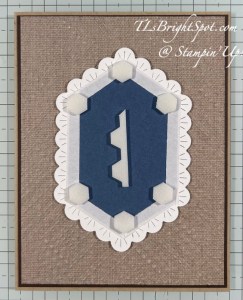
- Wreath – from Sophisticated Sled stamped in Garden Green ink & colored w/ Stampin’ Blends Granny Apple Green and Real Red, die cut with Sophisticated Sled Dies & added to card front with dimensionals
- The double bow is Real Red and White Bakers Twine and added with a glue dot.
- Embellishments are Earth Tone Shimmer Gems in Garden Green

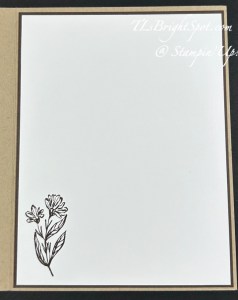
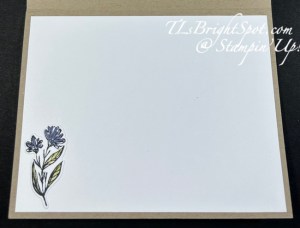
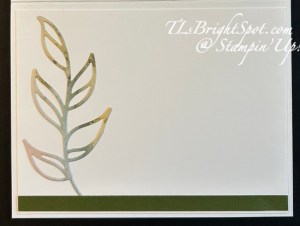
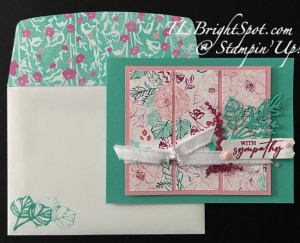
For the inside of the card, Real Red is cut 4 x 5 1/4 and added to the card base. A basic White panel cut same size as the front piece (3 x 4 1/2) is stamped with a sentiment from Sophisticated Sled in Garden Green ink and a cardinal from Sophisticated Sled stamped in Memnto ink and colored w/ Stampin’ Blends Real Red.
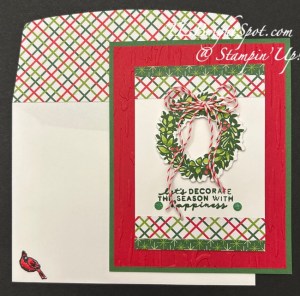
For the envelope, I used another panel of the Take a Bow 6×6 DSP to add to the flap, trimmed to fit, and stamped this same cardinal from Sophisticated Sled in Memento ink and colored it in Stampin’ Blends Real Red.
You can find a link to my store below to purchase these supplies beginning Sep 4 when the Mini catalog goes live. For now, take a tour of the names below who are participating in today’s hop and see the creative expression. Click the next button to see what Tara has for you, or click a name to visit someone else. Happy Hopping.

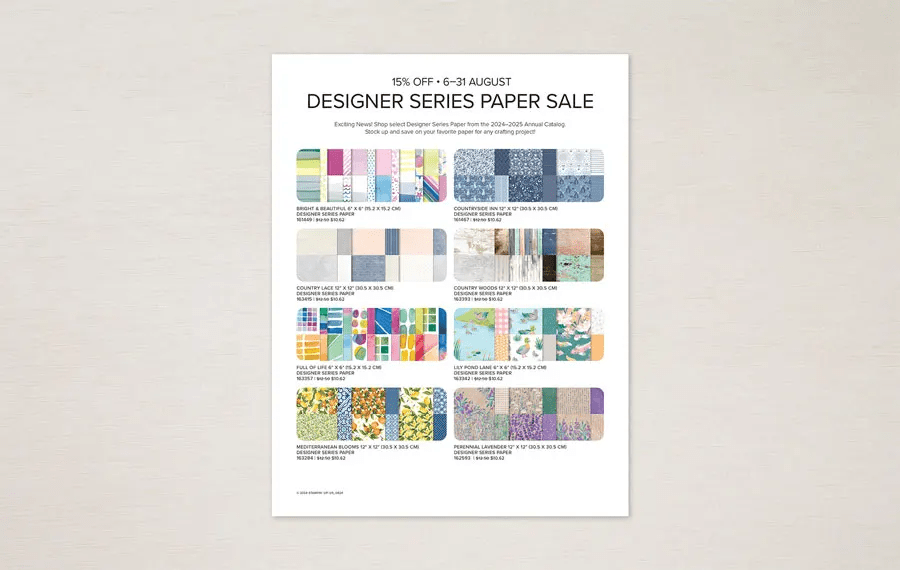
The Designer Series Paper Sale is nearing it’s last days… Aug 31 to be exact. Remember that DSP is from the 2024-2025 Annual Catalog – and you can see those papers by clicking here. And remember, that sale ends MT at midnight the 31st – you have today, tomorrow and Saturday :O)
Other things to remember as you look in my store:
- Stampin’ Up! has CTMH products available for anyone to purchase, while supplies last. These items were originally reserved for those CTMH individuals who came under the umbrella of Stampin’ Up! and now are available to everyone – yeah!
- Use my current HOST CODE when you purchase to receive bonus points… with a $50 purchase receive a Stampin’ Up! item valued up to $10
- new host code ZBAU6PKX
Enjoy the hop today! make someone happy by sending them a
handmade card filled with love.