Hi Everyone – A reminder of the the 10% off sale at Stampin’ Up Tues Nov 24.

Here’s a list of some of my favorite top ten stamp sets that are included in the sale…
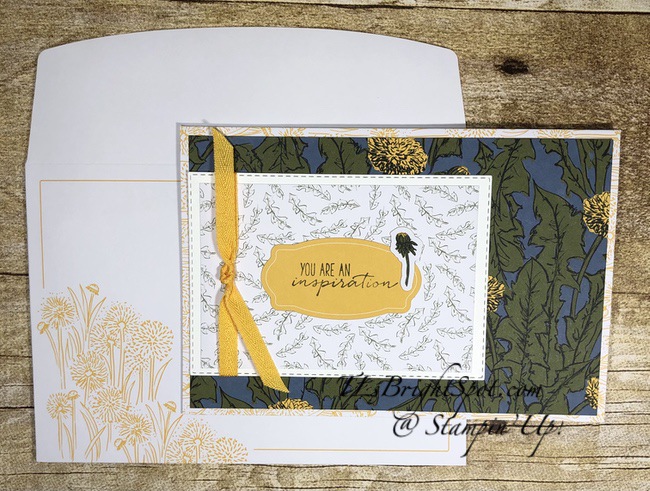
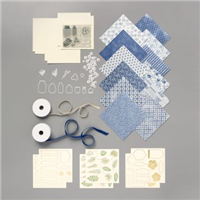
- Boho Indigo Product Medley item # 153132 pg 9 – a perfect gift for a crafter
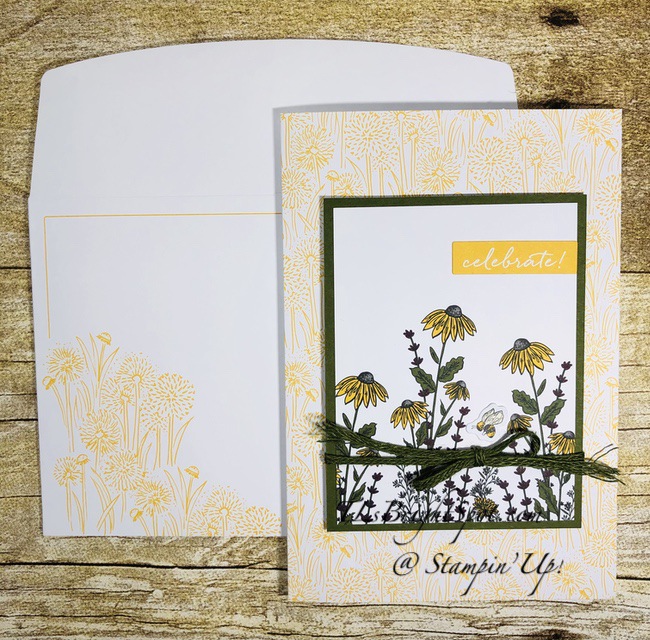
- Celebrate Sunflowers Bundle item # 154065 pg 13
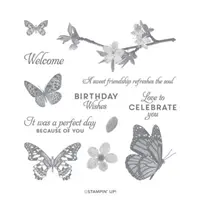
- Butterfly Wishes stamp set item # 149346 pg 16
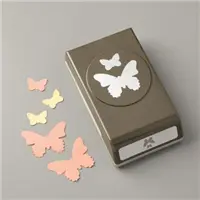
- Butterfly Duet Punch item #148523 pg 165 (coordinates with #3)
- Painted Poppies Bundle item # 154091 pg 18
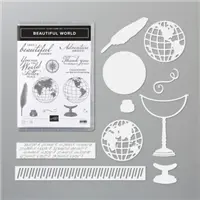
- Beautiful World Bundle item # 154091 pg 26
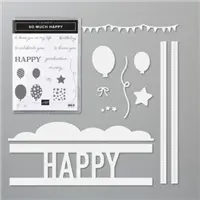
- So Much Happy Bundle item # 154076 pg 45
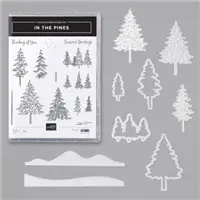
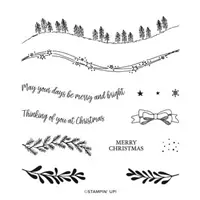
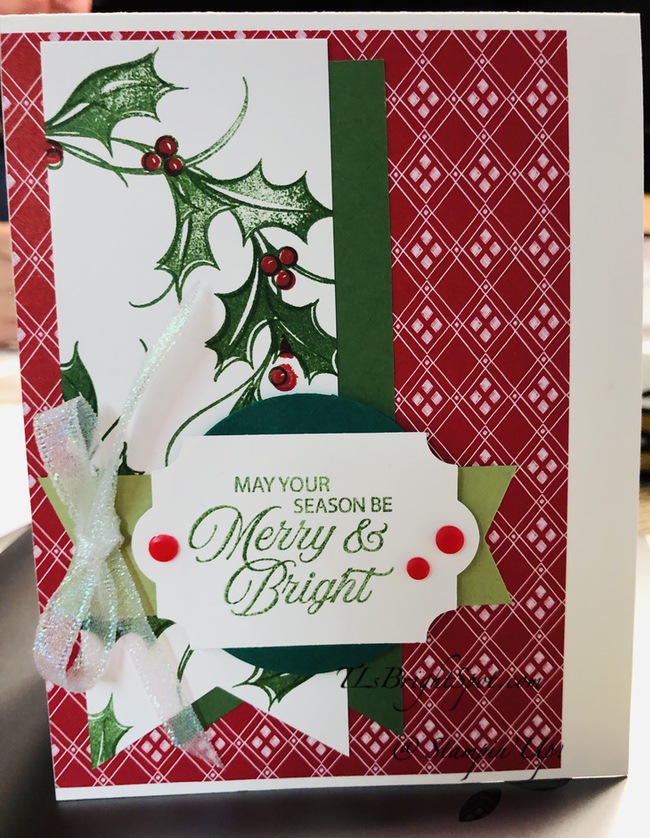
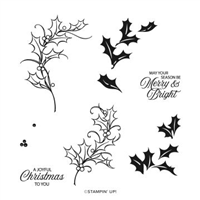
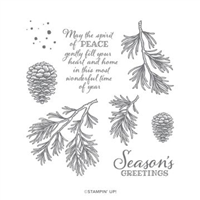
- Peaceful Boughs stamp set item 150541 pg 57
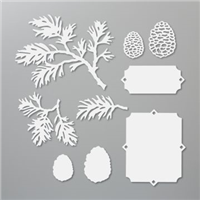
- Beautiful Boughs Dies item item # 150661 pg 180 (coordinates withe #8)
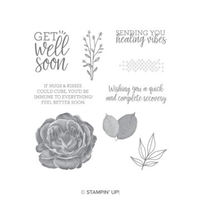
- Healing Hugs stamp set item # 148223 pg 72


If you look at the catalog, you’ll notice I didn’t get very far in listing some of my favorites. 🙂 I could easily make a list of 25 or more!
Below are my favorite tools for creating cards/ boxes, gifts – many can be stocking stuffers! Be sure to share these with your spouse. Tuesday Nov 24 – BIG Stampin’ Up! Shopping Day – 10% off!!! I literally use every item every day.
- Stamparatus item # 146276 pg 164
- Stamparatus DeluxeFoam Mat item # 150866 pg 164
- Take Your Pick Tool item item # 144107 pg 159
- Paper Snips item # 103579 pg 159
- Bone Folder item # 102300 pg 159
- Paper Trimmer item # 152392 pg 151
- cutting Blades Multipack item # 152334 pg 151
- Simply Scored Scoring Tool item # 122334 pg 151
- Simply Shammy


Here is a list of what IS NOT included in the sale…
Item Number Name
150581 HARVEST HELLOS CLING STAMP SET (ENGLISH)
101406 JET BLACK STAZON PAD
101780 WHISPER WHITE CRAFT STAMPIN’ INK REFILL
102283 VERSAMARK PAD
102566 JET BLACK STAZON INK REFILL
102845 BLENDER PENS
103683 GLUE DOTS
105117 PUMPKIN PIE 8-1/2″ X 11″ CARDSTOCK
105229 PUMPKIN PIE CLASSIC STAMPIN’ INK REFILL
107300 VERY VANILLA MEDIUM ENVELOPES
109196 STAZON CLEANER
110755 MULTIPURPOSE LIQUID GLUE
120279 CLEAR BLOCK CADDY
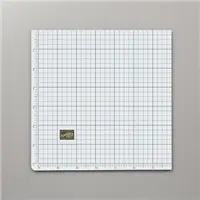
130148 GRID PAPER
132708 TUXEDO BLACK MEMENTO INK PAD
133324 SCALLOPED TAG TOPPER PUNCH
133456 TUXEDO BLACK MEMENTO INK REFILL
133773 SPONGE DAUBERS
137858 PREPAID PAPER PUMPKIN SUBSCRIPTION 1-MONTH
137859 PREPAID PAPER PUMPKIN SUBSCRIPTION 3-MONTH
137860 PREPAID PAPER PUMPKIN SUBSCRIPTION 6-MONTH
137861 PREPAID PAPER PUMPKIN SUBSCRIPTION 12-MONTH
138292 TRIPLE BANNER PUNCH
138309 FINE-TIP GLUE PEN
141822 UNINKED STAMPIN’ SPOTS
147086 PUMPKIN PIE CLASSIC STAMPIN’ PAD
147154 MANY MARVELOUS MARKERS
147277 UNINKED STAMPIN’ PAD & WHISPER WHITE REFILL
148213 STAMPARATUS MAGNETS
149167 TOPPER LID
149168 INK PAD & MARKER STORAGE
149169 STAMPIN’ BLENDS STORAGE
149170 TOPPER STORAGE
149171 OPEN STORAGE
149518 DELIGHTFUL TAG TOPPER PUNCH
149653 STAMPIN’ CUT & EMBOSS MACHINE
149695 CRAFT & CARRY STAMPARATUS BAG
149699 STAMPIN’ SEAL+
150457 HOLIDAY RHINESTONE BASIC JEWELS
150667 TRIO OF TAGS DIES
151508 SADDLE BROWN STAZON INK PAD
152477 ARTISTRY BLOOMS ADHESIVE-BACKED SEQUINS
152711 FANCY TAG TOPPER PUNCH
152812 STAMPIN’ SEAL+ REFILL
152813 STAMPIN’ SEAL
152814 STAMPIN’ SEAL REFILL
152820 SADDLE BROWN STAZON INK REFILL
152883 LOVELY LABELS PICK A PUNCH
153069 MINI PAPER PUMPKIN B0X
153155 2019-2020 EXPERIENCE CREATIVITY US (8 PACK)
154137 PLAYING WITH PATTERNS SUITE COLLECTION (ENGLISH)
154711 SPECIALTY PLATE
155236 US ANNUAL 2020-21 (8PK)
155244 2020–2021 ANNUAL CATALOG US (SINGLE)
100730 WHISPER WHITE 8-1/2″ X 11″ CARDSTOCK
124302 WHISPER WHITE 12″ X 12″ (30,5 X 30,5 CM) CARDSTOCK
101650 VERY VANILLA 8-1/2″ X 11″ CARDSTOCK
144237 VERY VANILLA 8-1/2″ X 11″ THICK CARDSTOCK
144239 VERY VANILLA 12″ X 12″ (30.5 X 30.5 CM) CARDSTOCK
140272 WHISPER WHITE 8-1/2″ X 11″ THICK CARDSTOCK
145829 WHISPER WHITE 3″ X 3″ (7.6 X 7.6 CM) ENVELOPES
131527 WHISPER WHITE NOTE CARDS & ENVELOPES
107301 WHISPER WHITE MEDIUM ENVELOPES
144236 VERY VANILLA NOTE CARDS & ENVELOPES
147155 REGALS STAMPIN’ WRITE MARKERS
147156 SUBTLES STAMPIN’ WRITE MARKERS
147157 BRIGHTS STAMPIN’ WRITE MARKESRS
147158 NEUTRALS STAMPIN’ WRITE MARKERS
150079 2019–2021 IN COLOR STAMPIN’ WRITE MARKERS
153125 2020–2022 IN COLOR STAMPIN’ WRITE MARKERS
152677 SUMMER DAYS HOST CLING STAMP SET
153497 TOUCHED MY HEART HOST CLING STAMP SET
149656 MAGNETIC CUTTING PLATE
127551 FULL WOOD-MOUNT STAMP CASES
As a thank you to my customers, when the order is between $50-$150 I offer a SU! item of your choice valued at $10. Remember to use MY CURRENT HOST CODE SVFB9YJY – good until Dec 3, 2020. When the order is over $150, you still receive that free gift from me, but SU! has Stampin’ Rewards that may be used for additional products 😁 If you have questions, do not hesitate to contact me either here on my blog or at tlsbrightspot@gmail.com. Thanks for shopping with me.
Thanks for stopping by.
May you have a beautiful day.
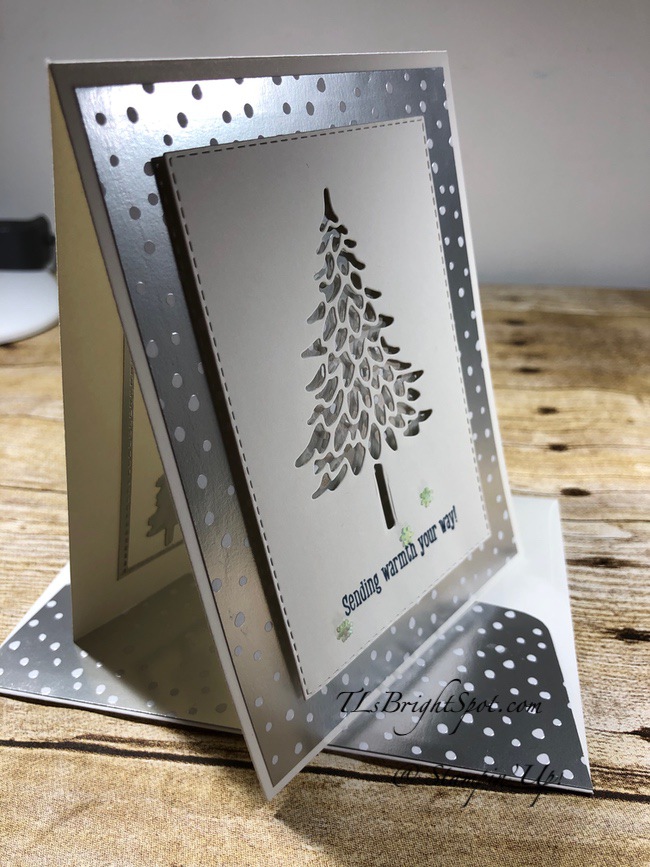
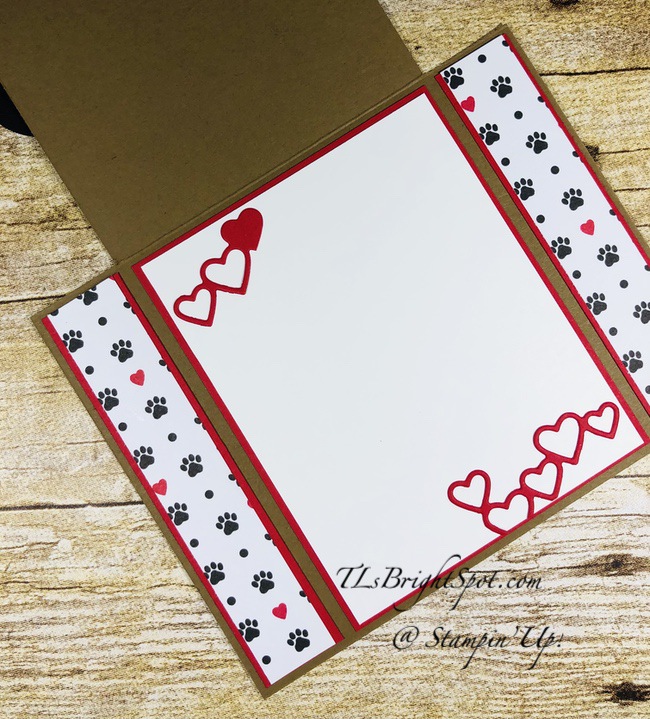
Make someone happy by sending them a handmade card filled with love.