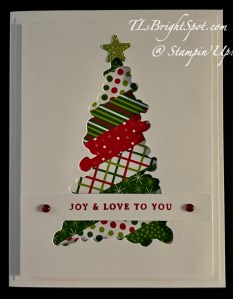
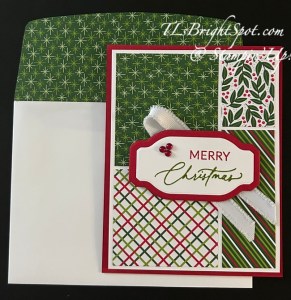
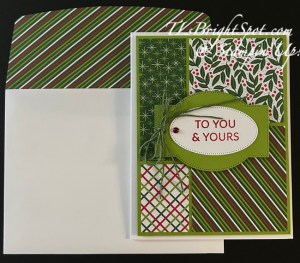
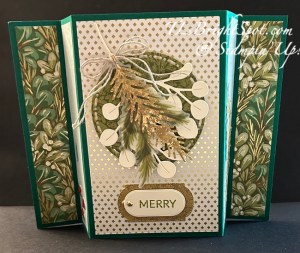
Good Friday morning! We had a team meeting recently and the Sentimental Wishes bundle was used for three presentations. This card is elegant and stunning.
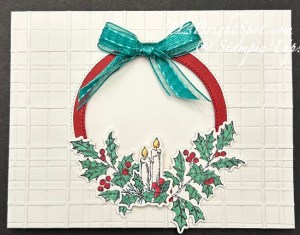
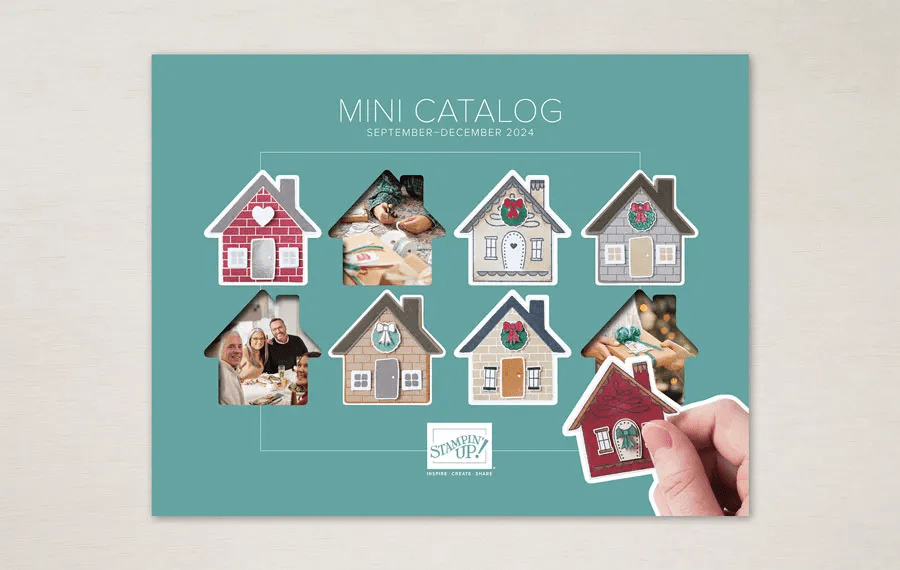
First of all, I love the Forever Plaid 3D embossing folder from the Sep-Dec 2024 Mini Catalog. It adds wonderful texture to this card. The Stitched Shapes Dies (circles) feel as though I’m looking through a special window – and I love the Shaded Spruce Satin and Sheer Ribbon bow! Let’s create this together.
- Cut a Thick Basic White card base 8 1/2 x 5 1/2, score at 4 1/4 and set aside.
- Cut a Basic White panel 4 1/4 x 5 1/2, place the largest Stitched Shape circle die in the center and die cut. Take this same piece and run it through the Forever Plaid 3D embossing folder. Hint: Because this is a linear folder, I tend to use the black line as my guide for making sure the lines are straight and square using this folder.
- Cut a Cherry Cobbler panel 4 x 5 1/4 and with the next to largest circle in the Stitched Shapes Dies, center the die and die cut. Layer this panel to the back side of the embossed panel with adhesive of choice. Add to the Thick Basic White card front with dimensionals.
- On Basic White scraps, stamp the candle image and two holly images from Sentimental Wishes stamp set in Memento ink. Color with Stampin’ Blends: flame- Lemon Lolly and Light Pumpkin Pie; holly leaves – Shaded Spruce; berries – Cherry Cobbler; candle shading – Light Gray Granite. Add Wink of Stella to the flame & the dripping wax for a bit of sparkle. Die cut pieces with the Sentimental Wishes Dies.
- Add holly branches with glue dots and candles w/ holly on dimensionals to the card front circle.
- Add the bow made from Shaded Spruce Satin & Sheer Ribbon with a glue dot – and the front is complete – elegance personified!
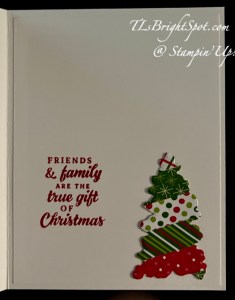
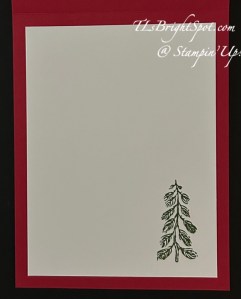
For the inside…
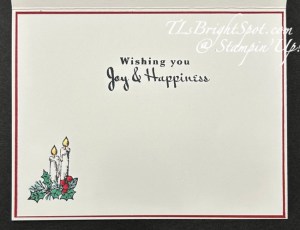
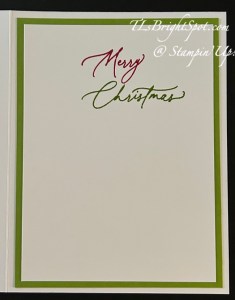
On the Basic White panel 4 x 5 1/4, stamp the sentiment from Sentimental Wishes stamp set in Memento ink. Stamp the candle image from this set, also in Memento ink. Color as on card front. Adhere this to a Cherry Cobbler panel 4 1/8 x 5 3/8 and add to inside of card. Fait accomplis’ – and beautiful!
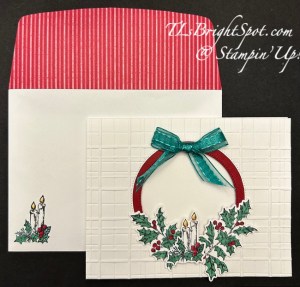
For the envelope I added a panel of Regals 6×6 DSP to the envelope flap and trimmed to fit. On the front, I stamped the candle image once more in Memento ink and colored as before. Love, love this card! Thank you Karen Ksenzakovich, for your creation and demonstration during our team meeting.
Want to make this card? All items, except the card stock, may be found in the Sep-Dec 2024 Mini Catalog. Click the image below.
I appreciate your business and welcome any questions regarding sales or creating or joining my team. Make sure when shopping with me, that you see my name at the top as your demonstrator. That way I can send you a Stampin’ Up! giftie and you can earn rewards – with a $50 order or more. You also receive the monthly tutorial for that particular month – September is Autumn Expressions.
Click here to view the 2024-2025 Annual Catalog – card stock, adhesives, more stamps and die sets, cut & emboss machines, tools and more tools for creating awesome cards and gifts. – all are available in this catalog.
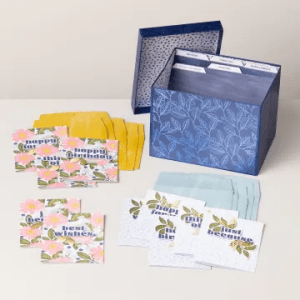
There are new kits available beginning Sep 4 – check by clicking here.

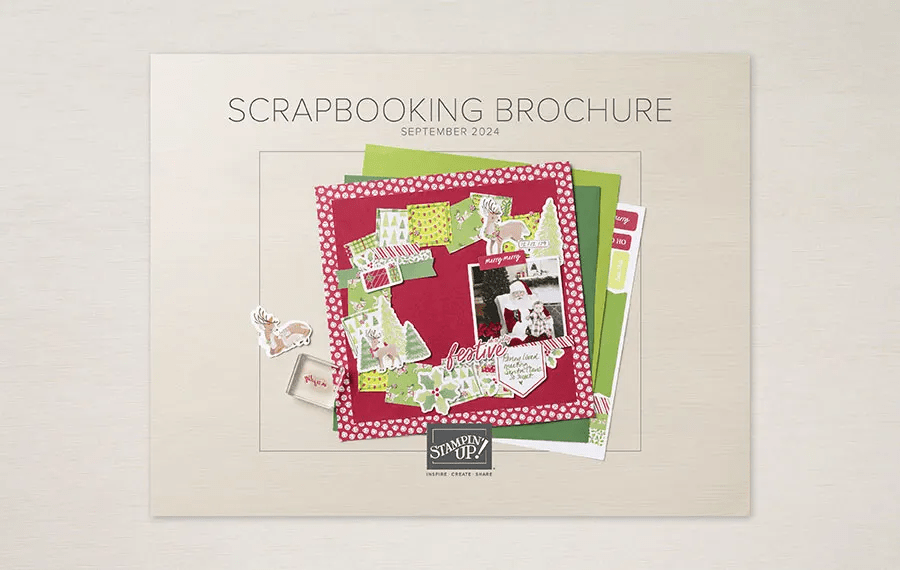
There are new scrapbooking supplies available, click here! Also – click on the brochure for other information. This is a digital-only scrapbooking brochure, full of scrapbooking essentials and exciting new products. As a companion brochure to the September–December 2024 Mini Catalog, the products inside coordinate with products from the mini catalog (and some online only products, too!). With Workshop Kits and some new product releases *hint* Two-Tone Cardstock *hint*, we hope this adds variety and inspiration to your and your customers’ holiday crafts this year!
Products will be available like our Online Exclusive releases, meaning that some products will be reordered when inventory is low, and others will only be available while supplies last.
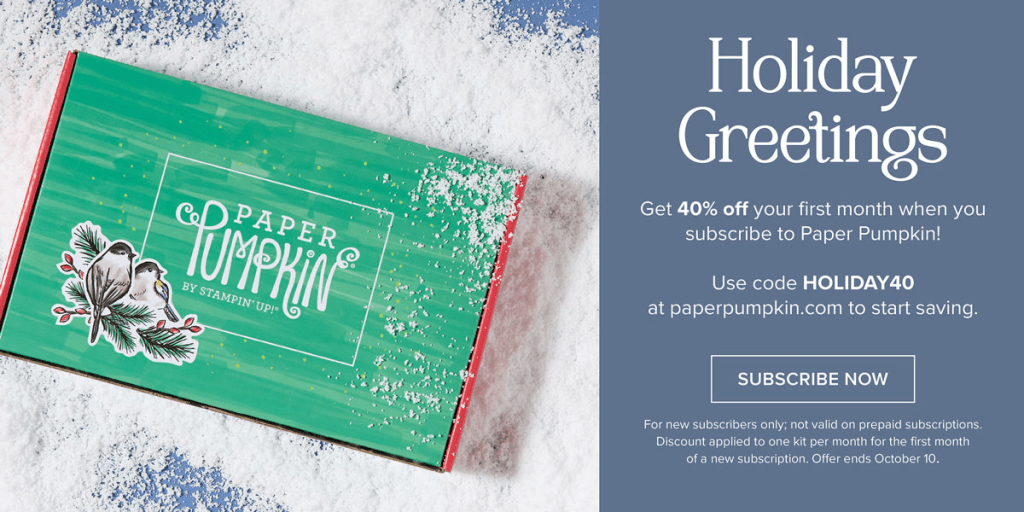
Santa Claus is comin’ to town a bit early this year—and he’s brought a holiday Paper Pumpkin sale! Starting September 11, 2024, at 12:01 a.m. (MT) until October 10, 2024, at 11:50 p.m. (MT), anyone who signs up for our monthly Paper Pumpkin subscription as a new subscriber will receive 40% off their first kit. That’s right, 40% OFF!
Where This Discount Is Applied
This discount will be applied to one kit in the first kit shipment of the Paper Pumpkin subscription, which means new subscribers will get 40% off the October Nests of Christmas Paper Pumpkin Kit. After that, each month’s kit will return to the regular price of $25.00.
Qualifying for This Discount
This offer is only for new month-to-month subscribers and is not valid on purchased or redeemed prepaid subscriptions.
Now that you’ve read through all the details, it’s time to head to paperpumpkin.com to subscribe and use code HOLIDAY40 to get 40% off your first month!
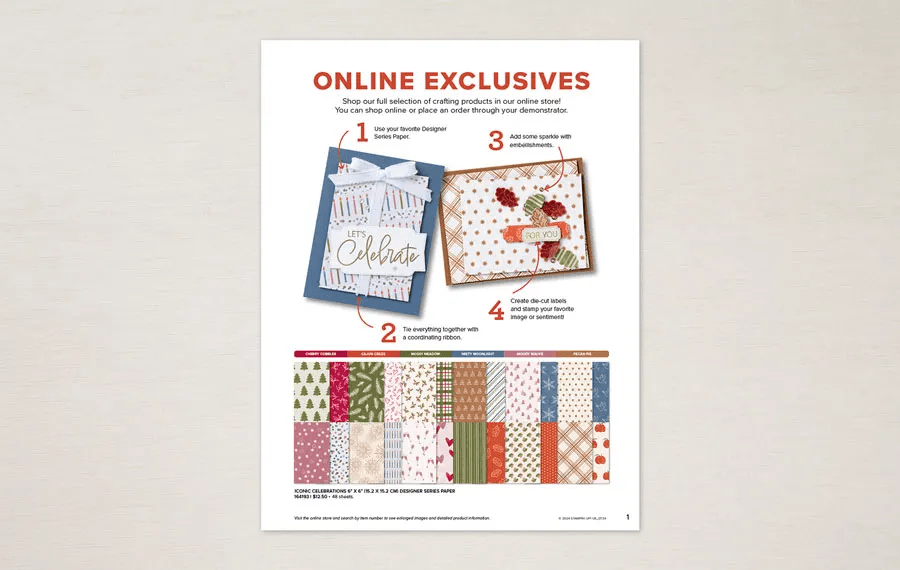
Click the image above to see that’s available in the ONLINE EXCLUSIVES!
Use my HOST CODE so I recognize you!
host code ZBAU6PKX
Thanks for stopping by. May you have a beautiful day. Make someone happy sending them a handmade card filled with lovem a handmade card filled with love