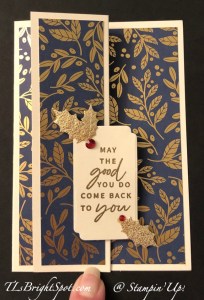
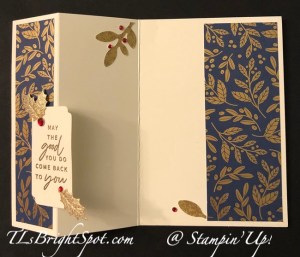
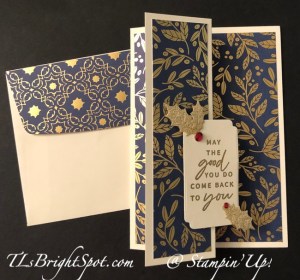
Good Sunday morning! My 4″ metal rings arrived yesterday afternoon and I couldn’t wait to play. Remember I posted the ornaments on 3″ rings the other day – that link is here.

I used the O Holy Night 12 x 12 DSP to cut a circle with the Deckled Circles Dies. Which one? Beginning with the smallest, count six circles – that’s the one :O) I cut a backing as well, but from Night of Navy card stock. I cut various star shapes using many of the dies in Stars of Night Dies from various papers: Distressed Gold, Shimmer Paper, Gold Foil, and Adhesive-Backed Gold Glimmer Paper. These are wonderful dies!!!
Instructions:
- Cut a length of ribbon about 20″ in length – possibly Linen Thread. Fold in half and slip the ring into the fold.
- Secure the Linen Thread at the bottom and top with a glue dot. (I used my grid paper to make certain it was centered.) Tie a double knot at top: left over right, then right over left.
- Slip the backing circle under both threads, centering the circle. Put a dimensional over the linen thread near the top of the circle.
- TWIST THE THREAD and secure in place with a dimensional near the bottom of the circle. Add more dimensionals as needed.
- Add top Designer Series Paper, matching notches in the deckles. I used O Holy Night 12 x 12 DSP.
- Add layers of die cut stars as desired. On the above ornament, the largest star is on dimensionals as is the smaller Shimmer Paper die cut and the very top star as well. I decorated the center of the star with an Iridescent Pearl.
- As a finishing touch, I tied a length of the Night of Navy & Gold Glitter Ribbon in a knot at the top of the metal ring.

In the Stars At Night stamp set is a stamp for the largest star and I stamped it on Basic White card stock in Night of Navy ink, three times, re-inking between each stamp. The key here is to have each paper cut 3 x 4 as the die for this star is attached on either side by another die. You can see in this photo I couldn’t wait for the 4″ metal ring and made this ornament on the 3″ ring. I like it so much better framed on the 4″ ring! True, the ornament is different, but… this larger star needs the larger ring, in my opinion. Here is a side view to better show the three stars adhered together.

And in the case of this ornament, I adhered the deckled circles to the ring, both back and front. This can fold flat for storage if needed.
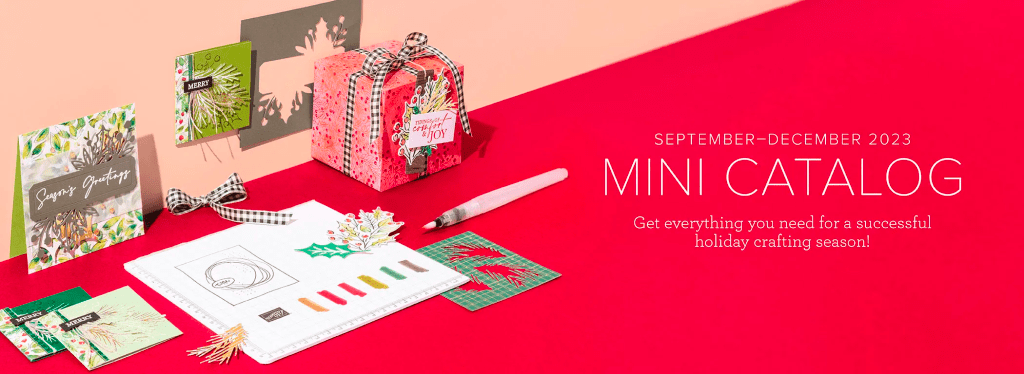
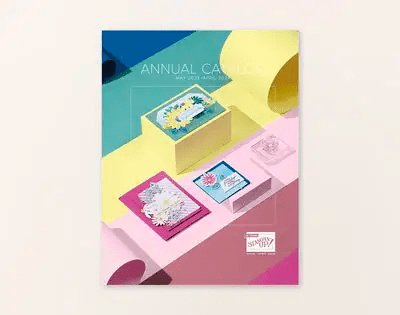
If you would like to order this or any other items, this is a link to my online store. You will find ONLINE EXCLUSIVES, Clearance Rack, Sep-Dec Mini Catalog, the Annual Catalog, kits, Paper Pumpkin – you name it. Shop at your convenience :O)
When ordering from me please use my HOST CODE 2J2X3YRM so that I receive proper notification and YOU GET THE Benefits of a FREE SU! item valued up to $10 :O) AND the Monthly Card Tutorial. If your order is over $150, please don’t use the host code as SU! has benefits. I’ll still be notified and you can receive that FREE ITEM!
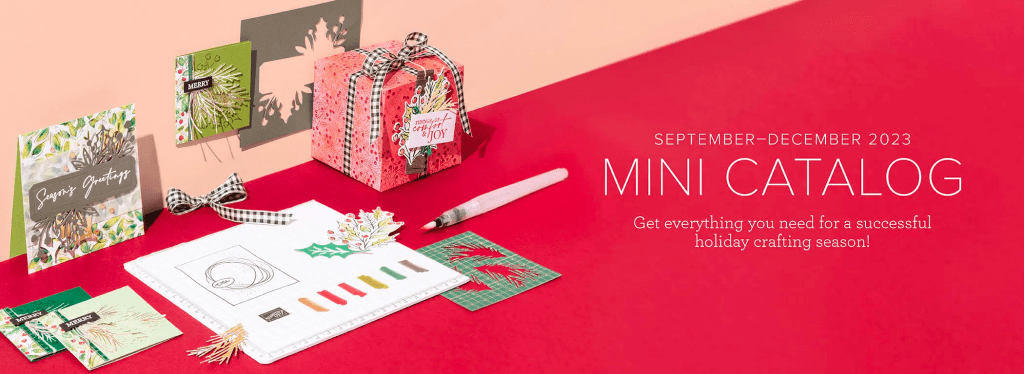
Note: Make sure that you can see my name on the final checkout page listed as your Demonstrator when you order so that you know that you’re ordering with me and you’ll get my rewards! PLUS… the monthly Online Tutorial when your oder is over $50. The October Tutorial features the beautiful Merriest Trees Bundle which can found in the Jul-Dec 2023 Mini Catalog on page 12!
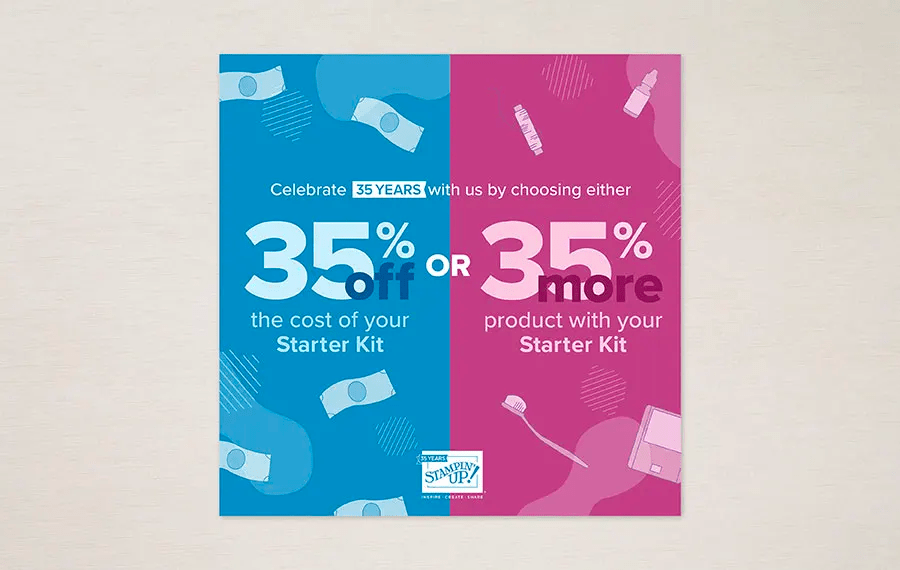
Stampin’ Up! is offering an amazing deal as they are celebrating 35 years in business.

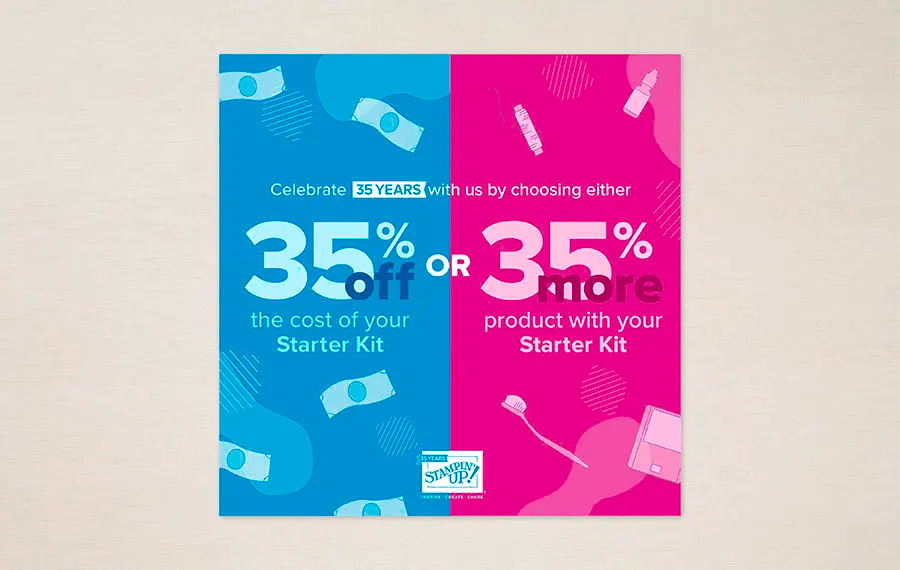
Starting Oct 3 and going through to Oct 31 is a Starter Kit Special you will not want to miss. Celebrating 35 years of Stampin’ Up!, new demonstrators will be able to choose 35% OFF the cost of their Starter Kit or get 35% MORE product with their Starter Kit.
With option 1 (35% off the normal cost of the starter kit), the new demo would receive $125 worth of products and pay $64.35 + tax. and of course, shipping is FREE.
With option 2 (35% more SU! product) the new demo would pay the usual $99 plus tax of course, and get $168.75 worth of SU! product that you get to choose! And as before – – shipping is FREE!
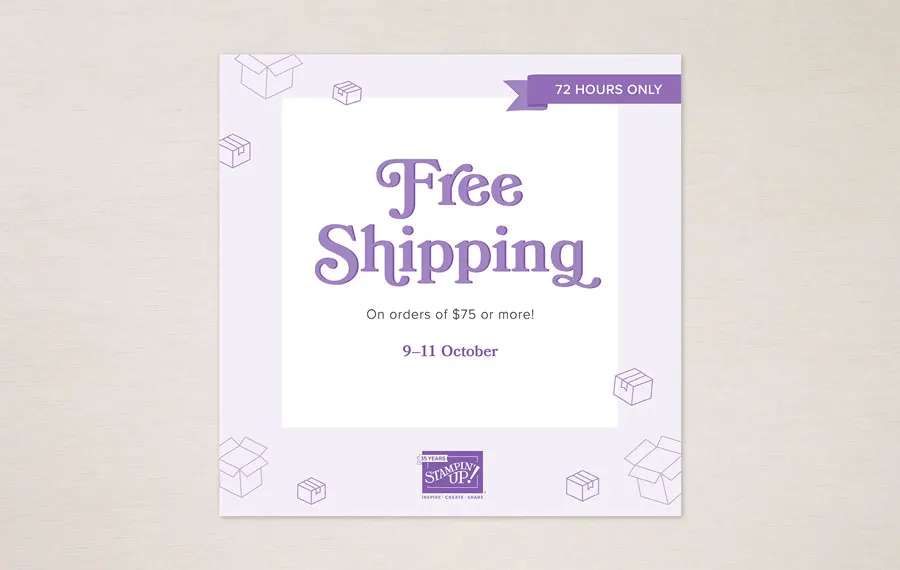
MORE – MORE – MORE… With either option, those who sign up for the starter kit between Oct 3 and Oct 31 will automatically get signed up for the ONSTAGE@HOME Registration, again FREE! This is a virtual event being held November 11. (Normally the cost of registration would be $77) If you join as demonstrator during the time frame mentioned, you will receive in your email, all the information necessary to attend this virtual event.
Have I intrigued you, inspired you, made you think maybe this is the time to join as a demonstrator? If so, – would love to have you. Remember, hobby demonstrator (for the 20% discount) or a business demo (at least 20% off all demonstrator orders – or more) or somewhere in between. It just doesn’t matter. What does matter is if you like to stamp, color, ink up, create – that’s where it all blends into having fun and doing it with others.
JOIN MY TEAM HERE.
BUT WAIT! There’s MORE!!
You’ll ALSO get FREE OnStage@Home Registration!
Those who sign up for a Starter Kit during this offer will also be automatically registered for FREE* to our virtual OnStage event on 11 November – that’s a $77 value! And – you don’t even have to travel – just do it from home. In your jammies, if you like!
- Those who sign up for this offer have the opportunity to watch the event independently, gathered together with other demonstrators, or with their Team Leader.
- Demonstrators who join during this promotion will be automatically added to the OnStage attendees; you won’t even need to register separately.
- Demonstrators who join during this promotion will also receive an email with all the information about this event.
Whether you’d like to start a little side business or simply take advantage of the awesome 20% discount, I would very much love for you to join my Krew team! We have a great time together – even though we live all over the country!
Thanks for stopping by. May you have a beautiful day!