Today is THE day of a two day 2x Stampin’ Rewards for purchases $20 & up. 2 fun! Celebrate National Scrapbooking Day with 2x Rewards for 2 Days!
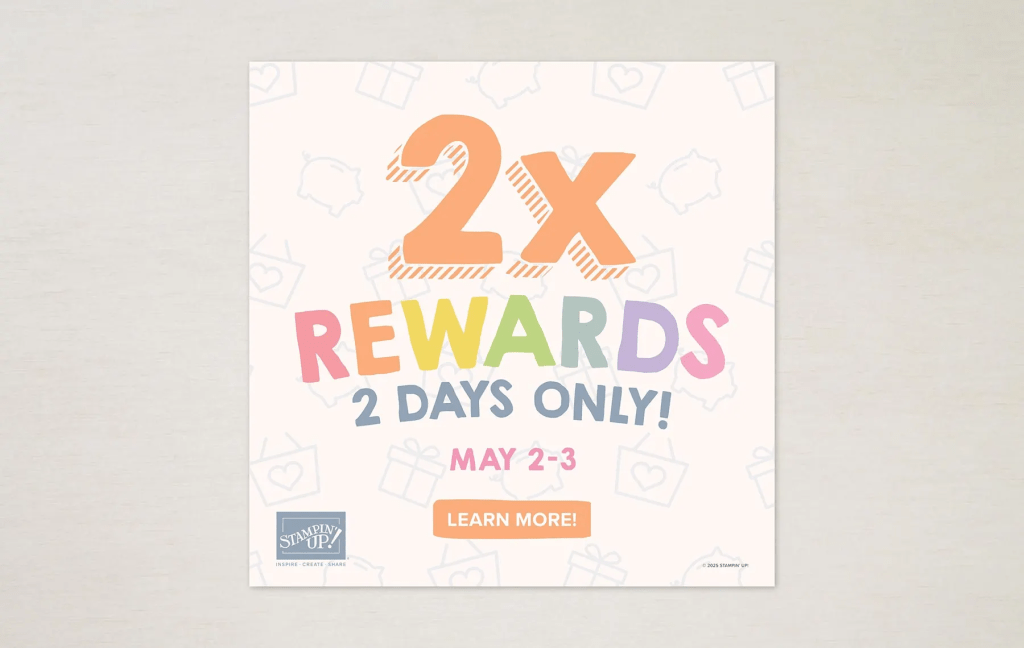
Have you heard? The global crafting community will be celebrating National Scrapbooking Day on May 3 —and we’re joining in the fun by offering you 2x Stampin’ Rewards for 2 days! Opt in if you haven’t done so yet!
What better way to celebrate one of our favorite crafting holidays? And the best part? This offer applies to ALL products, not just scrapbooking items! (Non-commissionable items and existing Paper Pumpkin subscriptions are excluded.)
- Earn double rewards (2x rewards) for two days only, from May 2–3!
- This offer applies to ALL products (excluding non-commissionable products and existing Paper Pumpkin subscriptions).
- All orders qualify once the rewards threshold of $20 USD | $25 CAD is met.
- To participate, customers must have a Stampin’ Up! account and be opted in to Stampin’ Rewards.
This includes LAST CHANCE PRODUCTS, items in the Jan-Apr 2025 Mini Catalog, the 2024-2025 Annual Catalog – scrapbooking supplies too!
Now – to the card for this post…
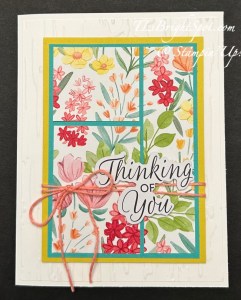
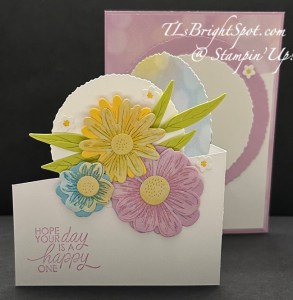
I made this card and was not going to post it, but… here it is. :O) It’s made with the retiring Floral Delight 12×12 DSP, Everyday Arches Dies (an ONLINE EC) AND the wonderful carrying over bundle, Lifetime of Love.
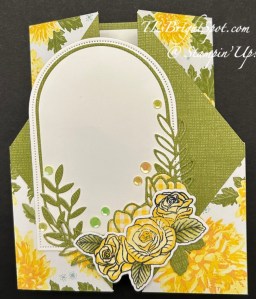
Notice – there is no sentiment on here, and it needs one. It’s screaming for one. I just couldn’t decide. It could be a Mother’s Day card or a birthday card or thinking of you… I need to figure that out. Here are basic directions for this layout.
- Cut DSP 5 1/2 x 12 and score @ 2, 4, 8, 10. Be award of the direction when cutting AND since both sides show, be aware of that too.
- On the short side of both ends, make a mark at 2 5/8″ from the top & cut from the closest score line to the mark. (Make certain when cutting each end that the cut is on the top side.) Save those trimmed pieces.
- Fold mountain, valley, valley & mountain; burnish
- Adhere those trimmed pieces to each front side
- Decorate as desired making certain when adding the die cut front pieces, that they adhere to only one side
- I used the 4th from largest of the Everyday Arches & Basic White card stock
- The green die cut if from a leftover piece of this same Floral Delight DSP and using the lifetime of Love Dies
- I stamped the the floral design in Memento ink – again from Lifetime of Love stamp set & colored it with Stampin. Blends Daffodil Delight and Old Olive, then highlighted the flowers with Wink of Stella
- Final touch on the front was several of the Adhesive Backed Shiny Sequins, another ONLINE EXCLUSIVE
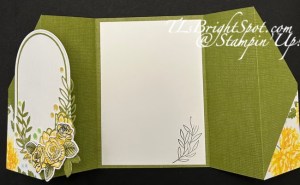
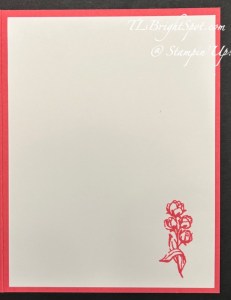
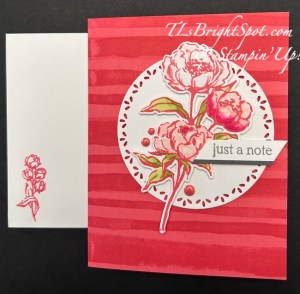
For the inside… on a Basic White 3 3/4 x 5 1/4 stamp the image in Old Olive ink using the Lifetime of Love stamp set. Adhere the Basic White panel to the inside.
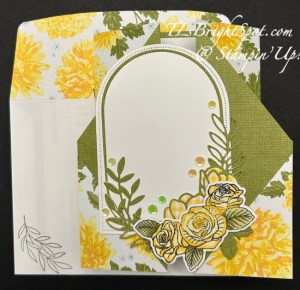
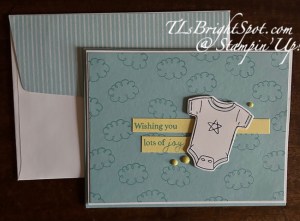
For the envelope… more Floral Delight DSP on the flap, adhered & trimmed to fit – and on the front, the same leaf stamped in Old Olive ink using the Lifetime of Love stamp set.
Shop with me by clicking here. For purchases of $50+ from me, you will receive the May Tutorial bundle in your in-box. Make sure my name is listed as your demonstrator when you check out :O)