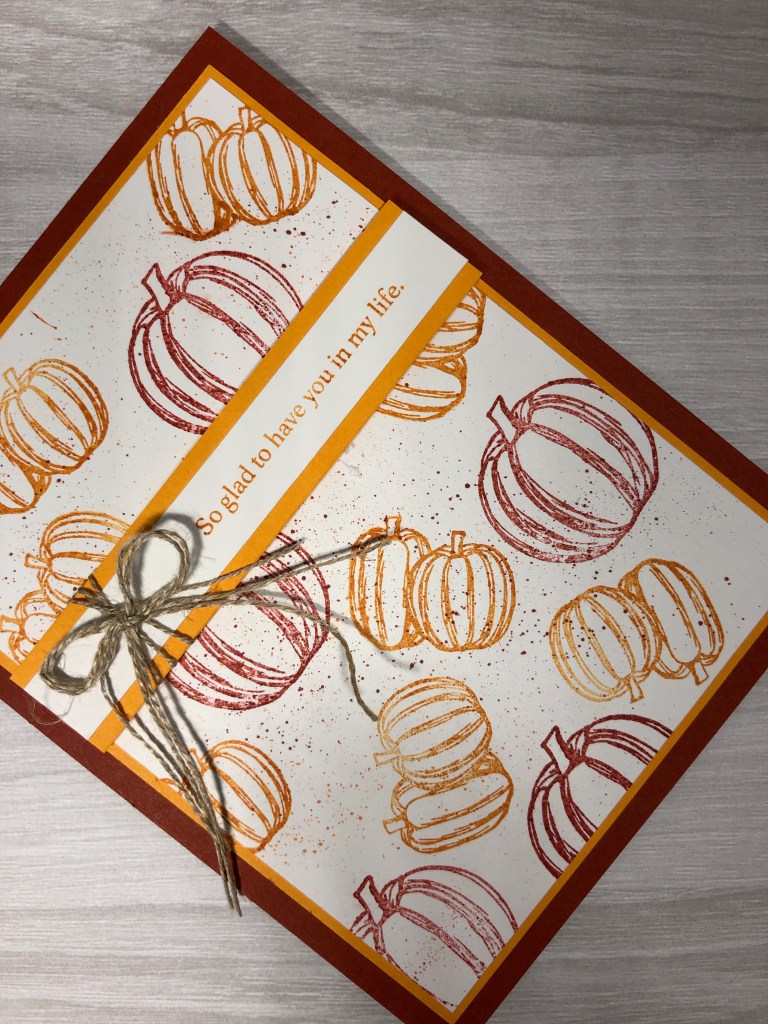
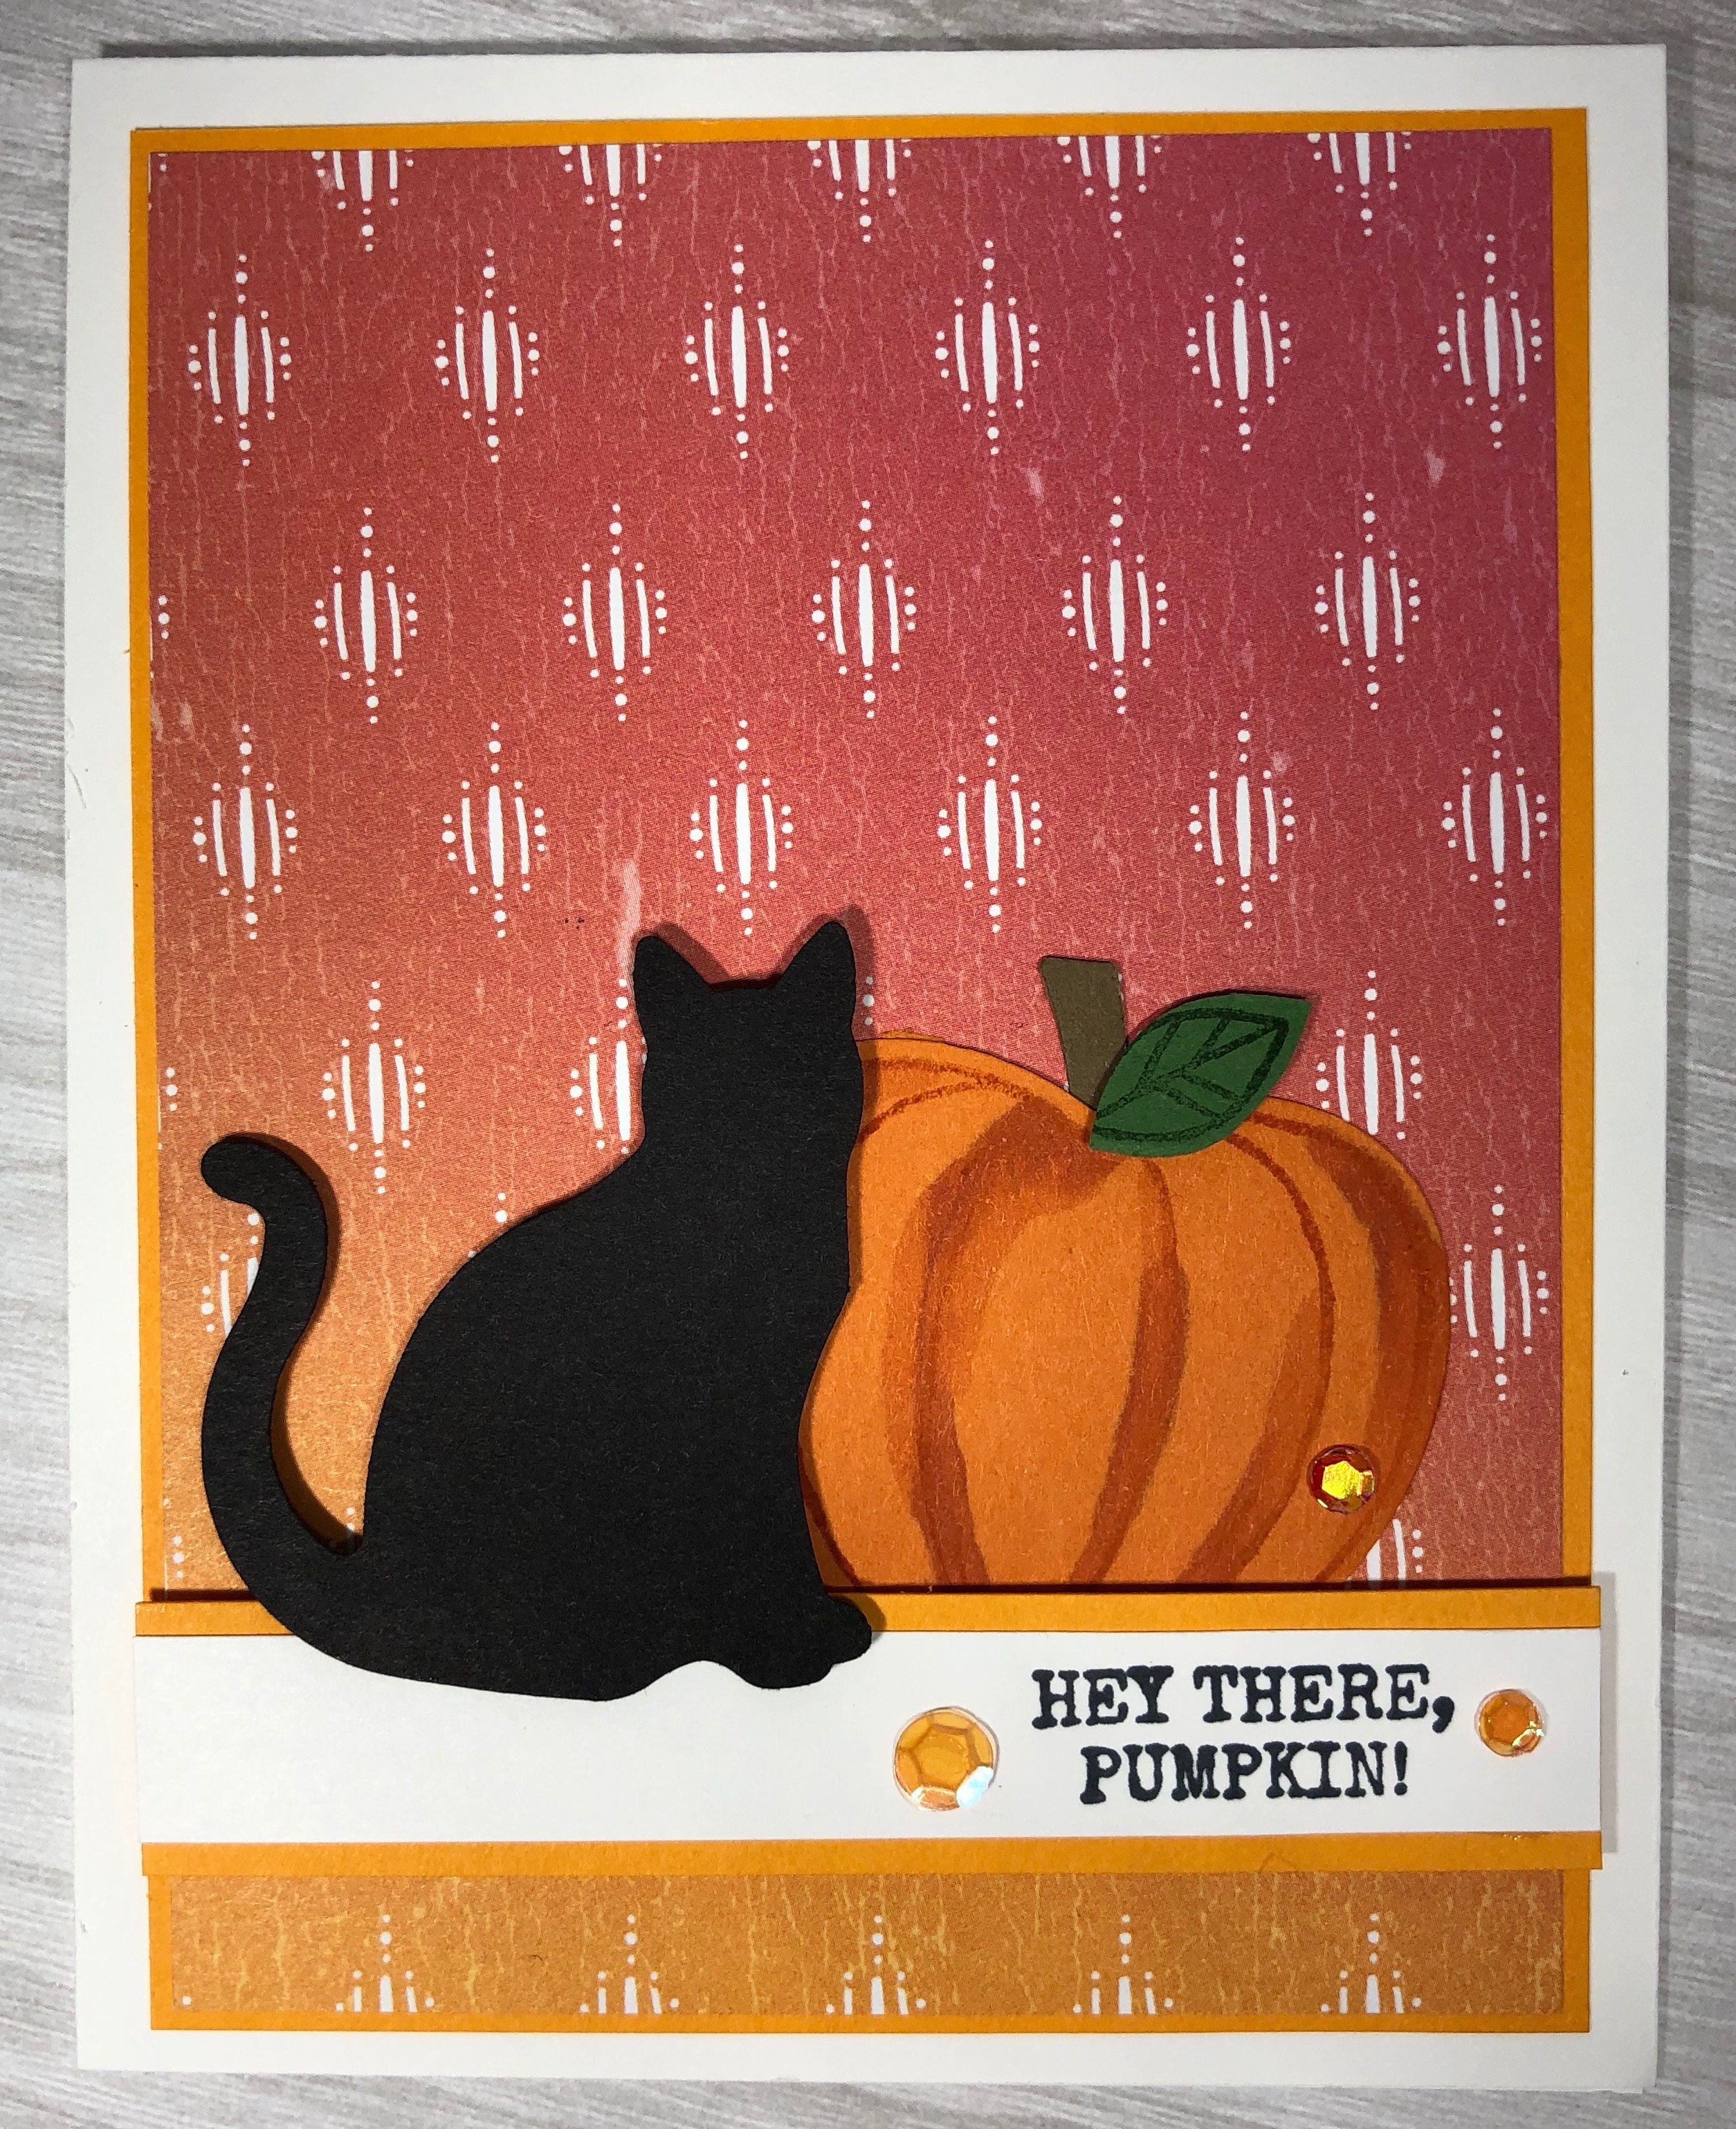
Hello again… I am so excited to share that I had a card class yesterday – actually live and in person! It was outside and we wore masks, but it worked. Going to do this again in two weeks and will probably have to be inside then – so masks still. It was a small group, one a beginner and another who has done scrapbooking but wanting to do & learn more. We did two cards, one which I shared in the last post with the pumpkins stamped all over. The other is the card I’m sharing today and it uses the Artistry Blooms DSP as part of the focal point and the Harvest Hello bundle. Let’s take a look…
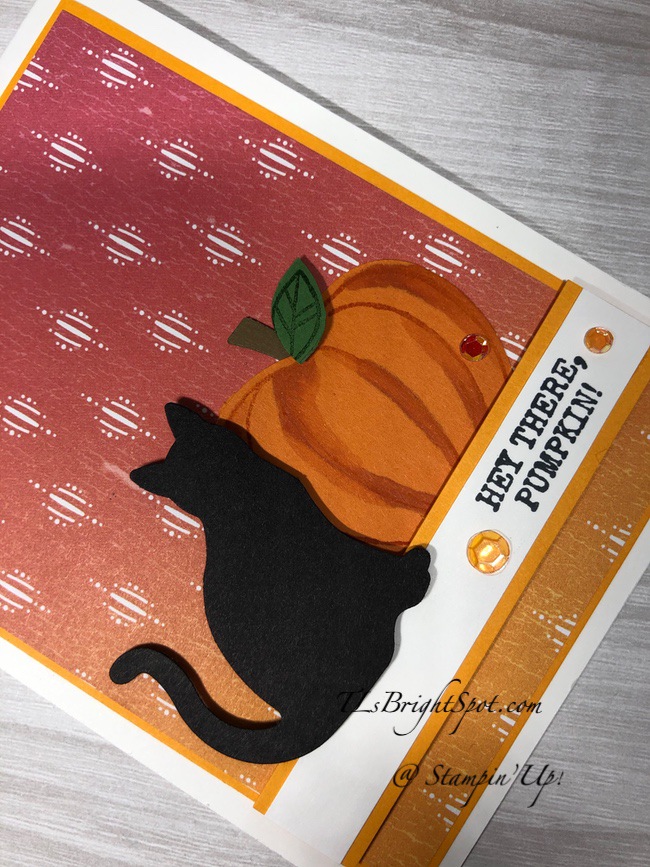
Don’t these colors look good together? They blend well I think.
- We started by adhering the Artistry Blooms DSP to a panel of MangoMelody card stock with liquid glue.
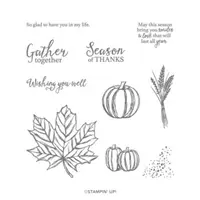
- Next we stamped the pumpkin from the Harvest Hello stamp set in Cajun Craze ink on Pumpkin Pie card stock, the leaf in Garden Green ink on Garden Green card stock and the stem in Soft Suede ink on Soft Suede cs. Punch each of these using the Apple Builder Punch.
- Now punch the cat using the cute Cat Punch out of Basic Black card stock
- Stamp the sentiment using the Harvest Hello stamp set, in Pumpkin Pie ink on a Whisper White cs strip.
- Adhere this sentiment panel to a strip of Mango Melody cs
Putting it together…
- Put dimensionals on the back of the sentiment panel and adhere to the card.
- With liquid glue on the back of the pumpkin, slip it behind the sentiment, adhering it to the card front.
- Adhere the stem with liquid glue
- Put a mini dimensional on the back of the leaf and adhere to the pumpkin.
- The cat sits ON the sentiment banner… therefore dimensionals only on the upper portion of the cat and a slip of a dimensional on the tail – and adhere.
- Now place three Artistry Blooms Sequins (these are adhesive backed!)
to the card front, and adhere the entire panel to the Whisper White card base. Voila – your card front is complete.
For the inside…
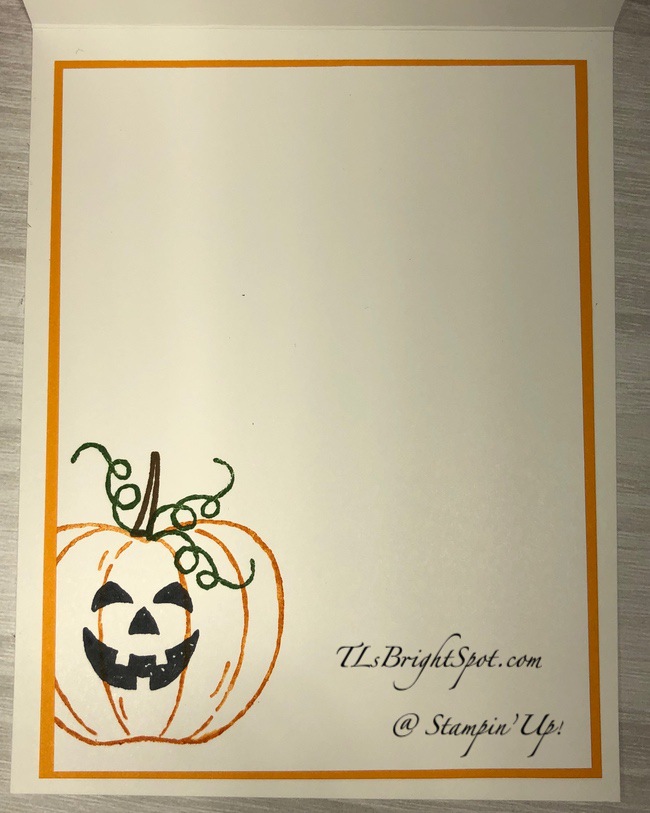
- Stamp the pumpkin in Cajun Craze ink on the Whisper White panel
- Stamp the ‘face’ with Tuxedo Black Memento ink
- Stamp the stem in Soft Suede ink
- Stamp the curlycues in Garden Green ink
- Adhere to a panel of Mango Melody cs with liquid glue
- Adhere this to the inside of the card. Voila! your card is complete!

Love how this turned out and the folks were able to do it without any problem at all – YAY!
Cards made by the class…

For the project today the items may be found below. Please remember to use my HOST CODE when your purchase is between $50-$150 to receive a SU! item of your choice valued at $10 FREE FROM ME… that HOST CODE IS…HXXMKN2X . Card Cuts may be found at the end of this post.
Remember too that SU! is having an awesome select Designer Series Paper Sale – 15% off. THAT INFO may be found beneath this product list.
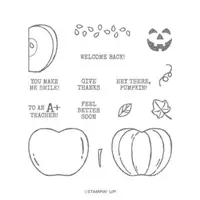
Harvest Hellos Cling Stamp Set – 150581
Price: $21.00

Price: $18.00

Artistry Blooms Designer Series Paper – 152495
Sale: $9.78
Price: $11.50

Artistry Blooms Adhesive-Backed Sequins – 152477
Price: $7.00

Whisper White 8-1/2″ X 11″ Thick Cardstock – 140272
Price: $8.25

Mango Melody 8-1/2″ X 11″ Cardstock – 146989
Price: $8.75

Garden Green 8-1/2″ X 11″ Cardstock – 102584
Price: $8.75

Garden Green Classic Stampin’ Pad – 147089
Price: $7.50

Cajun Craze Classic Stampin’ Pad – 147085
Price: $7.50

Soft Suede 8-1/2″ X 11″ Cardstock – 115318
Price: $8.75

Soft Suede Classic Stampin’ Pad – 147115
Price: $7.50

Basic Black 8-1/2″ X 11″ Cardstock – 121045
Price: $8.75

Tuxedo Black Memento Ink Pad – 132708
Price: $6.00 Add All to Cart
Designer Series Paper Sale through October 31!

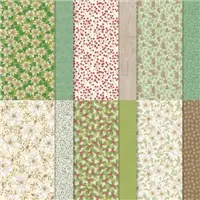
Forever Greenery Designer Series Paper – 152492
Sale: $9.78
Price: $11.50
Artistry Blooms Designer Series Paper – 152495
Sale: $9.78
Price: $11.50

Magic In This Night Designer Series Paper – 153517
Sale: $9.78
Price: $11.50
Whale Of A Time 6″ X 6″ (15.2 X 15.2 Cm) Designer Series Paper – 152460
Sale: $9.78
Price: $11.50
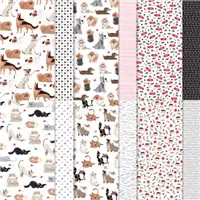
Playful Pets Designer Series Paper – 152489
Sale: $9.78
Price: $11.50

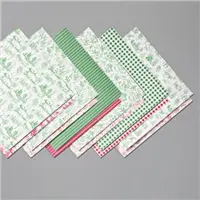
Trimming The Town Designer Series Paper – 153491
Sale: $9.78
Price: $11.50
Toile Tidings Designer Series Paper – 150432
Sale: $9.78
Price: $11.50

Snowflake Splendor Designer Series Paper – 153512
Sale: $9.78
Price: $11.50

Plaid Tidings 6″ X 6″ (15.2 X 15.2 Cm) Designer Series Paper – 153527
Sale: $9.78
Price: $11.50

‘Tis The Season 6″ X 6″ (15.2 X 15.2 Cm) Designer Series Paper – 153489
Sale: $9.78
Price: $11.50

Playing With Patterns 6″ X 6″ (15.2 X 15.2 Cm) Designer Series Paper – 152490
Sale: $9.78
Price: $11.50

In Good Taste Designer Series Paper – 152494
Sale: $17.85
Price: $21.00

Peony Garden Designer Series Paper – 152483
Sale: $9.78
Price: $11.50
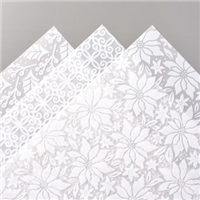
Poinsettia Place Designer Series Paper – 153487
Sale: $9.78
Price: $11.50

Heartwarming Hugs Designer Series Paper – 153492
Sale: $9.78
Price: $11.50 Add All to Cart
*******************************************************************
Card Cuts for today:
- Whisper White Thick – 4 1/4 x 11 scored at 5 1/2
- Mango Melody 3 7/8 x 5 1/8 (cut 2) + 3/4 x 3 7/8
- Whisper White 3 3/4 x 5 (inside panel) + 1/2 x 3 7/8
- Basic Black for cat – about 3 x 2
- Pumpkin Pie for pumpkin – about 4 x 3
- Garden Green for leaf & Soft Suede for stem – tiny scraps
********************************************************************
Please forgive me as I work through a new block editor on my site! The product list and DSP sale should be in a tile format and are not. I WILL get through this learning curve…