Stampin’ Up! Butterfly Rainbow

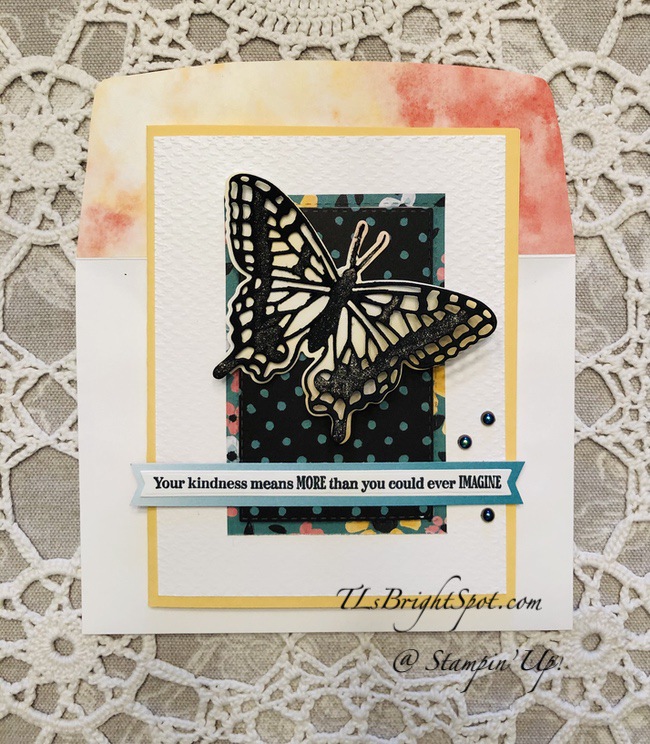
Another beautiful day – and time change, Spring forward! This gets harder for me every year, not sure why… I’m not complaining, but why do we do this any more? It really does seem obsolete. But my card for today is definitely NOT obsolete… I love the colors, and it’s butterfly, what’s not to like?! Ok, here it is…
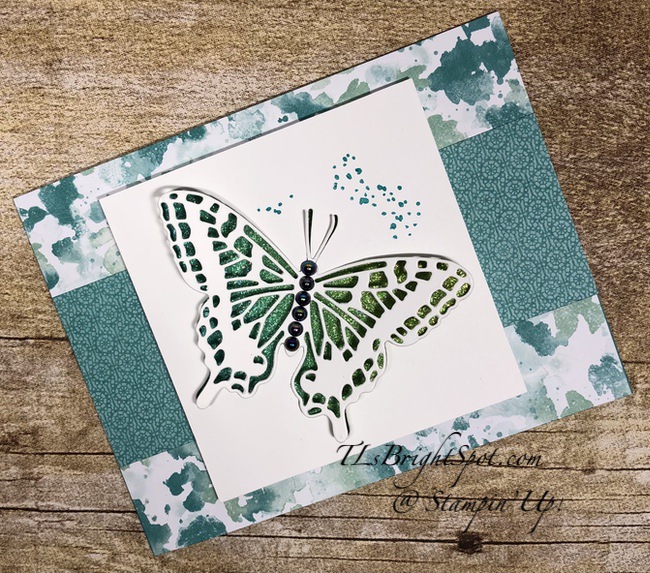
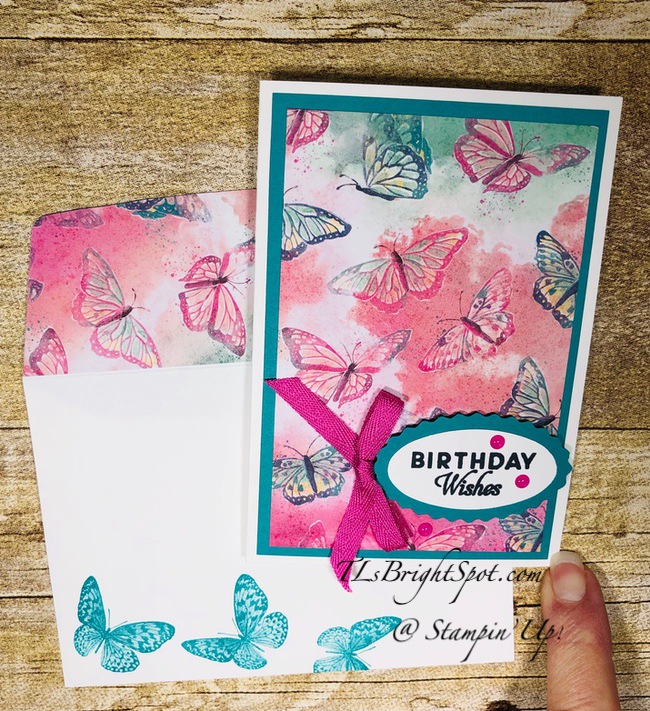
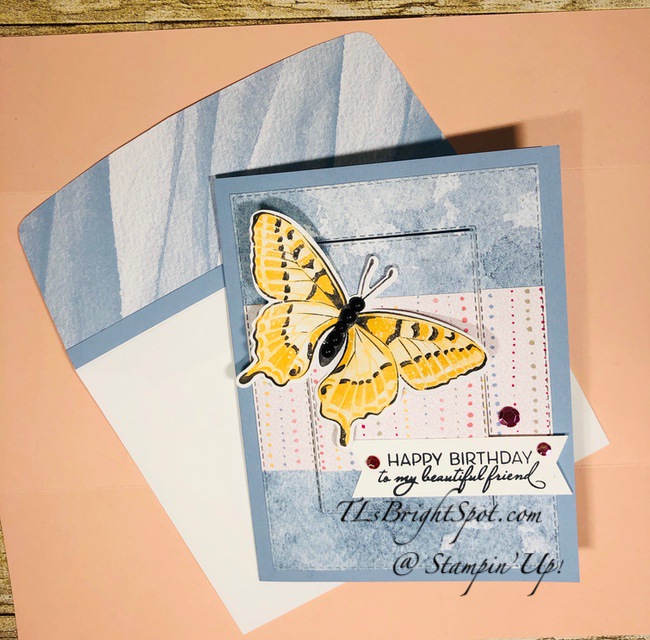
Butterfly Rainbow – #1

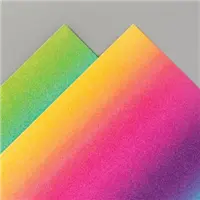
The title refers to the Rainbow Glimmer Paper under the butterfly 😏.

Preparation and how to:

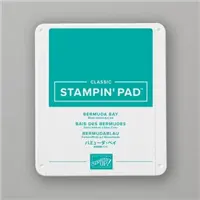
  • Cut Bermuda Bay cardf base 4 1/4 x 11 and score at 5 1/2
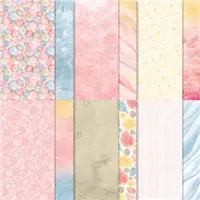
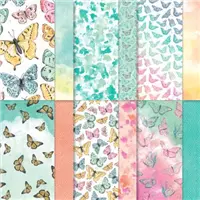
  • Cut Butterfly Bijou 6×6 DSP 4 1/4 x 5 1/2 and adhere to card front with liquid glue
  • Cut coordinating Butterfly Bijou 6×6 DSP 2 x 5 1/2 and adhere with liquid glue
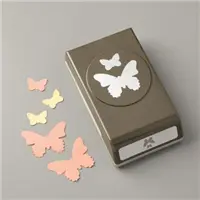
  • Cut 3 1/2″ square from Thick Basic White card stock and die cut this Swallowtail butterfly, running it through twice. HINT: Because of the Thick card stock, it’s necessary to make certain it cuts through thoroughly.
  • Stamp the splatter using the A Touch of Ink stamp set and Bermuda Bay ink. OOPS – retired set from Sale-a-bration! Substitute could be the splatter stamp in Suite Sampler, a HOST set in the Jan-June Mini catalog.
  • Add Foam Adhesive Strips to the backside edges of the square and reinforce with strips around the cut out butterfly as well.
  • Attach this square to a panel of Rainbow Glimmer Paper cut to 3 3/8″ square.
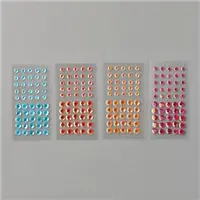
  • Add Iridescent Pearls to the body of the die cut butterfly.
  • Attach a length of Foam Adhesive Strip on the underside of the body of the butterfly and adhere over opening die cut.
  • Attach square to the card front with liquid glue and voila! It looks like this..
Butterfly Rainbow – #2

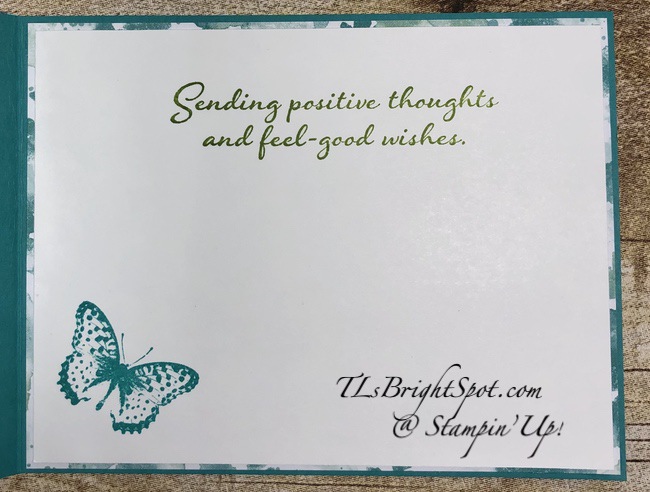
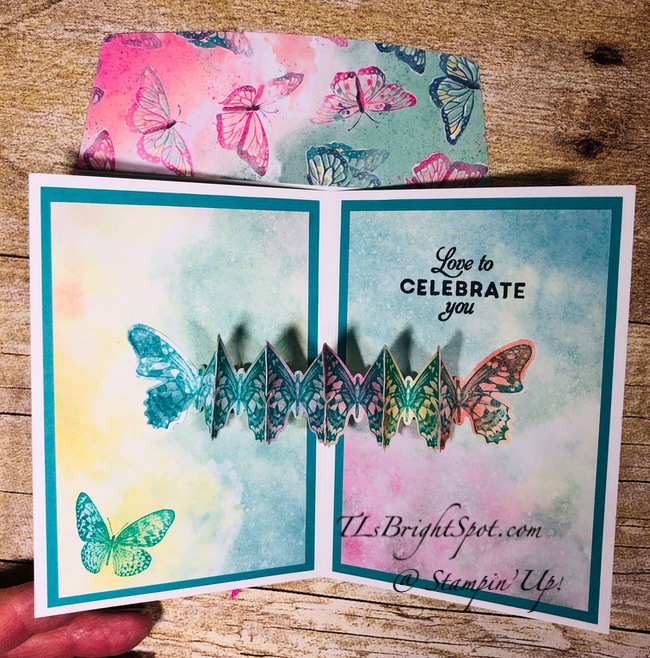
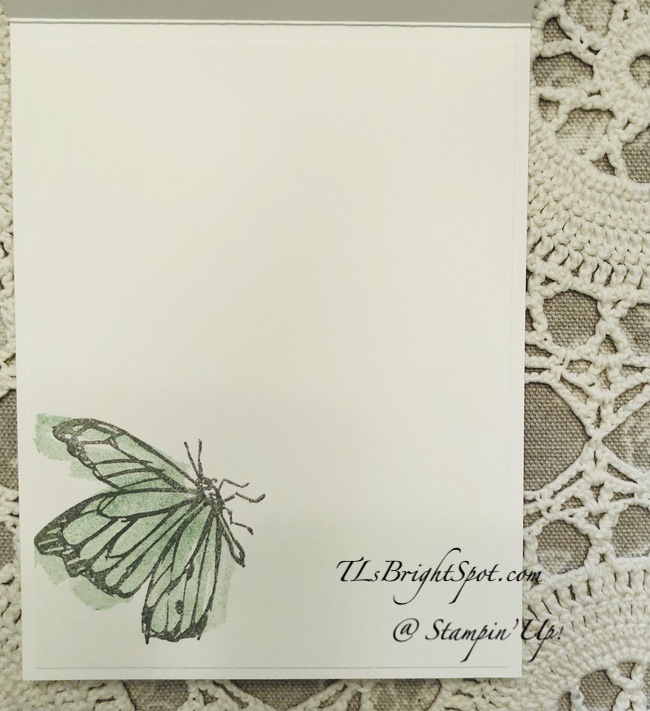
For the inside…

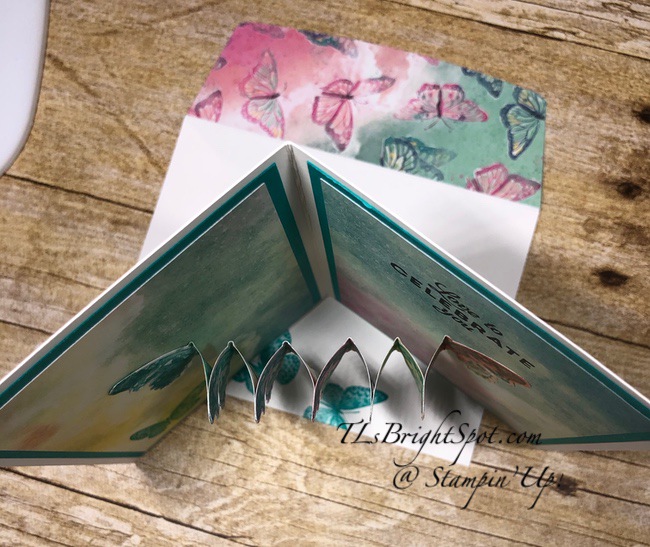
Butterfly Rainbow, inside – #3
  • Using another piece of the Butterfly Bijou 6×6 DSP cut to 4 1/8 x 5 3/8, adhere with liquid glue to the inside of the card.
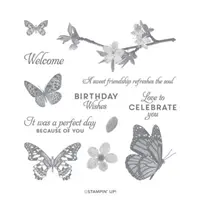
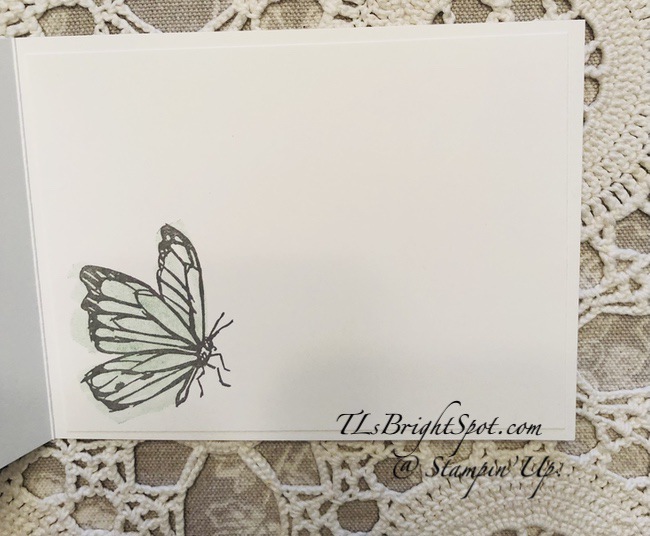
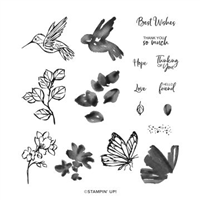
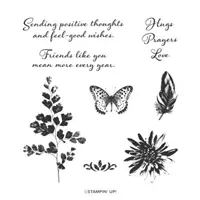
  • Cut a panel of Basic White card stock 4 x 5 1/4 and stamp the butterfly in Bermuda Bay ink and the sentiment in Granny Apple Green ink. Both stamps come from the Positive Thoughts stamp set. Adhere this panel over the DSP on the inside of the card and the card is complete.

For the envelope… use the same butterfly from the Positive Thoughts stamp set and stamp on the flap and the envelope front in Bermuda Bay ink. DONE!
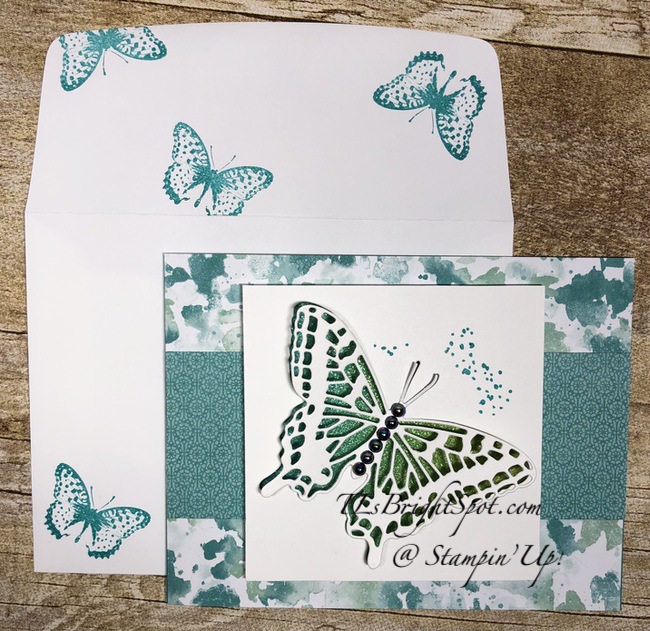
Butterfly Rainbow – #4

I love these dies! And just for your info, I have cut them apart! Yep – never done that with dies before, but I want to be able to use these dies individually and cutting them apart seemed to be the best way to do that. 😁 Of course, the next step is to cut the stamps apart as well.

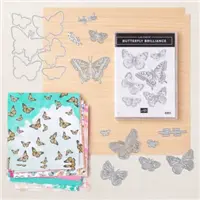
Products for todays card are from the 2020-2021 Annual Catalog as well as the 2021 Product Premier Butterfly Brilliance Collection, part of which will be in the 2021-2022 Annual Catalog~ and those products are available now for purchase. You will find them in the product list below. As a reminder… I’ve made it easy for you to simply ‘add all to cart’. If I can help you in any way to order these items, or others, please give me a holler. As a thank you to my customers, when the order is between $50-$150 I offer a SU! item of your choice valued at $10. Remember to use MY CURRENT HOST CODE QDCUDHDC – good Mar 1 – 15. When the order is over $150, you still receive that free gift from me, but SU! has Stampin’ Rewards that may be used for additional products, so don’t use the host code at that time. If you have questions just let me know.
Being a part of the Stampin’ community brings all kinds of fringe benefits ~ early access to new catalogs, guaranteed 20% (or more) discount on all Stampin’ Up! products, free tutorials, access to web sites that will encourage and strengthen your abilities. Join my team now… you may do that here. Your kit can be your choice of items in your $99 Starter Kit (valued at $125!)

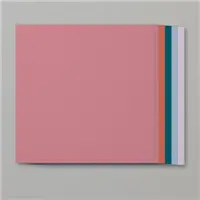
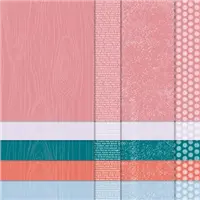
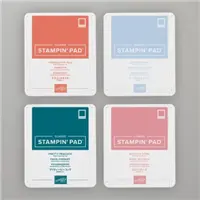
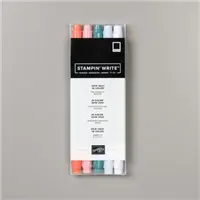
Have I reminded you that there will be new In Colors in the 2021-2022 Annual Catalog? The retiring colors are from the 2019-2021 group and are…Rococo Rose, Terracotta Tile, Pretty Peacock, Seaside Spray (my favorite from this set!!!) and Purple Posy. Below are some options for purchasing some of these in bundles. As a reminder, Purple Posy ink is not available as they had trouble with the ink pads right from the beginning, but paper and markers in Purple Posy are in each bundle below.

Thanks for stopping by.

May you have a beautiful day.

Make someone happy sending them a handmade card filled with love.

Stampin’ Up! Daisy Lane

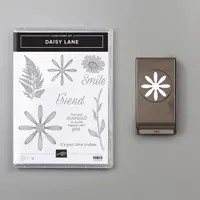
We are beginning to have longer days here on the East Coast and some warmer days as well. Our Helebores are budding, there are a couple of purple crocus showing and some little white flowers whose name I forget. These temps have inspired me to create something bright and colorful. I’ve used the Daisy Lane stamp set and coordinated Flowers for Every Season DSP and both Medium and Large Daisy Punches. Let’s take a peek…

Daisy Lane Fun Fold

Preparation:

  • Card base is Misty Moonlight 4 1/4 x 11, trim off 1 3/4 from one end, then score 1 7/8 from each end. Reserve the removed piece for the vertical front panel.
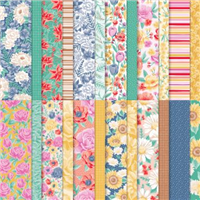
  • DSP panels Flowers for Every Season DSP (2) 1 3/4 x 4 1/8 and (1) 1 5/8 x 4 1/8 + (1) 4 1/8 x 5 3/8; (2) coordinating pieces 1 5/8 x 4 1/8; (1) 1 1/2 x 4
  • Basic White (inside panel) 4 x 5 1/4 + enough for daisies: (3) medium , (2) large
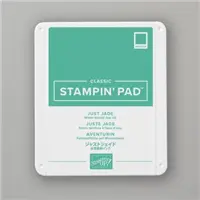
  • Gather inks: Night of Navy, Just Jade, So Saffron, and Blushing Bride
  • Embellishment: Gilded Gems

How to:

  • Adhere the appropriate two DSP pieces together for each panel using liquid glue, then adhere to the card stock pieces. Does that make sense? It seems obvious to me but let’s see if I can make it more clear: (2) 1 5/8 x 4 to (2) 1 3/4 x 4 1/8 and (1) 1 1/2 x 4 to the (1) 1 5/8 x 4 1/8. This last piece is adhered to the Misty Moonlight reserve panel 1 3/4 x 4 1/4. The others are adhered to the card base folded over panels. Yes, I think you get it!
  • Adhere this last panel to the right and just to the bottom portion of the fold-over. (If you adhere it to the top and bottom it will not open!!!)
  • Stamp the Basic White panel using the Stamparatus and Night of Navy ink, with the sentiment, realizing that the open section is what you want to see. I used the Daisy Lane stamp set for the sentiment. Now stamp the leaf in Just Jade ink in various places around the edge, keeping in mind what ism going to be seen when the card is closed (just the sentiment!). Adhere the Basic White panel to the slightly larger DSP panel and then into the inside of the card and wow- nearly done…
  • Stamp the daisies… for the Medium daisy – stamp in So Saffron ink three (3) times, stamping off each time, then punch using the Medium Daisy Punch. Curl the petals using a bone folder, then adhere together with liquid glue, off-setting the petals. Stamp the larger daisy with Blushing Bride ink, stamping off at least once, maybe twice, then punch with the Large Daisy Punch. Curl the petals as before then adhere together with liquid glue. Attach to the card as shown, with liquid glue. Add Gilded Gems to the centers of the daisies.
  • Voila – the card is done!
Daisy Lane Fun Fold, inside

Now for the envelope… I used what DSP pieces were left over for the envelope flap, adhering with liquid glue and trimming to fit. Stamp the leaf along the bottom of the envelope and some on the edge of the envelope using the same Just Jade ink. Adn yep – done, done, done!

Daisy Lane Fun Fold

Fun card… bright and cheery. If you so desired you could add a Basic White panel on the back to do some writing, cuz there isn’t much space to say much. Depends on the recipient, right?

OK… Products for todays card are from the 2020-2021 Annual Catalog as well as the Jan- Jun Mini Catalog ~ and those products are available now for purchase. You will find them in the product list below. As a reminder… I’ve made it easy for you to simply ‘add all to cart’. If I can help you in any way to order these items, or others, please give me a holler. As a thank you to my customers, when the order is between $50-$150 I offer a SU! item of your choice valued at $10. Remember to use MY CURRENT HOST CODE QDCUDHDC – good Mar 1 – 15. When the order is over $150, you still receive that free gift from me, but SU! has Stampin’ Rewards that may be used for additional products, so don’t use the host code at that time. If you have questions just let me know.
Now is the perfect time to become a team member of Stampin’ Up! – with your choice of items in your $99 Starter Kit (valued at $125!) Act quickly… JOIN MY Team here. Being a part of the Stampin’ community brings all kinds of fringe benefits ~ early access to new catalogs, guaranteed 20% (or more) discount on all Stampin’ Up! products, free tutorials, access to web sites that will encourage and strengthen your abilities. Join my team now… Again – you may do that here.

Thanks for stopping by.

May you have a beautiful day.

Make someone happy sending them a handmade card filled with love.

Stampin’ Up! Celebrate Spring

The theme for todays Blog Hop is Celebrate Spring… woohoo. When we walk early in the morning we are hearing the cardinals singing as though there is no tomorrow and the woodpeckers are at it as well. And here on the East Coast we have these adorable frogs we call ‘peepers’ that start their magical mating calls. And bulbs are beginning to show their green stems – so excited to see what’s coming. And oh yes, it’s daylight before 6 AM!!! Oh my goodness, can you tell I REALLY like this time of year?! But… back to the Hop ~ there should be some very special cards on the hop today.

My card to Celebrate Spring…

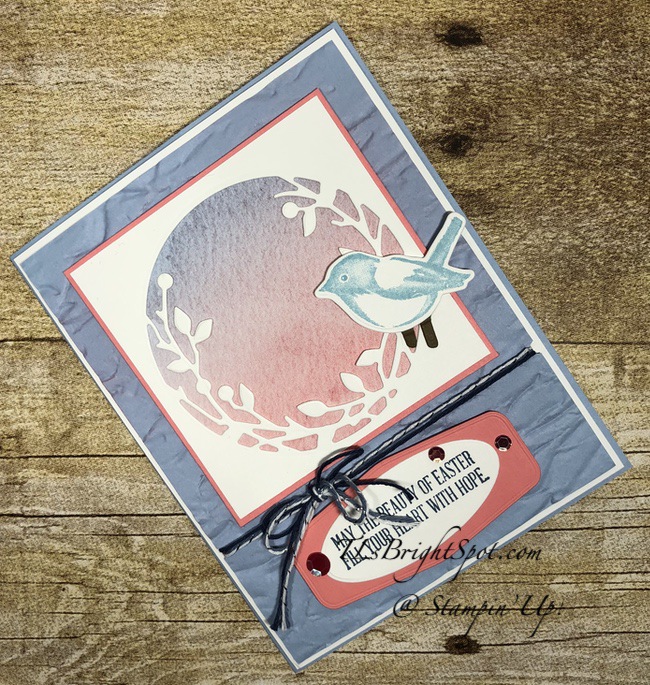
Birds & Branches – Celebrate Spring

I began by die cutting the ‘wreath’ from Basic White card stock using the Birds & More Dies. Using liquid glue I adhered this to a very slightly smaller panel of Sand & Sea DSP – using paper that looked like a sunrise. As the morning begins there is this glorious pink that melts into the blue sky. I adhered these to a slightly larger piece of Flirty Flamingo card stock, again with liquid glue. I stamped this sweet bird in Balmy Blue ink on Basic White card stock using the Birds & Branches stamp set. I die cut it with another die from the Birds & More Dies. The feet are die cut from the same dies using Soft Suede card stock scrap and adhered with liquid glue. I adhered it with a mini dimensional making it look as though the bird was watching the morning sky.

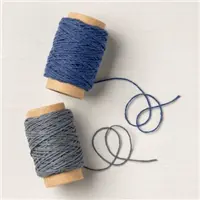
Next I took a panel of Seaside Spray card stock and ran it through the Old World Paper 3D embossing folder. I used my Blending Brush and Flirty Flamingo ink to color the upper portion of this piece – as though the sky was all around. I adhered the square panel and bird with dimensionals to this Seaside Spray panel. I then notched each edge using the ___________ Punch. I tied a double ribbon using the Flowers for Every Season Combo pack (Seaside Spray & Silver twine) and the Navy twine from Well-Suited Twine Combo Pack, tied a bow and added a glue dot at the knot to hold it in place.

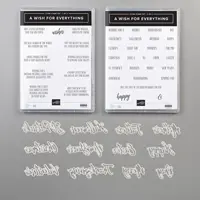
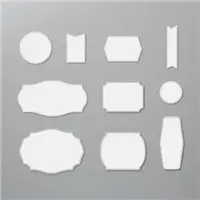
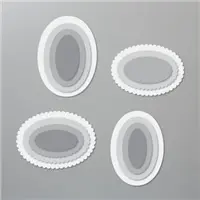
I stamped the sentiment from A Wish for Everything stamp set in Misty Moonlight ink on a Basic White strip and die cut it with the Layering Ovals Dies. I die cut another panel from Flirty Flamingo card stock using the Tasteful Labels Dies and mounted the sentiment oval on it using liquid glue. This sentiment banner got dimensionals and was adhered to the embossed panel. I added three Artistry Blooms Adhesive-Backed Sequins to the sentiment banner. I adhered the embossed panel with Seal + to a larger panel of Basic White card stock. I put dimensionals on the back and adhered it to the card base of Seaside Spray. Card front is done!

For the inside…

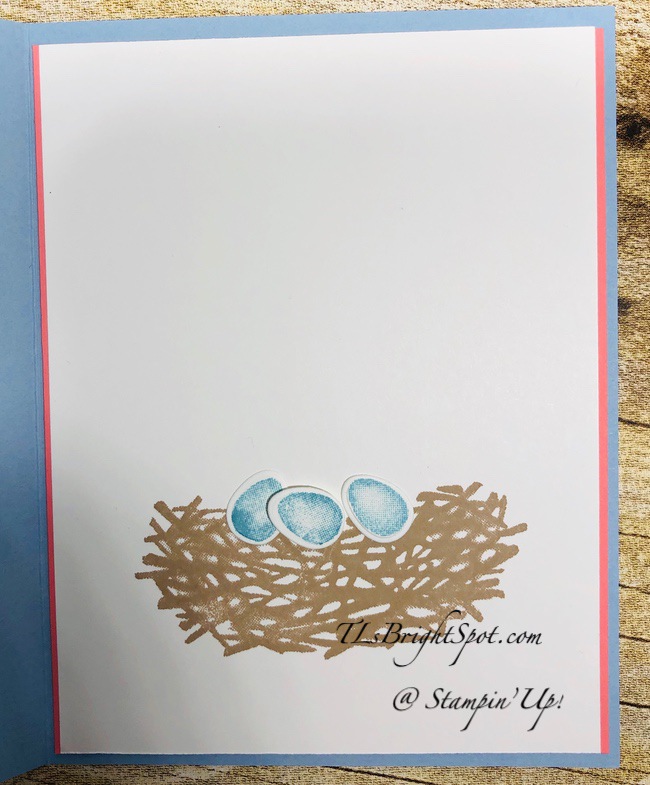
Birds & Branches – Celebrate Spring, inside

I stamped the nest in Crumb Cake ink from the Birds & Branches stamp set on a Basic White panel. I then stamped the eggs in Balmy Blue ink on a Basic White scrap and die cut them with the Birds & More Dies. I adhered the two outer eggs with liquid glue and the third egg with a mini dimensional.. I adhered the Basic White panel to a Flirty Flamingo piece with liquid glue and attached this to the Seaside Spray card base inside ~ and the card was complete.

For the envelope….

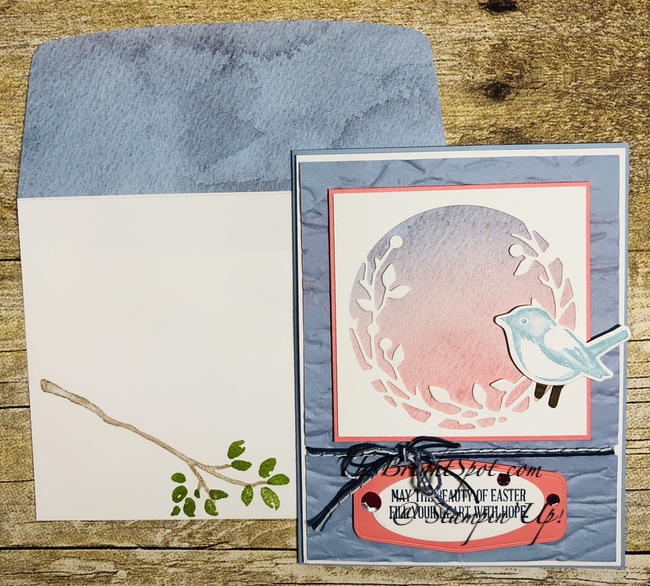
Birds & Branches – Celebrate Spring

I adhered a panel of Sand & Sea DSP to the envelope flap & trimmed it to fit. I then stamped the branch from the Birds & Branches stamp set in Crumb Cake ink. I followed that by stamping the leaves in Granny Apple Green ink and the set was fait accomplis!

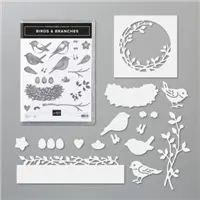
You can find the card cuts listed at the bottom of this post. Products for todays card are from the 2020-2021 Annual Catalog as well as the Jan- Jun Mini Catalog ~ and those products are available now for purchase. You will find them in the product list below. As a reminder… I’ve made it easy for you to simply ‘add all to cart’. If I can help you in any way to order these items, or others, please give me a holler. As a thank you to my customers, when the order is between $50-$150 I offer a SU! item of your choice valued at $10. Remember to use MY CURRENT HOST CODE QDCUDHDC – good Mar 1 – 15. When the order is over $150, you still receive that free gift from me, but SU! has Stampin’ Rewards that may be used for additional products, so don’t use the host code at that time. If you have questions just let me know.
In case you get lost, below is the list of those participating in todays Blog Hop. Click on the appropriate link to either move forward or go to the previous blog. Enjoy!

  1. Jaimie Babarczy: https://wp.me/p79UhD-4VN
  2. Karen Ksenzakovic: https://wp.me/paaNf4-4e9
  3. Mary Deatherage: https://wp.me/p5snyt-h1y
  4. Sue Prather: https://wp.me/p5yitZ-2tQ
  5. Donna Leonard: http://stampdabbles.com/?p=4619
  6. Jillian Good: http://dyedwith.love/?p=139
  7. Tara Carpenter: https://tarabethstamps.blogspot.com/2021/03/stampin-up-arrange-wreath-happy-easter.html
  8. Leslie Larkin https://leslielarkin.com/ice-cream-corner-suite/
  9. Terry Lynn Bright: https://tlsbrightspot.com/2021/03/09/stampin-up-celebrate-spring/
  10. Akiko Sudano: https://wp.me/paOv8E-2ww
  11. Karen Finkle: https://karenscardkorner.blogspot.com/2021/03/stampin-up-wildly-happy-for-amys-inkin.html
  12. Amy Koenders: https://wp.me/p2SFwf-moQ
  13. Krista Yacgi: https://www.thestampingnook.com/post/stampin-up-jar-of-flowers-welcome-spring-card

Thanks for stopping by.

May you have a beautiful day.

Make someone happy sending them a handmade card filled with love.

Card cuts for todays project:

Seaside Spray – 8 1/2 x 5 1/2 scored at 4 1/4, 4 x 5 1/4 (embossed)

Basic White 4 1/8 x 5 3/8, 3 1/8 square, 1 1/2 x 3 (oval), scrap for bird, 4 x 5 1/4 (inside)

Flirty Flamingo 3 1/4 square, 2 x 3 1/4 (banner), 4 1/8 x 5 1/4 (inside)

Stampin’ Up! ‘Painted” True Love DSP

I’ve been at it again – coloring that is. This time with Stampin’ Blends as they are so EASY to use. I enjoy coloring ~ with pencils, Blends, Blending Brushes, sponge daubers, even watercolors. I’m not so good at watercoloring and would like to play with that more. So what are you up to? What is your favorite medium?

‘Painted’ True Love DSP – #1

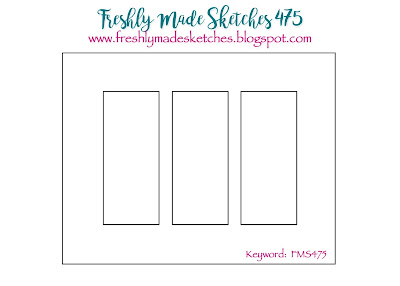
This shouts SPRING to me, maybe because of the purple, or Easter. Nonetheless… it uses both Highland Heather and Rich Razzleberry Stampin’ Blends for the purples, Old Olive and Granny Apple Green for the leaves, and just a bit of Daffodil Delight for the centers of the flowers. I cut them down to size, mounted them on panels of Highland Heather, put them on dimensionals and added them to a Basic White panel. I then stamped the sentiment from Art Gallery stamp set in Memento Black ink. This panel also got dimensionals and was adhered to a Highland Heather card base. I added three Metallic Pearls in Gold and the card front was done…. The hardest part was deciding how to use the ‘painted’ panel. And I settled on the sketch at Freshly Made Sketches 475 to use my colored panel.

For the inside I used one of the strips left over and adhered it to the Basic White panel with liquid glue and then into the Highland Heather for the inside to be ‘fait accomplis’. And the envelope was super simple: more True Love DSP adhered to the flap and a smaller piece of the ‘painted’ DSP I fussy cut and adhered to the card front with liquid glue. VOILA!

‘Painted’ True Love DSP
inside – #2
‘Painted True Love DSP – #3

Card cuts are listed at the bottom of this post. Products for todays card are from the 2020-2021 Annual Catalog as well as the Jan- Jun Mini Catalog ~ and those products are available now for purchase. You will find them in the product list below. As a reminder… I’ve made it easy for you to simply ‘add all to cart’. If I can help you in any way to order these items, or others, please give me a holler. As a thank you to my customers, when the order is between $50-$150 I offer a SU! item of your choice valued at $10. Remember to use MY CURRENT HOST CODE QDCUDHDC – good Mar 1 – 15. When the order is over $150, you still receive that free gift from me, but SU! has Stampin’ Rewards that may be used for additional products, so don’t use the host code at that time. If you have questions just let me know.
Card Cuts for todays project:

  • Highland Heather 4 1/4 x 11 scored at 5 1/2; e panels cut 1 1/8 x 3 1/8
  • Basic White (2) 4 x 5 1/4
  • True Love DSP (3) 1 x 3; 1 x 4 for inside + scrap for envelope front + 2 1/4 x 6 for envelope flap

Thanks for stopping by.

May you have a beautiful day.

Make someone happy sending them a handmade card filled with love.

Stampin’ Up Framed Birthday with Art Gallery

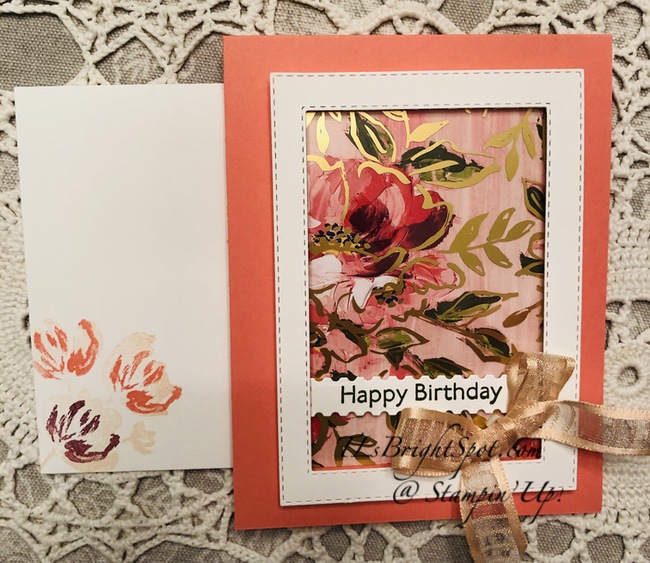
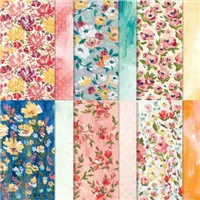
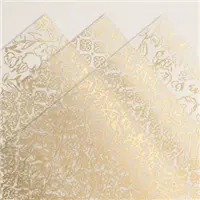
The Fine Art Gallery DSP with coordinating Golden Garden DS Acetate is absolutely stunning. The acetate adds a layer of elegance and today I’ve created a framed birthday card with these beautiful papers. Let’s take a look-see…

Fine Art Framed – #1

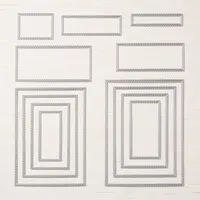
The card is pretty simple to do using two Stitched Rectangles Dies to create the frame. Let’s do a step by step…

  • The card base is Flirty Flamingo 4 1/4 x 11 scored at 5 1/2
  • Cut Fine Art Floral DSP and the Golden Garden DS Acetate 3 1/8 x 4 1/8. Adhere the two together with Stampin Seal. I have found it doesn’t show through the acetate and holds the two together nicely. Adhere this to the card front with liquid glue.
  • Die cut a frame using Basic White card stock and the fourth largest Stitched Rectangles and the second largest. I cut them at the same time making certain spacing is just the way I want it. I adhered Adhesive Strips all around to give the border strength, and added the frame over the DSP.
  • I stamped the sentiment from the Art Gallery stamp set with Memento Black ink on a scrap of Basic White card stock then die cut it with one the rectangles dies in the Floral Gallery Dies. I popped this up on mini dimensionals and added it in place.
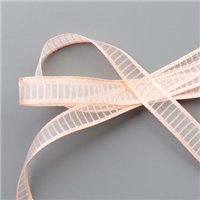
  • The last step for the card front is the bow – made from Organdy Striped Ribbon in Petal Pink. It was attached with a glue dot – and the card front was done!
Fine Art Framed – #2

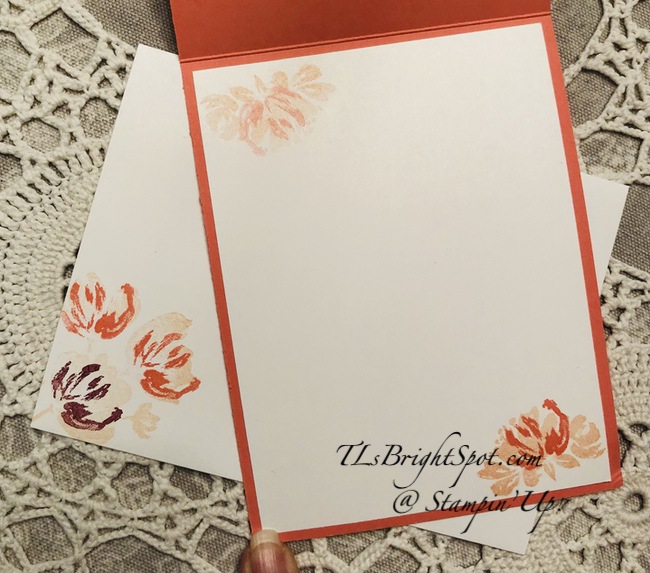
For the inside and the envelope… I stamped the small flower in Petal Pink ink then the overlay with Flirty Flamingo both at the top and bottom of the inside panel (Basic White 4 x 5 1/4. For the envelope I stamped a portion of another of the flowers in the Art Gallery stamp set, first in Petal Pink then the overlay for two of the smaller flowers in Flirty Flamingo. The largest flower had the detail stamped in Rich Razzleberry – and voila – the card was complete. Not so difficult. Its is so rewarding to work with lovely papers.

Products for todays card are from the 2020-2021 Annual Catalog as well as the Jan- Jun Mini Catalog ~ and those products are available now for purchase. You will find them in the product list below. As a reminder… I’ve made it easy for you to simply ‘add all to cart’. If I can help you in any way to order these items, or others, please give me a holler. As a thank you to my customers, when the order is between $50-$150 I offer a SU! item of your choice valued at $10. Remember to use MY CURRENT HOST CODE QDCUDHDC – good Mar 1 – 15. When the order is over $150, you still receive that free gift from me, but SU! has Stampin’ Rewards that may be used for additional products, so don’t use the host code at that time. If you have questions just let me know.
Stampin’ Up! Butterfly Wishes

Butterflies are kind of a thing for me, like stars. I really, really like butterflies and the more we have in our area, the more balanced our environment – just sayin’… At any rate, yesterday the Butterfly Brilliance Collection became available to customers – and I hope you purchased this collection. As a reminder though, the stamp set & dies will carry over to the new catalog (21-22) but the two DSP papers will not. They are available until 3 May when those two papers will retire.

Todays card was made with a different stamp set and it is still available in the 2020-2021 Annual CatalogButterfly Wishes and the coordinating Butterfly Duet Punch. I did coordinate this bundle with the Butterfly Bijou 6×6 DSP that is part of the
Brilliance collection. Here is the card front…

Butterfly Wishes – #1

Isn’t that pretty paper? This really shows it off! These directions are just so simple, you will make this card in a flash.

  • The card base is one of the Notecards in Basic White.
  • Cut Bermuda Bay card stock to 3 1/4 x 4 3/4 and adhere to notecard front with liquid glue
  • Cut Butterfly Bijou 6×6 DSP to 3 x 4 1/2 and adhere over the Bermuda Bay.
  • Stamp the sentiment from Butterfly Wishes stamp set on Basic White in Memento Black ink and punch with the small oval in the Double Oval Punch.
  • Punch the scalloped oval from Bermuda Bay card stock using the same Double Oval Punch.
  • Adhere the two ovals together with liquid glue. Put dimensionals on the back and adhere to the card front.
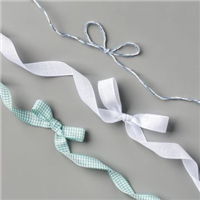
  • Attach a bow with a glue dot using the 2020-2022 In Color Ribbon in Magenta Madness.
  • Add three 2020-2022 In Color Enamel Dots for accent and the card front is complete

Now for the fun part of creating the inside…

Isn’t this fun? Directions are easier than you might think.

  • Begin by decorating the inside with card stock & DSP: Bermuda Bay 3 1/4 x 4 3/4 (2); Butterfly Bijou 6×6 DSP 3 x 4 1/2 (2). Adhere both with liquid glue.
  • Stamp the butterflies with Bermuda Bay ink– six (6) of them on scraps of Butterfly Bijou 6×6 DSP. Notice I used the variations of color from the DSP on the card itself. Punch using the Butterfly Duet Punch.
  • Fold all butterflies in half. Adhere only wing tips together so that when the card is opened the wings can spread out.
  • Stamp the sentiment using Memento Black ink and Butterfly Wishes stamp set.
  • Adhere just the far right butterfly to the right side of the card with liquid glue – attaching the full portion of the right wing. Moosh butterflies on top of one another so they fold as flat as possible. Use the tip of your bone folder or your Take a Pick tool to hold them in place.
  • Add Seal + to the left wing of the left butterfly and close the card, holding the accordianed butterflies in place as mentioned. And voila – it works!
  • Now add that last sweet butterfly in Bermuda Bay ink to the left side of the card.

The envelope… attach more Butterfly Bijou 6×6 DSP to the envelope flap. Using the same butterfly stamp as the one in the left corner of the inside of the card, stamp along the lower portion of the envelope – card completed! And knowing I can coordinate new DSP with this Butterfly Wishes stamp set makes the papers that much more versatile.

Products for todays card are from the 2020-2021 Annual Catalog as well as the new product release Butterfly Brilliance Collection ~ and those products are available now for purchase. You will find them in the product list below. As a reminder… I’ve made it easy for you to simply ‘add all to cart’. If I can help you in any way to order these items, or others, please give me a holler. As a thank you to my customers, when the order is between $50-$150 I offer a SU! item of your choice valued at $10. Remember to use MY CURRENT HOST CODE QDCUDHDC – good Mar 1 – 15. When the order is over $150, you still receive that free gift from me, but SU! has Stampin’ Rewards that may be used for additional products, so don’t use the host code at that time.

Thanks for stopping by.

May you have a beautiful day.

Make someone happy sending them a handmade card filled with love.

Stampin’ Up! Love You Always Treat Boxes

Oh goodness – it’s MARCH! I cannot believe how fast February flew. Yes, it’s is only 28 days, but still. Today’s project uses the Love You Always Treat Boxes – the perfect size for a small gift ~ candies, a necklace or earrings, even a scarf or a pair of fun socks! At any rate, not sure what will go in this one yet, but is intended for Easter, therefore the pastel colors.

Love You Always Treat Box

Gosh, I just realized how cockeyed the bow is… I’ll retie it. The box finished size is 2 3/4 across x 4 1/8 in length and a full 1 1/2 deep – and very sturdy. Here’s what I did…

  • Wrap the box with a 3 x 9 length of card stock, glueing in place and creating the folds as you go. Here I used Seaside Spray.
  • Cut another piece, this time of DSP (and I used Sand & Sea DSP) 2 x 9, wrap, glue, and fold as before.
  • Create the tag using the Essential Tag Punch, Basic White card stock and Seaside Spray card stock toon – so punch two. I decorated the Basic White tag with a strip of the Sand & Sea DSP then using the Oval Occasions Punch, I created a sentiment for the tag. The blue is the reverse side of the dotted DSP and I added it to the tag with dimensionals. The sentiment is stamped using the Oval Occasions stamp set and Seaside Spray ink on Basic White. This was adhered with liquid glue then I added three 2020-2022 In Color Enamel Dots.
  • The Seaside Spray tag is stamped with Night of Navy ink using the A Wish for Everything stamp set and again three 2020-2022 In Color Enamel Dots. Punch a hole through both tags for the ribbon.
  • I wrapped the box twice around with Flowers for Every Season Ribbon Combo Pack in Seaside Spray and Silver, then through the tag and tied a bow. I knotted the ends of the ribbon just for fun.
Love You Always Treat Box

Fun little project and I’m going to create several – for grandkids and friends. They will be nice to have on hand.

Today is the big release of the Butterfly Brilliance Collection – woohoo! The last few days I have created cards and a box with this collection and it is just beautiful. I’m smitten. Y

Products for todays card are from the new Jan-Jun 2021 Mini Catalog and the 2020-2021 Annual Catalog ~ and those products are available now for purchase. You will find them in the product list below. As a reminder… I’ve made it easy for you to simply ‘add all to cart’. If I can help you in any way to order these items, or others, please give me a holler. As a thank you to my customers, when the order is between $50-$150 I offer a SU! item of your choice valued at $10. Remember to use MY CURRENT HOST CODE QDCUDHDC – good Mar 1 – 15. When the order is over $150, you still receive that free gift from me, but SU! has Stampin’ Rewards that may be used for additional products, so don’t use the host code at that time.

Stampin’ Up! More Butterflies

In my last post here I talked about a Butterfly Card Box and that it was a gift for a friend. Today’s post is the rest of the cards to go in the gift box.

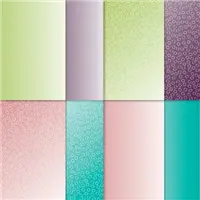
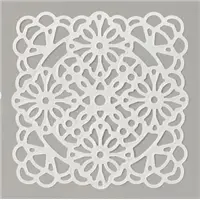
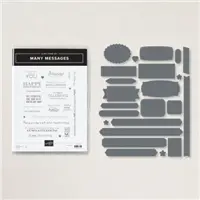
These butterfly ‘tops’ are all ones that were on my desk after playing last week and since the box is a butterfly one, I decided to use them. The blue card butterfly top is die cut from Mint Macaron with the underpart cut from Butterfly Bijou 6×6 DSP. The green card butterfly top is die cut from Just Jade with the underside being the same paper from Butterfly Bijou 6×6 DSP. Both of these were adhered to a panel of Oh So Ombre 6×6 DSP (part of the freebies during Sale-a-bration) with a Vellum Doily atop it. The doily was adhered with Seal + and the butterfly with liquid glue. With the blue card I took a panel of Basic White card stock and ran it through the Old World Paper 3D embossing folder. The blue square panel was adhered with Foam Adhesive cut smaller so it doesn’t show. The thank you sentiment is one die cut using the Many Messages bundle, which cuts several sentiments at once. I adhered it to a slightly larger piece of the same Oh So Ombre 6×6 DSP, put a dimensional under the bottom half and a dab of liquid glue under the half and added it to the card. to finalize the front of the blue card I added 3 Iridescent Pearls.

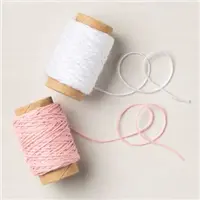
Back to the green card, I adhered the green square to a Basic White square cut a bit larger and since it was backed with something stronger, I added dimensionals to it. This square was added to a Basic White panel run through the Tasteful Textile 3D embossing folder that also had white twine double wrapped around it. The twine is from the Snail Mail Twine Combo Pack and is quite fine. The layers then were: card base, Basic White panel run through the embossing folder, then the layers of the green square panel with the butterfly. To complete this card front I again added three Iridescent Pearls.

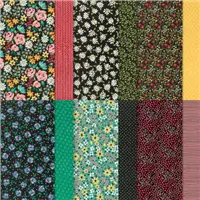
With two card fronts done, I then created the third card front. This begins with a card base of So Saffron with a layer of Basic White card stock run through the Tasteful Textile embossing folder and adhered with liquid glue. I then die cut a panel with the Stitched Rectangle Dies from the Flower & Field DSP (another FREE item during Sale-a-bration). I had measured this fairly carefully so I would have a border piece left over. The solid rectangle got Foam Adhesive adhered to the back and centered on the card front. The border was turned over to the other side and adhered with liquid glue. I like how it provides a nice contrast and brings in the yellow of the butterfly. The butterfly is again two layers: the solid piece is die cut from Butterfly Bijou 6×6 DSP that has variations of color shown on the envelope flap; the top is Basic Black with areas covered in Wink of Stella (which does not show in this photo!). The two butterfly pieces were adhered together with liquid glue and added to the rectangular panel with liquid glue. The sentiment panel is again from the Many Messages bundle, stamped originally in Memento Black ink, and adhere with liquid glue to a strip of the Oh So Ombre 6×6 DSP and ends punched with the Banners Pick a punch. I put dimesnionals at the edges of the rectangular panels, a bit of liquid glue to the sentiment banner and adhered it to the card front. Three Iredescent Pearls were added to complete this third card front.

Now for the insides and the envelopes…

For the two card insides on the left: stamp the butterfly in Basic Gray stamped off once onto basic White panel; stamp the filler for the butterfly in stamped-off Mint Macaron ink. This image comes from the A Touch of Ink stamp set – another FREE item during Sale-a-bration! For the third card, I used the Butterfly Brilliance stamp set (new and available to customers Mar 3) in Basic Gray ink. I had covered this one butterfly with ink using a sponge dauber and my Stamparatus. It worked perfectly. I then used my Blending Brushes to cover the Basic White panel with So Saffron ink. This was adhered to the inside of the So Saffron card and all three cards were complete. :O)

OK, I didn’t quite get these in the right order, but you can see them well at least. The blue… Oh So Ombrfe 6×6 DSP and stamped with the A Touch of Ink stamp set in several places using Basic Gray ink; the green… Oh So Ombre 6×6 DSP and stamped with A Touch of Ink stamp set and Basic Gray ink; and the final envelope flap is covered in Butterfly Bijou 6×6 DSP – and all three are done! Voila! I love this set of cards, all using butterflies yet each unique and different. I hope my friend will like them too.

Several FREE products were used in todays cards – and Sale-a-bration ends later TODAY… in other words – order now.

Products for todays card are from the new Jan-Jun 2021 Mini Catalog, the Sale-a-bration catalog and the 2020-2021 Annual Catalog ~ and those products are available now for purchase. You will find them in the product list below. As a reminder… I’ve made it easy for you to simply ‘add all to cart’. If I can help you in any way to order these items, or others, please give me a holler. As a thank you to my customers, when the order is between $50-$150 I offer a SU! item of your choice valued at $10. Remember to use MY CURRENT HOST CODE WZBPZ7N4- good Feb 4 – Feb 28. When the order is over $150, you still receive that free gift from me, but SU! has Stampin’ Rewards that may be used for additional products, so don’t use the host code at that time. Now is also Sale-a-bration – a time from now through the end of February when Stampin’ Up! offers FREE items with $50 and $100 purchases. Those products are shown below today’s product list as well. Happy shopping!

Now is the perfect time to become a team member of Stampin’ Up! – with your choice of items in your $99 Starter Kit (valued at $125!) you will receive five packs of new 6×6 DSP paper packs – only during Sale-a-bration though!!! Act quickly… JOIN MY Team here. Being a part of the Stampin’ community brings all kinds of fringe benefits ~ early access to new catalogs, guaranteed 20% discount on all Stampin’ Up! products, free tutorials, access to web sites that will encourage and strengthen your abilities. Join now… Again – you may do that here.

Sale-a-bration products available with $50 purchase ends later today Feb 28

Sale-a-bration products available with $100 purchase ends later today Feb 28

Sale-a-bration products available with $300 purchase ends later today Feb 28

Card cuts:

  • Basic White card base 4 1/4 x 11 scored at 5 1/2 (2); 4 x 5 1/4 (5); 3 1/4 square
  • So Saffron card base 8 1/2 x 5 1/2 scored at 4 1/4
  • Oh So Ombre 6×6 DSP 2 1/4 x 6 (2 for envelope flap) , 3 x 3 behind doily
  • Butterfly Bijou 6×6 DSP 2 1/4 x 6 (envelope flap) plus enough for large butterfly; different panel of same DSP for other two butterflies

Thanks for stopping by

May you have a beautiful day

Make someone happy sending them a handmade card filled with love

Stampin’ Up! Butterflies to Go

Hello again… today is TGIF, Friday the 26th… only two more days for Sale-a-bration. The products FREE with $50, $100 and above purchase are amazing. If you haven’t jumped in yet, it isn’t too late. It’s is getting close though :O) OK – projects. I had a class the other day, only three of us but we have a good time masked et all. Remember the butterfly box I made? For directions to make this box yourself, click here to my previous post.

Butterfly Card Box

The class made the same box, only with different papers, and a coordinating card – and I want to share them with you. The DSP this time was Paper Blooms DSP, one of the FREE packets of 12 x 12 paper. The focus was to make the box, decorate if there was time, and to make a card. Take a peek…

Sorry -n there are two photos of the one box/ card – ugh. Didn’t these turn out lovely? Remember the front isn’t decorated yet, but even just as is, the box is wonderful. And the ladies did such a great job. Last time I tried this, it was a different group and they were not so careful and because of that the lid did not fit. I’m so proud of these ladies… they were precise and yay!!!

Now for today’s project… I’m making cards for the box that I made – and it’s for a special friend. I only have two made so far, but will finish the rest soon to give her. Here are the two cards…

These cards have the same layout, but different sentiments and embellishments. Directions for both are the same.

  • Card base is 8 1/2 x 5 1/2: scored at 4 1/4 Card 1 – Seaside Spray/ card 2 – So Saffron
  • Cut a panel of DSP with the largest Stitched Rectangles Dies: Card 1 Sand & Sea DSP/ Card 2 Butterfly Bijou 6×6 (NEW)
  • Adhere a panel of a coordinating DSP cut 2 1/4 by 4 1/4
  • With the fourth largest Stitched Rectangles Dies, die cut a panel from the center.
  • Adhere dimensionals to the back of the smaller panel and set aside. (You could also use Foam Adhesive Sheets cut smaller than the rectangle)
  • Adhere larger panel to card front: adhere smaller panel with dimensionals in the opening. What’s so neat about this is you have double stitching showing 🙂
  • Decorate the card front!
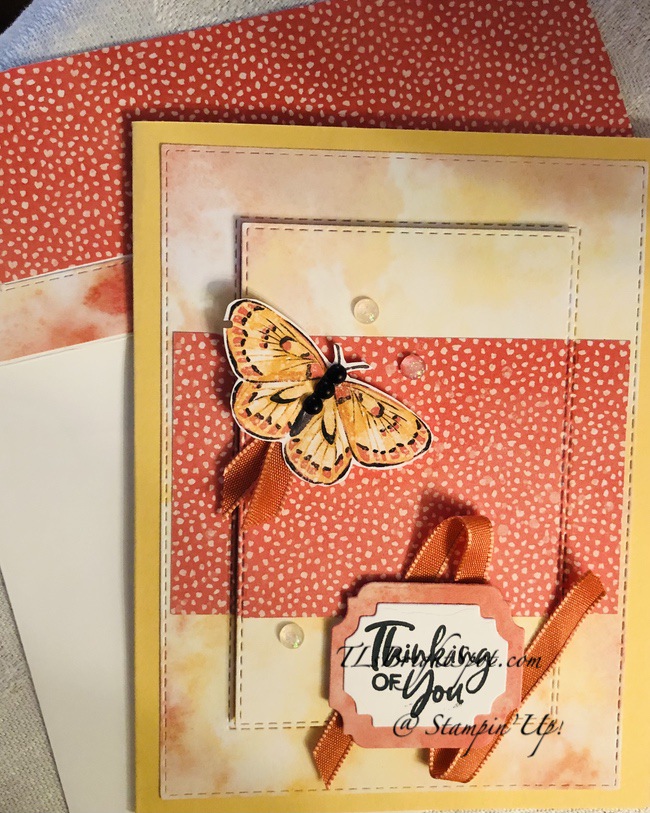
    • Here I used butterflies die cut with the Brilliant Wings Dies (NEW) from the (also NEW) Butterfly Bijou 6×6 DSP This DSP will be available to customers Mar 2 – May 3, then it will no longer be available for purchase. The stamp set and coordinating dies WILL BE in the 21-22 Annual Catalog!
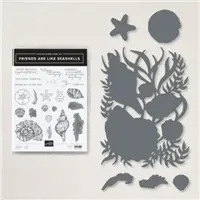
    • The sentiments come from Friends Are Like Seashells stamp set stamped in Memento Black ink on Basic White scraps. Card 1 is a banner strip 3/4 x about 3 1/4 and end punched with the Banners Pick a Punch. Card 2 sentiment is die cut with the Ornate Frames Dies.
    • I added Matte Black Dots on both butterflies: 5 on the larger and only 3 on the smaller.
    • Additionally, I added Artistry Blooms Adhesive-Backed Sequins on Card 1. On Card 2 I added three Opal Rounds.
    • I also added to Card 2 Terra Cotta Tile ribbon from the Ornate Garden Ribbon Combo Pack: a tiny piece under the tail of the butterfly and the same ribbon back & forth behind the sentiment panel. This sentiment panel has a background from the same Butterfly Bijou 6×6 DSP and is on dimensionals.

Insides of both cards…

  • Card 1: Stamp the full butterfly stamp from the Butterfly Brilliance stamp set in Seaside Spray on a panel of Basic nWhite 4 x 5 1/4. Stamp the sentiment in Memento Black ink using the Friends Are Like Seashells stamp set. Adhere to the inside.
  • Card 2: Adhere a 1/2 x 4 strip to a Basic White panel 4 x 5 1/4. Adhere to the inside.
  • Cards are now done!!!

For both envelopes I adhered a strip of card stock + DSP or 2 strips of DSP as shown – and these two are complete.

Products for todays card are from the new Jan-Jun 2021 Mini Catalog, the Sale-a-bration catalog and the 2020-2021 Annual Catalog ~ and those products are available now for purchase. You will find them in the product list below. As a reminder… I’ve made it easy for you to simply ‘add all to cart’. If I can help you in any way to order these items, or others, please give me a holler. As a thank you to my customers, when the order is between $50-$150 I offer a SU! item of your choice valued at $10. Remember to use MY CURRENT HOST CODE WZBPZ7N4- good Feb 4 – Feb 28. When the order is over $150, you still receive that free gift from me, but SU! has Stampin’ Rewards that may be used for additional products, so don’t use the host code at that time. Now is also Sale-a-bration – a time from now through the end of February when Stampin’ Up! offers FREE items with $50 and $100 purchases. Those products are shown below today’s product list as well. Happy shopping!

Now is the perfect time to become a team member of Stampin’ Up! – with your choice of items in your $99 Starter Kit (valued at $125!) you will receive five packs of new 6×6 DSP paper packs – only during Sale-a-bration though!!! Act quickly… JOIN MY Team here. Being a part of the Stampin’ community brings all kinds of fringe benefits ~ early access to new catalogs, guaranteed 20% discount on all Stampin’ Up! products, free tutorials, access to web sites that will encourage and strengthen your abilities. Join now… Again – you may do that here.

Sale-a-bration is only two days from ending. Get these FREE PRODUCTS with a $50 purchase

And get these FREE products with your order of $100 through Feb 28

And if you HOST a party during Sale-a-bration and the product total is over $300


Thanks for stopping by.

May you have a beautiful day.

Make someone happy sending them a handmade card filled with love.

Stampin’ Up and The Impossible

Baby it’s cold outside. Baby it’s cold outside.When we let the dog out this morning to ‘tour’ the estate’ 😏 and check every nook and cranny, the snow was crunchy. Not only that but he didn’t stay out! He wanted right back in after taking care of business. This surprised me as he likes roaming around checking things out, just not this morning…It will be a cold walk for us once it’s daylight.

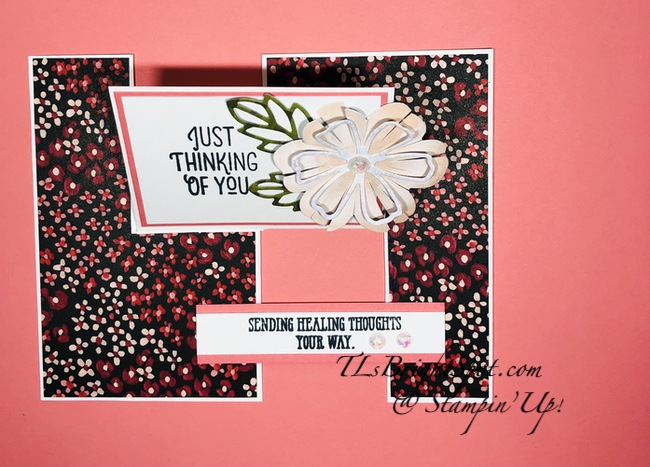
Today’s card ~ is called The Impossible card because it doesn’t seem as though it could be done, but it can – and I did. There are a couple of videos out there that I highly recommend, cuz written directions would be, well, next to impossible 🙂 And here’s the finished product.

The impossible Card – #1

And here’s how it looks before it’s decorated.

The Impossible Card – #2

Interesting, isn’t it? Let me give you some basic directions and if you decide to make this beauty, take a gander at a couple of videos: Jan Mansor Brown, Mary Deatherage, or May May are a few.

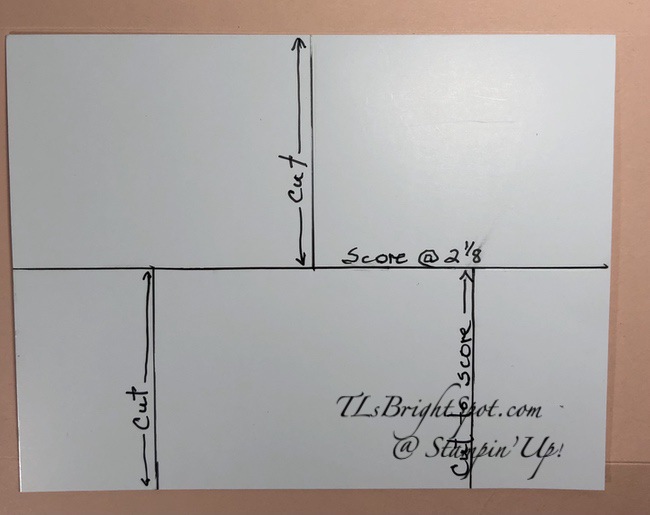
  • Card base is 4 1/4 x 5 1/2: scored in half on the short side at 2 1/8.
  • Turn and score on the long side at 2 3/4 JUST TO THE SCORE LINE.
  • Turn the card base 180 degrees and score at 1 1/4 & 4, JUST TO THE SCORE LINE. That is 1 1/4 at each end
  • Using your trimmer to make certain lines are very straight, cut on each score line.

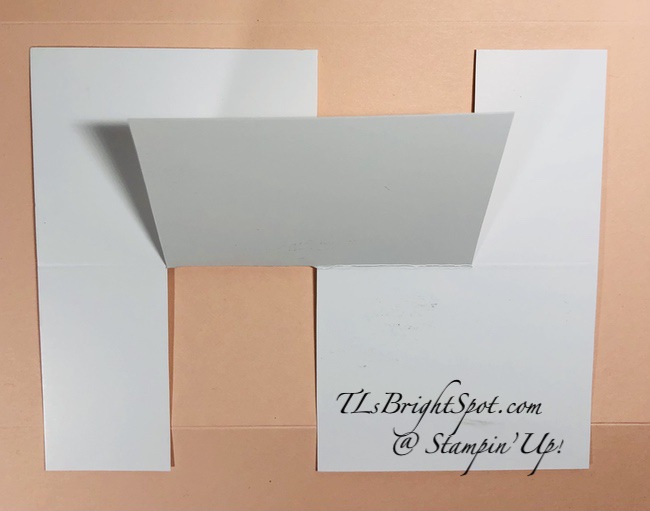
Here are a couple of photos: one to show score lines, one with score lines cut.

score lines for The Impossible card
appropriate scores lines cut

Holding the panel longways, what you have now is a piece with three (3) slits: one at top and two ‘legs’. Hold the left side of the card stock asnd rotate the other half 180 degrees and crease along the center fold, making certain edges are even. Essentially you have two ‘L’s’ with a connection. YAY! The hardest part is done. And here’s yet another photo.

right section turned 180 degrees

Now let’s make a template to use to decorate this card base – and it will look like an L. Cut a piece 2 5/8 x 4 1/8. On the short side mark down the middle with a pencil. Turn this to the long side and mark down the middle. Look at the photo above again, and holding the piece in the portrait position, trim away the upper right quadrant. This is best done with the paper trimmer to keep lines straight but can be done with your paper snips as well. This becomes your template for decorating the card base.

template for decorating The Impossible Card

Cutting pieces for this card:

  • Larger sentiment panel: Flirty Flamingo 2 7/8 x 2; Basic White 2 3/4 x 1 7/8
  • Sentiment panel to hold card together: Flirty Flamingo 3/4 x 3; Basic White 1/2 x 3
  • Flower & Field DSP 2 1/8 x 4 1/8 (2). Trim, removing panel as shown in photo above. Remember they are opposite! I highly recommend cutting/ adhering panel one at a time to avoid a mistake. Yep – did it!

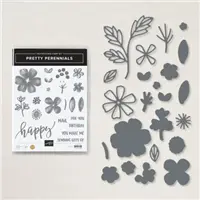
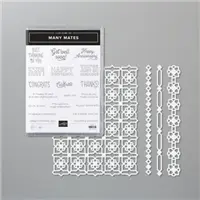
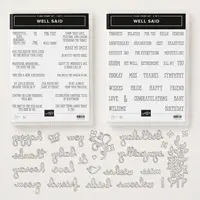
  • Perennial Petals Dies for the flower, and Many Mates stamp set for the upper sentiment and Well Said stamp set for the sentiment strip. Opal Rounds for the flower and additional embellishment. I used Memento Black ink for stamping.
  • The sentiment strip is what holds this card together so it isn’t floppy. It also keeps everything straight. When adhering this strip, use your grid paper to make certain everything is in alignment.
  • This is a very flat card. Adhere everything together with liquid glue.
I decorated the envelope with the same DSP but did not take a photo – and it is mailed already. Here is photo again of the completed card – The Impossible card, made possible!
The Impossible Card

I do hope you try making this ~ and have fun doing it!

Products for todays card are from the new Jan-Jun 2021 Mini Catalog, the Sale-a-bration catalog and the 2020-2021 Annual Catalog ~ and those products are available now for purchase. You will find them in the product list below. As a reminder… I’ve made it easy for you to simply ‘add all to cart’. If I can help you in any way to order these items, or others, please give me a holler. As a thank you to my customers, when the order is between $50-$150 I offer a SU! item of your choice valued at $10. Remember to use MY CURRENT HOST CODE WZBPZ7N4- good Feb 4 – Feb 28. When the order is over $150, you still receive that free gift from me, but SU! has Stampin’ Rewards that may be used for additional products, so don’t use the host code at that time. Now is also Sale-a-bration – a time from now through the end of February when Stampin’ Up! offers FREE items with $50 and $100 purchases. Those products are shown below today’s product list as well. Happy shopping!

Now is the perfect time to become a team member of Stampin’ Up! – with your choice of items in your $99 Starter Kit (valued at $125!) you will receive five packs of new 6×6 DSP paper packs – only during Sale-a-bration though!!! Act quickly… JOIN MY Team here. Being a part of the Stampin’ community brings all kinds of fringe benefits ~ early access to new catalogs, guaranteed 20% discount on all Stampin’ Up! products, free tutorials, access to web sites that will encourage and strengthen your abilities. Join now… Again – you may do that here.

FREE product during Sale-a-bration with $50 purchase

FREE product with $100 purchase during Sale-a-bration

And if you HOST a party with $300 sales

Thanks for stopping by.

May you have a beautiful day.

Make someone happy sending them a handmade card filled with love.