
Welcome welcome. Oh it is so energizing to try new products and new fun folds, etc. etc. I think we have a treat for you today.


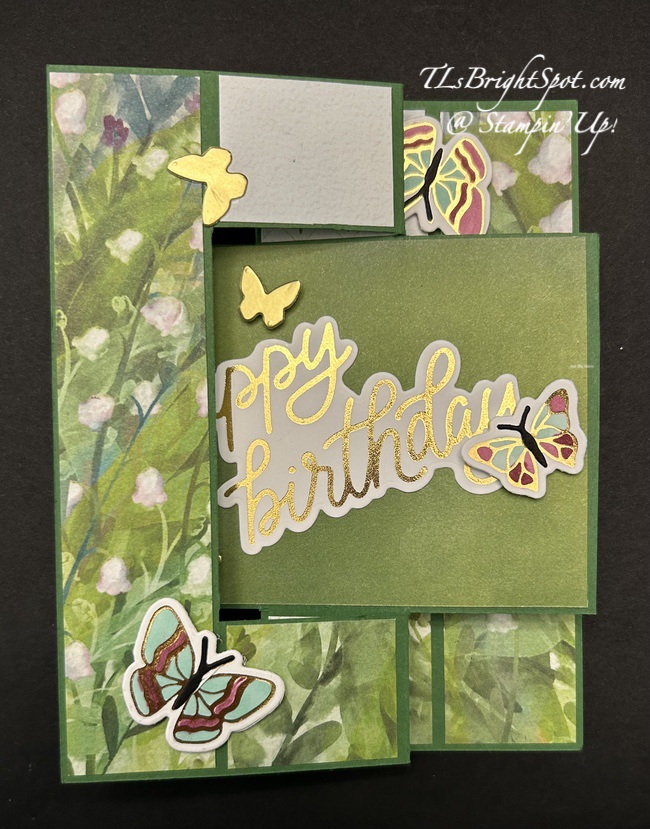
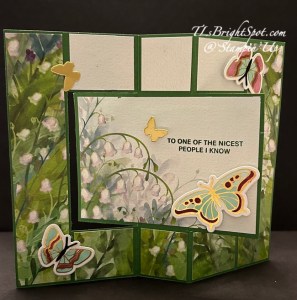
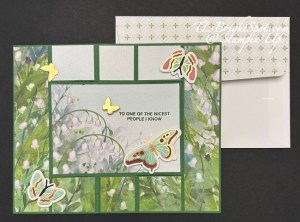
Let’s look more closely at this card with some other photos.
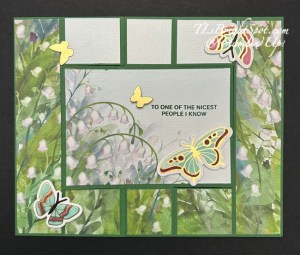
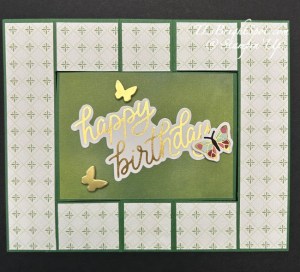
What’s neat about this fun fold is the way it opens and flips or flaps one way or the other while the center remains intact. It’s hard to describe, but it can close either way & it fits in a standard A2 envelope.
How to make this card… and it might help to do a template first! This is called a flip-flap card.
- Card base is 6 3/4 x 5 1/2. Mark all four sides lightly with a pencil at the 1 1/4″ mark.
- With the long side at top, score at 2 3/4 & 4″ both above & below the 1 1/4″ mark
- With the long side at top and the right edge at the 1 1/4 mark on the right side of the paper trimmer, cut from 1 1/4″ to 4 1/4″ (or the pencil mark). Follow this with long side at top for the opposite side.
- With short side at top & the right edge of paper at the 1 14″ mark on the right side of the trimmer, cut from 1 1/4″ to 2 3/4″. Flip paper over & with short side at top, do same on opposite end.
- You have now connected the cuts, leaving the center held at top & bottom between the scored areas of 2 3/4″ & 4″ 😀
- Burnish the scores as mountain & valley.
- Now you may decorate! Be sure to erase your pencil lines prior to adding your DSP pieces 😁 Long panels on both right & left are 1 1/8 x 5 3/8 (cut 2 for front & 2 for back. Add these with adhesive of choice. Short sections at top & bottom are the same dimensions: 1 3/8 x 1 1/8, 1 1/8 x orate.1 1/8 & 1 3/8 x 1 1/8. Cut 4 of each for both front & back. Adhere appropriately. The center section is 4 1/8 x 2 7/8 (cut 2 – one for front & one for back). Adhere & decorate.
- You can see I used the Valley In Bloom 12×12 DSP & the Lily of the Valley stamp set for the one sentiment (to one of the nicest people I know) stamped in Garden Green ink. The colored butterflies were done using the Hot Foil machine on Willow White paper then colored after the foil process with Stamp[in’ Blends: Blackberry Bliss & Pool Party. The small foil dies were die cut from Gold Foil using the Butterfly Flight Dies. The happy birthday sentiment was made with the hot foil system using White Will & of course the gold foil for the system & heated then die cut – Classic Greetings Hot Foil Dies. All butterflies were added with dimensionals.
For the envelope…only the flap was decorated – using a pattern from the Valley In Bloom 12×12 DSP.
The Stampin’ Up! Hot Foil System will be available for customer purchase on 7/10/2026 and you may order it from me (of course!). See my information below the list of names to learn how to do that!
Now… time to see what others on the hop have created for this birthday them challenge. See the list below, click on the next button or click on a name. Enjoy.

info about the hot foil system
– Included in the Stampin’ Hot Foil System & Craft Class:
– Metallic Magic Craft Class ($30 value—limited time only!)
– Stampin’ Hot Foil platform
– Stampin’ Hot Foil Shim & Spacer
– Stampin’ Hot Foil Magnetic Pick-Up Tool
– Silicone platform station
– Silicone cooling pad
– Power cord
– Instructions on how to use the system
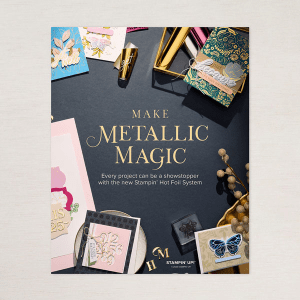
– Hot Foil results are best with either White Willow or Two-Tone Cardstock. Smoother card stocks like the Two-Tone Cardstock and White Willow will achieve the best results when using the system, but you can use the regular card stocks too.
– The Hot Foil System, foil rolls and new hot foil dies and bundles will be available Friday, 10 July 2026 in the online Stampin’ Up! store.
– A FREE Hot Foil Online Class from Stampin’ Up! is included with your hot foil system purchase (a $30 value!), do not add the class separately to your cart (you’ll be charged for it if you
do!). You’ll automatically get a link to it after you purchase the Stampin’ Hot Foil System.
– The Stampin’ Hot Foil system is $160. Dies & foil are sold separately.
– Stampin’ Up! has let us know that if the Stampin’ Hot Foil system goes on backorder, it may take longer than normal to restock. So if you would like to order the system, order sooner rather than later!
– IMPORTANT NOTE: Cutting dies are not designed to be used with hot foiling. You cannot die cut using foiling dies. Doing so risks damaging the dies and the system.
For now – think about it – get excited – and – you can order it from me here
AND… while I had ended the double Daisy Rewards – I’m re-instituting that – so double your fun. DOUBLE REWARDS + for orders $50 & up, the monthly tutorial.
Thanks for stopping by. May you have a beautiful day. Make someone happy by sending them a handmade card filled with heart! ♥️
 TLsBrightSpot
Stunning card! I love the foil accents! My machine is still boxed up waiting for me to play with it… I have to complete all my to-do list… man that has given me some inspiration! TFS
LikeLiked by 1 person
It was really fun to play with the new foil machine 😀 Thanks Tara!
LikeLike
WOWZA!! This is GORGEOUS! The fun fold is awesome and the gold foiling is a perfect complement to that pretty paper! Beautiful!
LikeLiked by 1 person
Thanks so much!!!❤️
LikeLike
WOW!! That’s beautiful Terry Lynn 🙂 Love that DSP. Can’t wait to get my Foil System so I can play
LikeLiked by 1 person
You are going to love it!
LikeLike