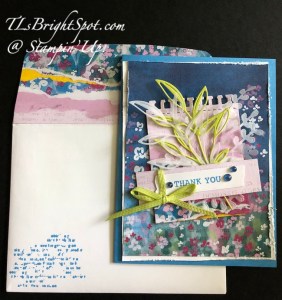
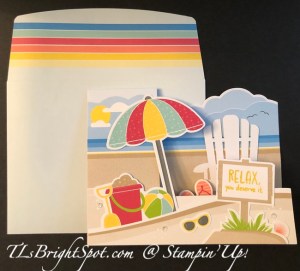
WooHoo – this is a favorite of the more recent monthly Paper Pumpkin kits :O) It’s called Fun In the Sun for the July kit. It’s a side step card and very summery and fun. The three versions look like this:
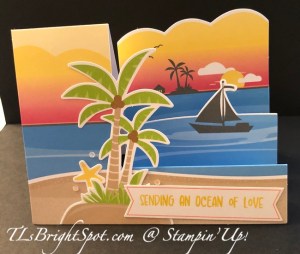


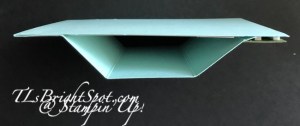
Aren’t these fun? Notice thew left portion is taller than the rest and there is a slit, cut, division for the folds on the right. Let me show you side views so you get the idea of a side step card.
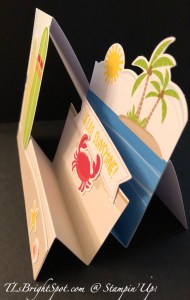
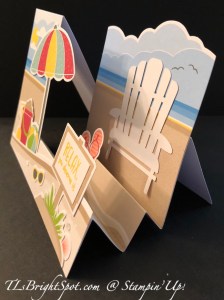
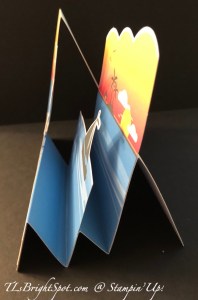
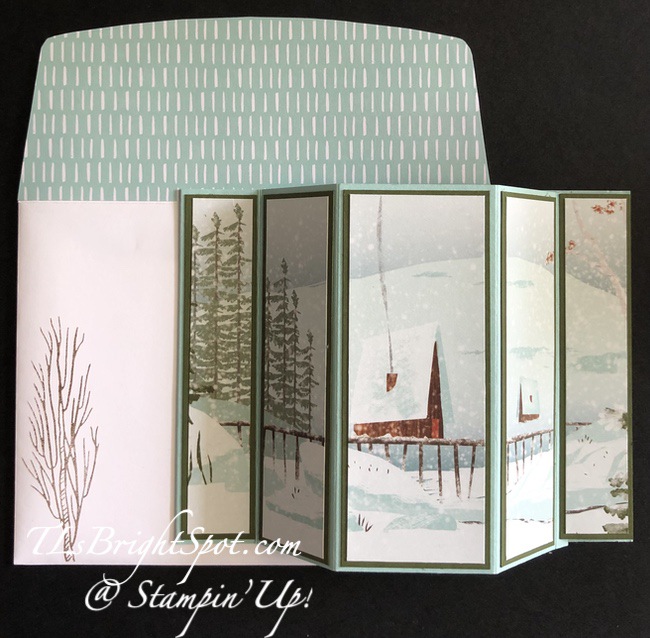
By looking at the side view, it is clear of the various ‘steps’ or folds that can be decorated. Here, on each ‘step’, the images are adhered. The very back ‘step’ could have been kept loose and used as am bookmark or tag. I decided not to do that and prepared no alternatives. I thought these really cute. And the envelopes were colorful as well…
This months Paper Pumpkin made 9 cards with envelopes. Such a great idea. And – you could make them birthday cards or party cards, or a ‘hello you’ card. If you would like to purchase a Paper Pumpkin subscription, you must do so prior to the 10th of any month. For August, the theme is:
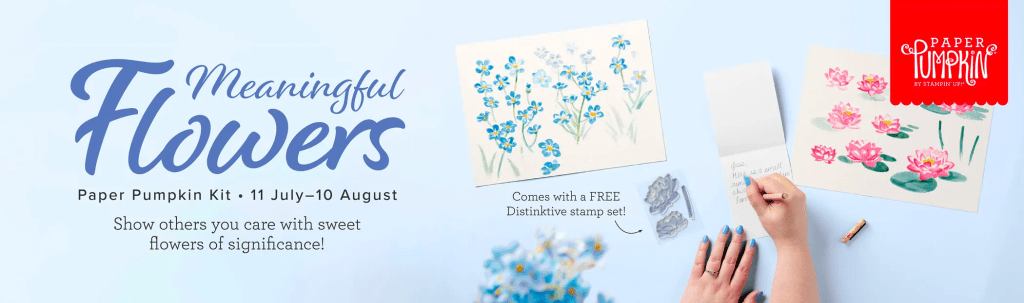
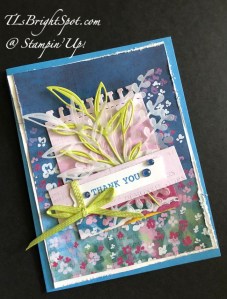
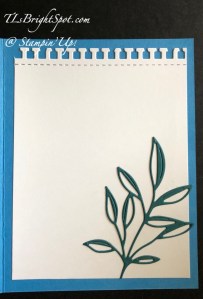
The Meaningful Flowers Paper Pumpkin Kit is full of florals that are meant to spread hope, encouragement, and remind you of your favorite memories. The kit focuses specifically on forget-me-nots and lotuses. Their meaning is enscripted on the back of each card. Subscribe by 10 August to send beautiful paper crafts with thoughtful messages to those you love. The only thing better than a beautiful, floral crafting kit is one with a FREE stamp set! We are including an additional stamp set for free to everyone who subscribes to Paper Pumpkin by 10 August. The stamp set is Distinktive, which means you’ll get additional detail and texture in your crafts. So don’t wait! Subscribe today for your August kit and FREE stamp set!
You may purchase Paper Pumpkin subscriptions with me here
What else is going on in the Stampin’ Up! world? LOTS! During the month of July (yep, almost gone, but you still have a few days left) there are BONUS DAYS.

Getting rewarded for all the crafting supplies you’re already going to buy! When you shop between 6–31 July and spend $50 USD | $60 CAD you will earn a $5 USD | $6 CAD coupon! Make sure you save all your coupons because you can redeem them (and we mean ALL of them) between 1–31 August. There’s no limit to how many coupons you can earn!
You may shop the store with me here.
Best of all, when you shop with me using my HOST CODE, there are additional benefits… for every $50 order you will receive a Stampin’ Up! item of your choice valued up to $10. Such a deal – especially with the current BONUS DAYS PROMOTION. Shop with this HOST CODE through the end of Jul. A NEW host code will be provided August 1.
Thanks for stopping by. May you have a beautiful day!