Good Thursday morning! How’s your week going? Mine is good, lots going on, but that’s OK. Working with others is medicine for my soul :O) We have a sketch challenge for our hop today and I’m excited to share a new product from the Mini Sep-Dec 2023 Catalog – or maybe a few new products. :O)


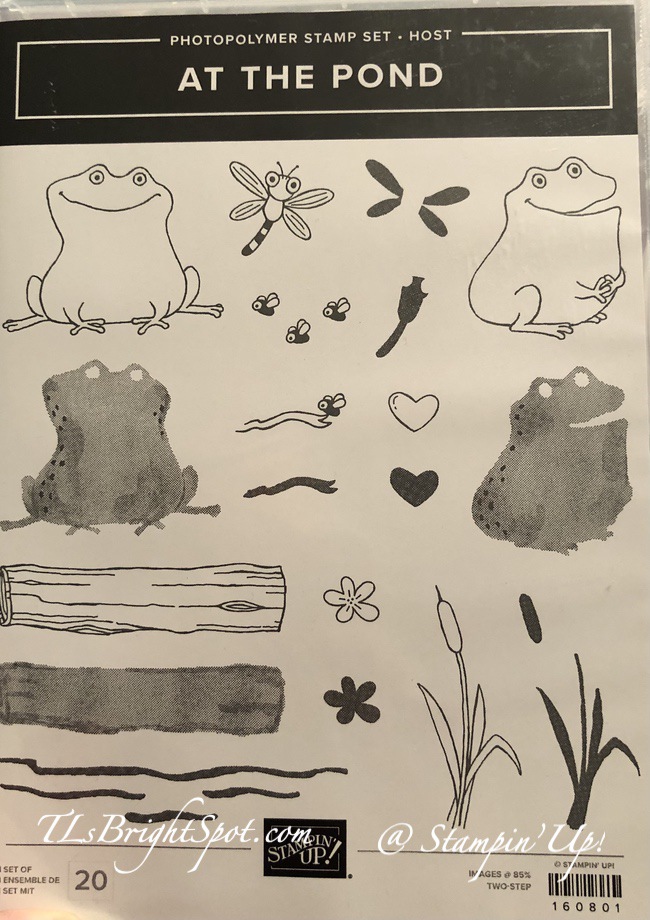
Let me just say, I am LOVING this bundle! This comes in a suite of products called Joy Of Christmas and includes two stamp sets with dies, stunningly glorious DSP (2 packs), ribbon and gems & sequins. They may be found on pages 28-31 in the Min Sep-Dec 2023 Catalog. If you don’t have a catalog, reach out to me… I can ‘fix’ that!
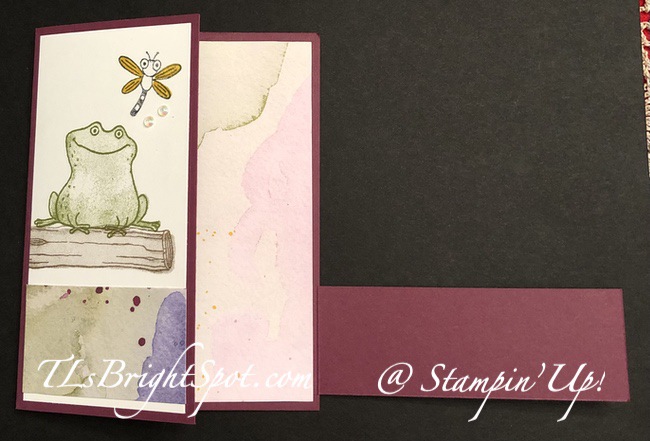
This is a slimline card… card base is Shaded Spruce card stock with a layer of some of this gorgeous Joy of Christmas 12 x 12 DSP then a layer of Vellum adhered to that and a smaller piece of another panel of the Joy of Christmas 12×12 DSP. Then… I took out this glorious die for the background banner. It includes these off-shoots of leaves and holly, etc. I decided to die cut from yet another panel of the Joy of Christmas 12×12 DSP. I pulled out the Joy of Noel Dies to die cut holly (from Garden Green card stock) and pine sprigs (from Shaded Spruce card stock.) These were added to the back of the banner die cut from DSP with Stampin’ Seal then added to the card front with dimensionals. I pulled out a Basic White scrap and stamped this fun mixed font message which is from Christmas Classics stamp set and stamped it in Shaded Spruce ink. I die cut that with a die from the Christmas Classics Dies and added it to the larger banner with dimensionals. I added the Real Red gems from the Loose Holly and Gems & Sequins Pack.

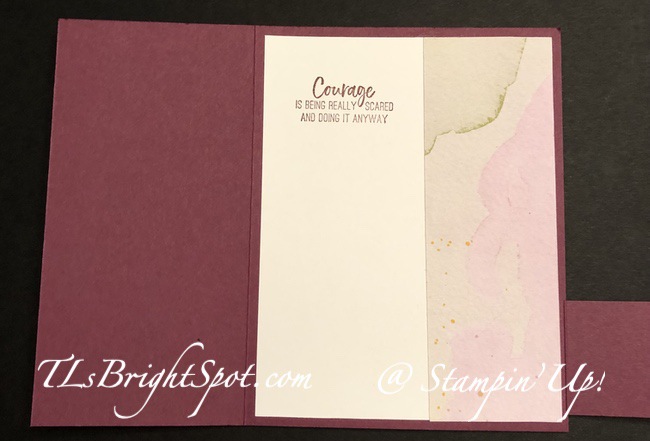
For the inside of the card… a piece of Real Red card stock with a layer of Basic White. Before adhering the Basic White panel I stamped it with the holly in Shaded Spruce ink, then the sentiment in Real Red ink. Both come from Christmas Classics stamp set.
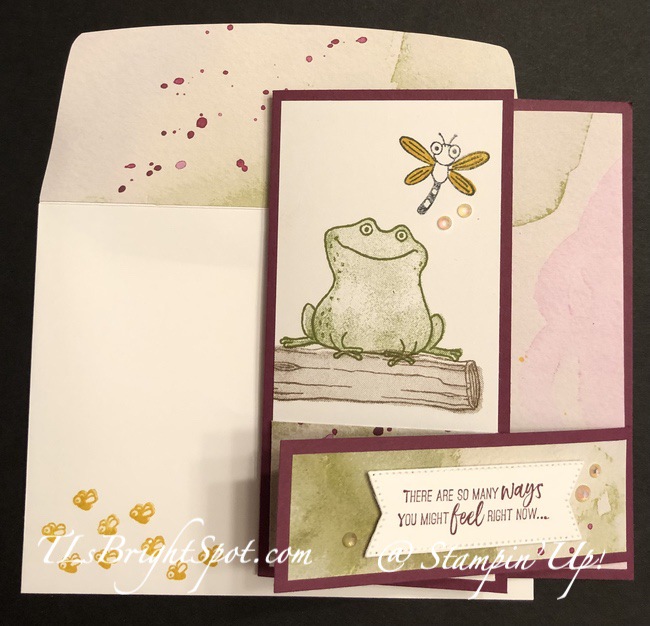
Stampin’ Up! does not have envelopes that fit this size card, but I happened to have one in red :O). I stamped the cute holly stamp in Shaded Spruce ink on the front and on the envelope flap – and then didn’t take a picture of it. Ugh!
Card cuts for this card:
Shaded Spruce (card base): 7 x 8 1/2 scored @ 3 1/2 on the short side
Joy of Christmas 12×12 DSP: 2 5/8 x 8 1/2; 1 3/4 x 5 (plaid strip); 3 3/4 x 4 1/4 (banner die cut)
Vellum : 2 5/8 x 5 12
Real Red: 3 x 8 (inside)
Basic White: 2 1/2 x 7 1/2 (inside); 1 x 3 3/4 (front sentiment banner)
Now it’s time to enjoy the rest of the hop! Click the ‘next’ button or a name to see what others have created!

Mary Deatherage
Karen Ksenzakovic
Tara Carpenter
Terry Lynn Bright – you are here!
OK, I mentioned these stamps and dies will be available Sep 6 via the Mini 2023 Sep-Dec catalog. If you have not received a catalog or do not have a demonstrator, I would be happy to be that person for you. If you are interested in ordering those products now and get 20% off in the bargain, it’s easy to join my team here. And when you do join my team, there are other benefits as well.
- 20%+ Discount on your demonstrator orders
- Be a part of a fun and supportive team and the Stampin’ Up! community – this is one of the best parts, meeting new folks and new ideas, creating together
- Early access to new catalogs and promotion information
- Early ordering for new products
- Be a hobby demonstrator or start a business
- No pressure to sell products
- My full support when you join my team
- access to monthly class tutorials :O) Each month it’s different, this month it’s the Timeless Arrangements bundle, and that’s gorgeous!
Other Stampin’ Up! opportunities…
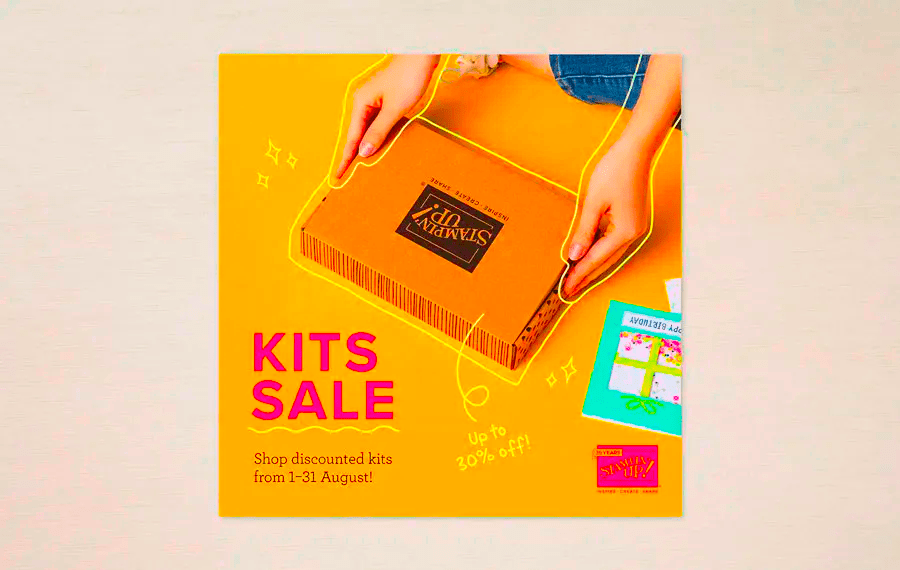
- Kits are fun, quick and easy, and all-inclusive so there’s nothing extra to buy and nothing to store afterward.
- Completing a kit gives everyone a sense of artistic accomplishment.
- Completed kits make great gifts. Make the projects and then give them away for someone else to use.
- Because kits come in so many styles and project types, there’s something for everyone. Want to HOST a kits collection party? Let me know and I’ll help pull that off. Kt together in September with kits on sale now. :O)
KITS COLLECTION BY STAMPIN’ UP! You can shop with me here.
Sales Period: 1–31 August
Just make certain when you’re checking out that my name is at the top as your demonstrator. THANKS! If your order is over $50, please use my HOST CODE 3QH63UB7 so I can send to you a SU! item valued to $10. If your order is over $150, Stampin’ Up! has it’s own rewards, so don’t use the HOST CODE then. I will still send a SU! item valued to $10 :O)
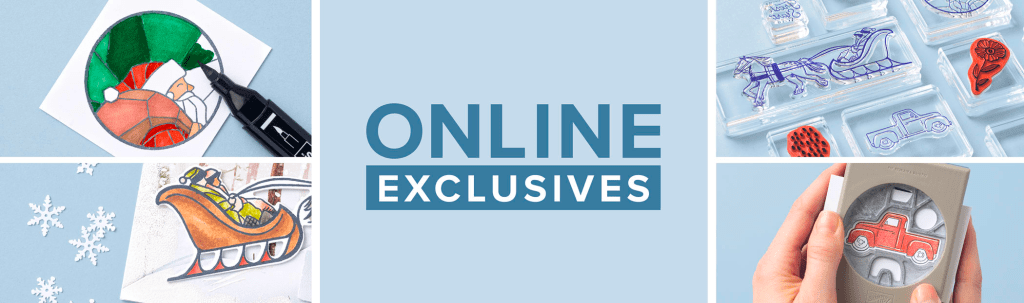
Online Exclusives are just that – not in any Stampin’ Up! catalog.
Visit here to shop these EXCLUSIVES.
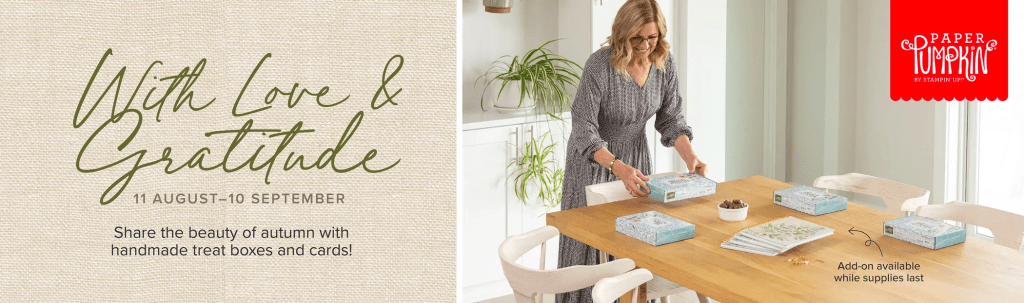
ABOUT THE KIT
Kit Name: With Love & Gratitude
This kit includes:
- 8 treat packages
- 8 note cards
- 8 coordinating envelopes
- 1 photopolymer stamp set
- 1 Lost Lagoon Ink S
- pot
- Specialty gold foil, precut embellishments
- Adhesives
- Finished treat packaging: 3-1/2″ x 5″ x 2″ (8.9 x 12.7 x 5.1 cm)
- Final card size: 3-1/2″ x 3-1/2″ (8.9 x 8.9 cm)
- Coordinating Stampin’ Up! colors: Copper Clay, Crumb Cake, gold foil, Lost Lagoon, Mossy Meadow, Pebbled Path
ADD-ON DETAILS
Thoughts of Thanks Journal
Available starting: 11 August, while supplies last
Price: $15.00 USD | $21.00 CAD
Item number: 163270
This add-on includes:
- 8″ x 10″ (20.3 x 25.4 cm) journal
- 2 specialty gold foil sticker sheets
- Gold-clip page marker
Coordinating Stampin’ Up! colors: Copper Clay, Crumb Cake, gold foil, Lost Lagoon, Mossy Meadow, Pebbled Path
Available for purchase separately on the online store starting 11 August, while supplies last.
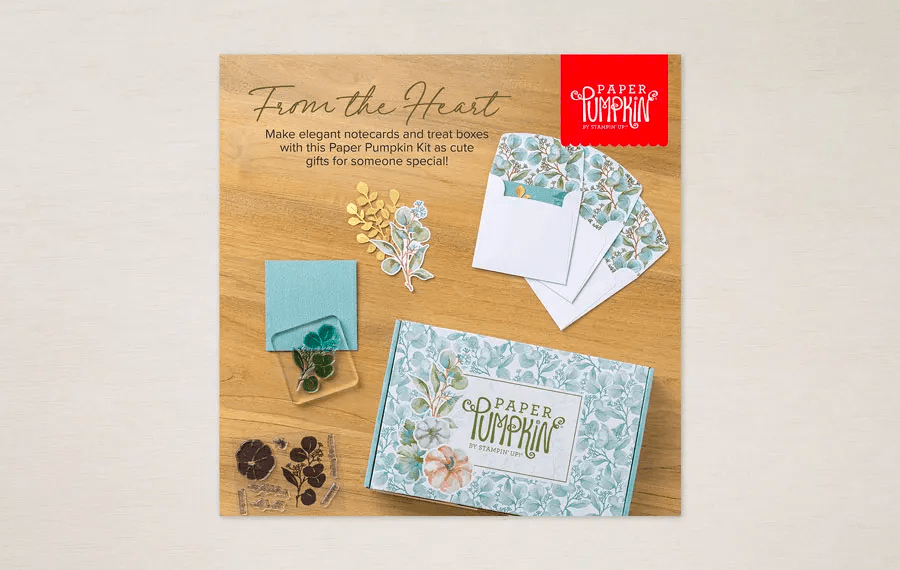
SUBSCRIPTION INFORMATION
Subscribe to the August Paper Pumpkin Kit between 11 August and 10 September. You may find more information and subscribe here.
There’s always more to share about Stampin’ Up! products. Please reach out with your questions if you need more information.
Thanks for stopping by. May you have a beautiful day!