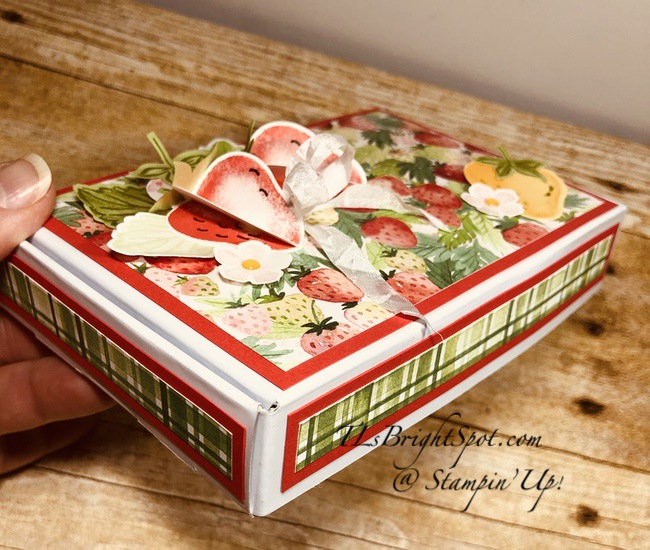
This is such a fun little project… and I have made a few to be used for various things: small candies, Young Living Essential Oils, a package of sponge daubers or paper trimmer blades will also fit. Anyway – I think they are adorable.

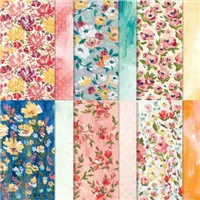
Remember this Designer Series Paper is a FREE item with a $50 purchase during Sale-a-bration – just sayin’… this paper is so fun! Here is another photo of more created ~

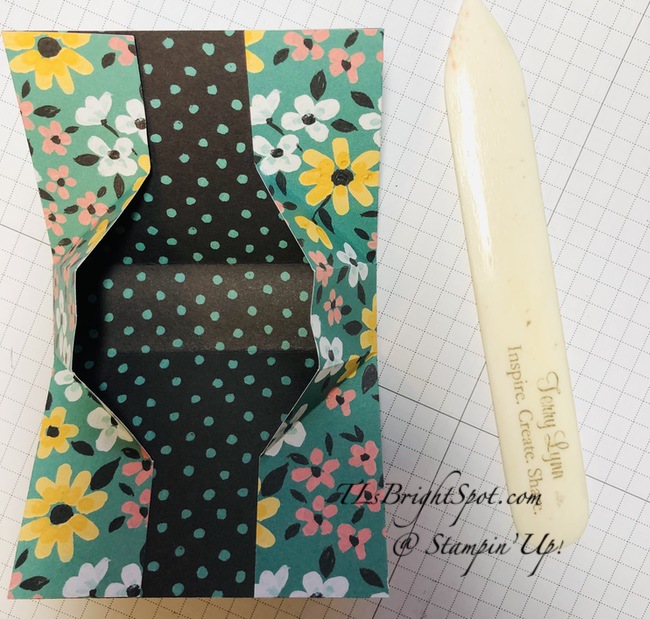
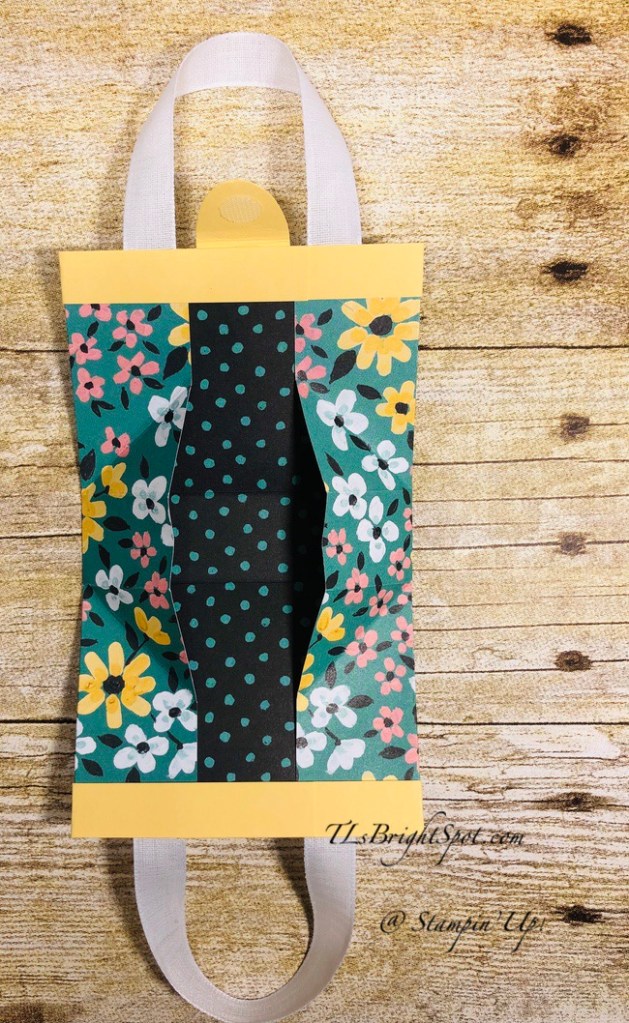
Cute, cute, cute! No… Measurements & scoring info and several photos to help in the directions. These are not difficult. I just felt photos say 1,000 words.
- 6×6 DSP scored at 1 1/4 & 4 3/4; turn and score at 21/2 & 3 1/2. Burnish
- At the side folds, bring up the paper to create a diagonal fold, then adhere from the top to the diagonal fold. I used Stampin Seal at this point. It should look like this…
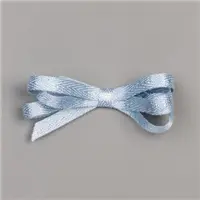
- Add Tear n Tape at the top of each end, remove over to the tape and add ribbon (6″ for each end) and it should look like this…
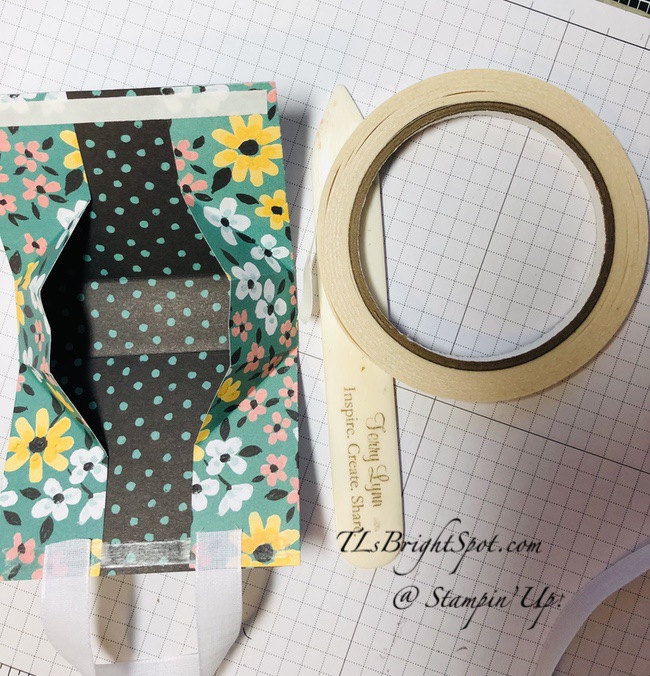
- Now add decorative trim – 1/2 x 8 1/2 to outside with liquid glue, fold in ends to cover Tear n Tape on inside. I did need to add liquid glue to the area that didn’t have Tear n Tape. And I made certain both ends folded the same direction – see photo…
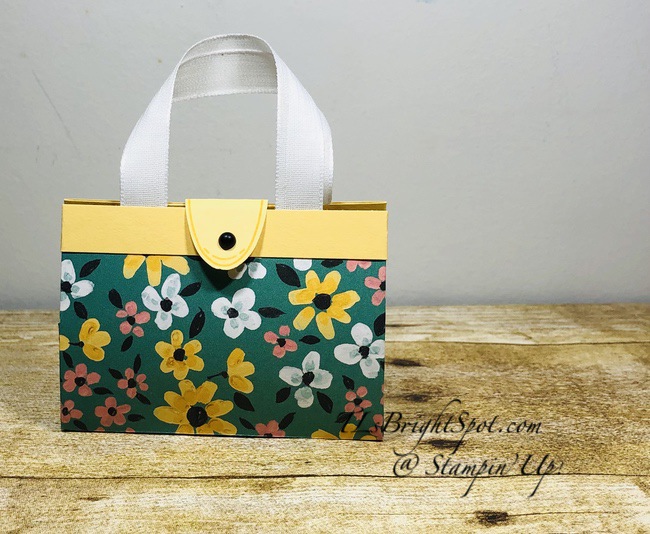
For a couple of final touches I used the Punch Party stamp set to stamp an oval design in
So Saffron ink on So Saffron card stock, then punched it out with the new Double Oval Punch (this can be purchased separately or bundled with the Oval Occasions stamp set for 10% off). I adhered the oval with liquid glue (just half of it!) to the back of the purse; added a 3/8″ Velcro fastener to the loose end of the oval, pressed it to the purse front to adhere the other portion of the Velcro fastener to stick. Then I added a Matte Black Dot to the front of the oval – and voila!
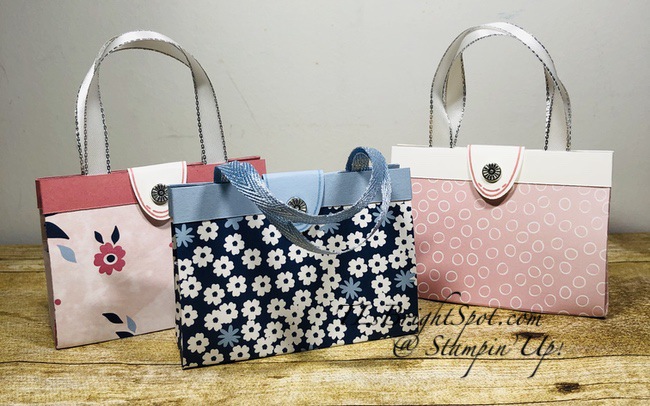
For the little purses on the right, the ribbon used was both Seaside Spray Metallic Ribbon & Whisper White Metallic Edge Ribbon (silver edge). The ‘button’ on the oval is a retired SU! item called Designer Elements. And there you have it – cute project, isn’t it!
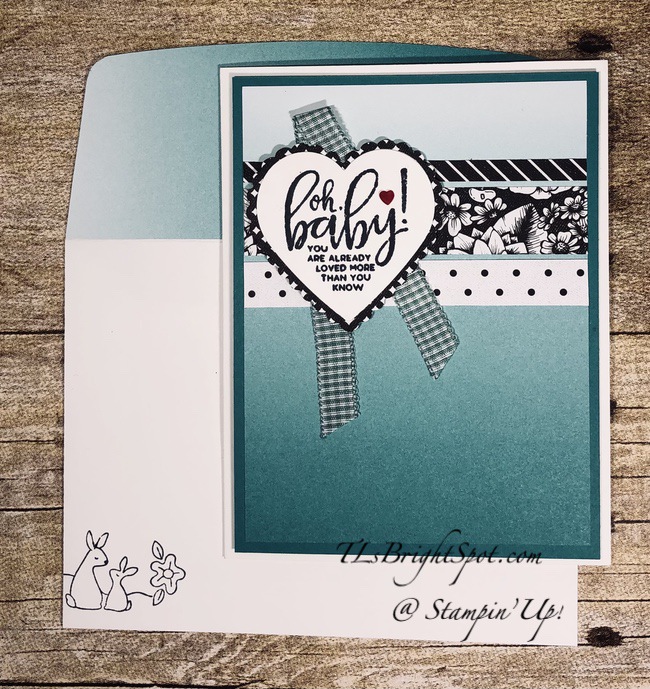
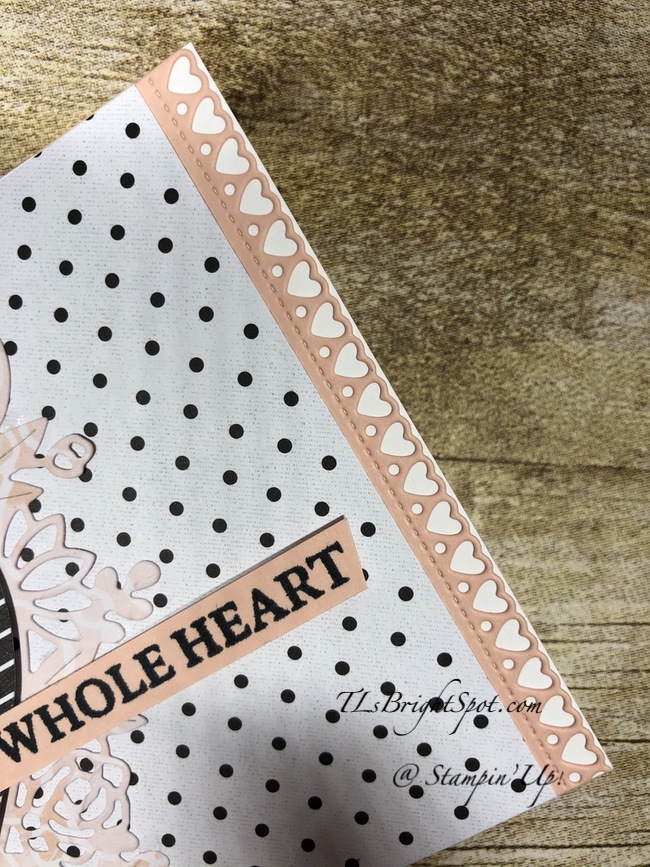
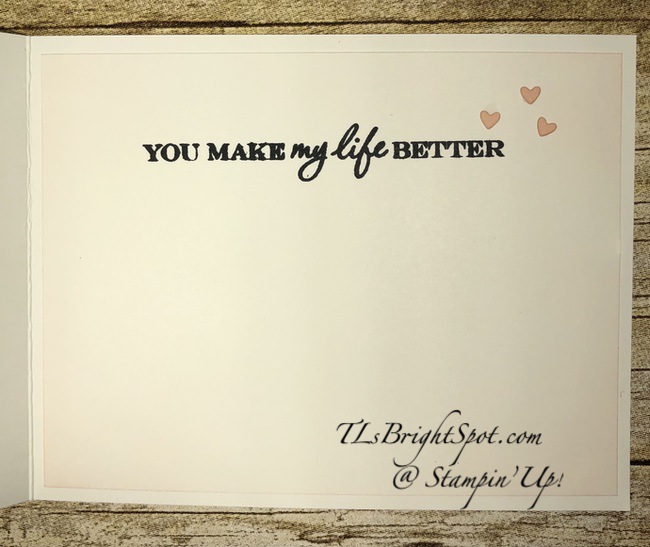
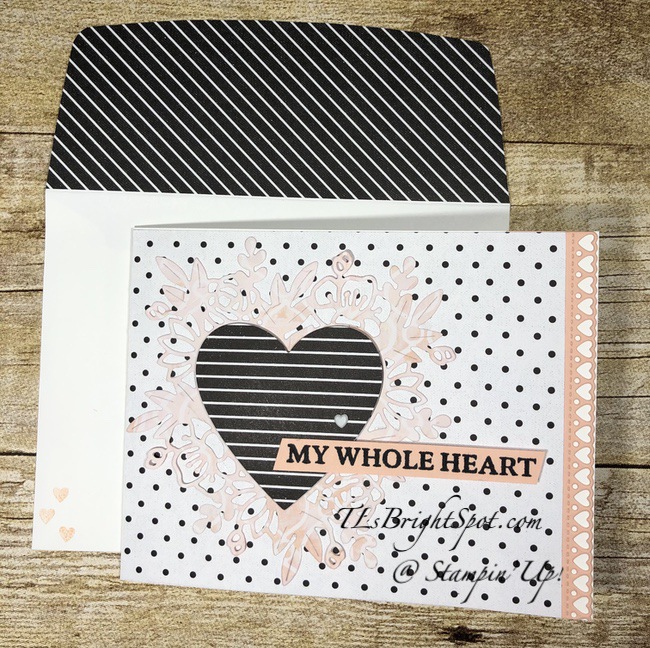
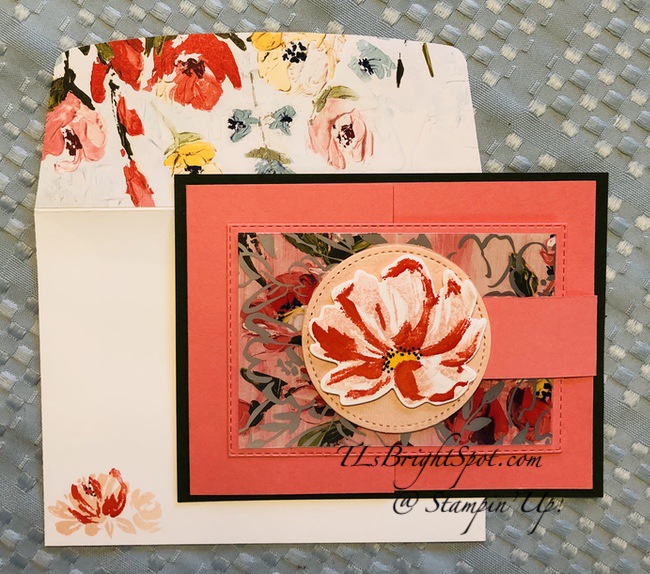
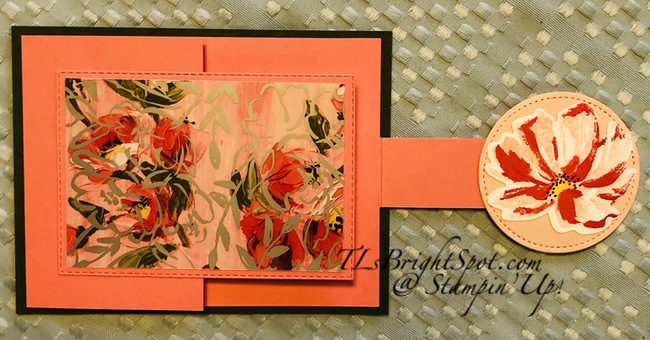
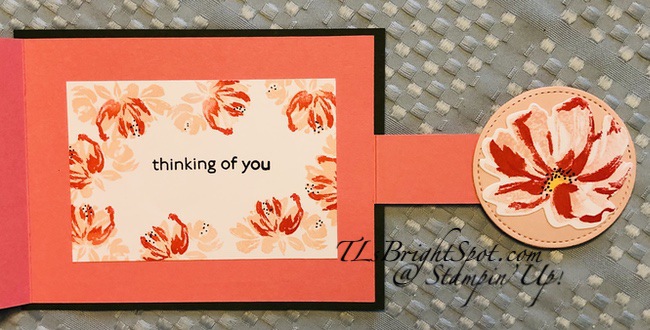
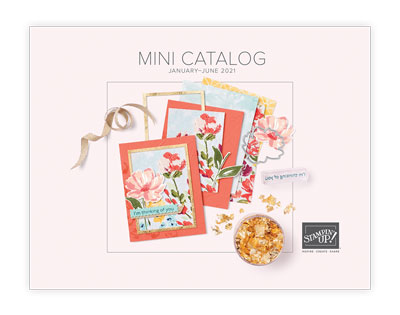
Products for todays card are from the new Jan-Jun 2021 Mini Catalog ~ and those products are available now for purchase. You will find them in the product list below. As a reminder… I’ve made it easy for you to simply ‘add all to cart’. If I can help you in any way to order these items, please give me a holler. As a thank you to my customers, when the order is between $50-$150 I offer a SU! item of your choice valued at $10. Remember to use MY CURRENT HOST CODE RSVNH4XW- good Jan 5-20. When the order is over $150, you still receive that free gift from me, but SU! has Stampin’ Rewards that may be used for additional products, so don’t use the host code at that time. Now is also Sale-a-bration – a time from now through the end of February when Stampin’ Up! offers FREE items with $50 and $100 purchases. Those products are shown below today’s product list as well.


Sale-a-bration items with $50 purchase – Level 1


Sale-a-bration items with $100 purchase – Level 2