
Hello again… excited to share the new stamp sets & dies available for customers Nov 3… So pretty and so much can be done with the Curvy Dies. I just recently got these in the mail (yep! Demonstrators have the ability to preorder certain items and this is one of them). Curvy Christmas stamp set will only be available until Jan 3, 2021, while the Curvy Dies and it’s coordinating stamp set will be in the new Annual Catalog. Pretty cool, huh?

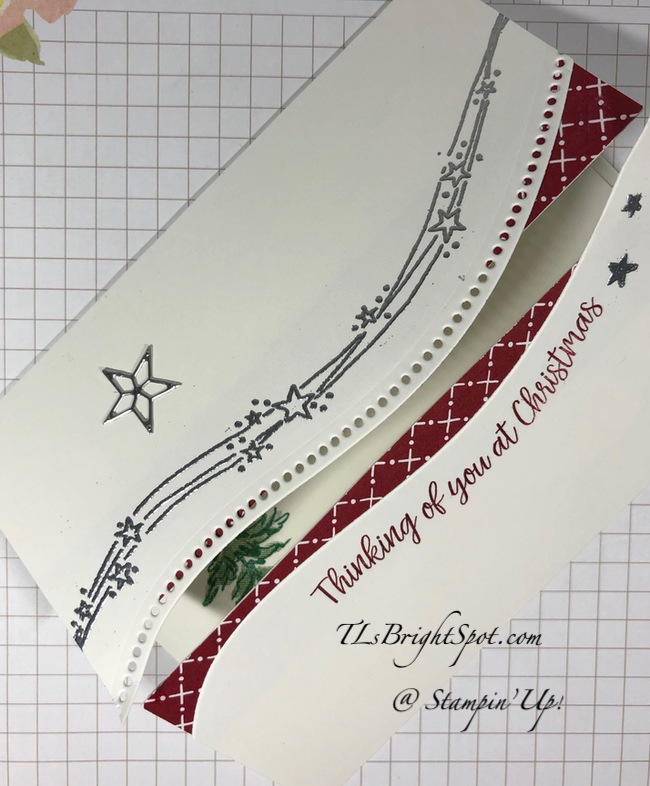
And here’s the card I made for today – my first with this set.

Don’t you love that delicate curve and the little holes – so feminine – can’t wait to play some more…
The how to:
- Whisper white card stock 4 1/4 x 5 1/2. On the long side, place the Curvy Die approximately in the center. This will create two “halves”, one with the holes and one without.
- On the panel with the holes, wipe with the Embossing Buddy, stamp with the curvy star stamp in the Curvy Christmas stamp set with Versamark ink. Sprinkle with Silver Embossing Powder and heat set with the Heat Tool.
- With the Stitched Stars Dies, die cut a small star out of Silver Foil. Adhere with a dab of liquid glue.
- With the Whisper White panel that has the curvy cut, stamp the sentiment, matching it with the curve of the cut, with Cherry Cobbler ink. The sentiment is part of the Curvy Christmas stamp set.
- Create the card base… Whisper White card stock for the card base – 8 1/2 x 5 1/2: on the long side, fold the two sides toward the center to meet and burnish. (each side will be 2 1/8″)
- Cut a 3/4 x 5 1/2 strip from the coordinating Classic Christmas 6×6 DSP and adhere with liquid glue to each of the folded sides, on the cut edge.
- Adhere the curvy panels to the card front with liquid glue. Yes, the DSP is supposed to show through!
For the inside…
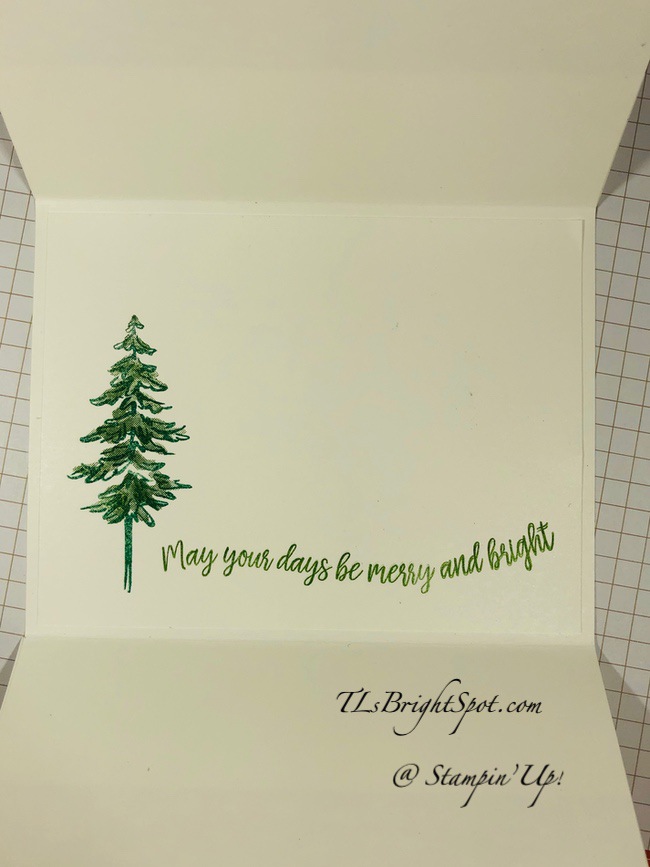
Don’t you love these fonts?!
- Cut a panel of Whisper White cs 4 1/4 x 5 1/4
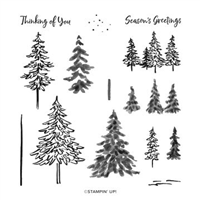
- Using the In The Pines stamp set, stamp the tree outline in Shaded Spruce ink
- Stamp the tree ‘fill in’ for the tree from the same stamp set + the sentiment from Curvy Christmas stamp set in Garden Green ink. I used my Stamparatus for this to get the stamp right where I wanted it.
- Adhere the panel to the inside of the card and voila – the card is done.
For the envelope…

Aren’t these trees wonderful? A touch of whimsy to the envelope front. Of course the tree stamp is from Curvy Christmas stamp set, stamped in Garden Green ink. The DSP on the flap is the Classic Christmas 6×6 DSP. And the whole thing is complete – love, love…
Products for today’s card – as I mentioned earlier in the post, may be purchased Nov 3, 2020 through Jan 3, 2021 – limited time! Want it now? Join MY TEAM!! It can be ordered as part of your starter kit. Let me know how I can help you do this… tlsbrightspot@gmail.com. Use my OCTOBER HOST CODE HXXMKN2X to redeem a gift from me when your purchase is between $50-$150!
Today’s product list is below…


What a cute card Terry Lynn! Love the fun fold design. 🙂
LikeLiked by 1 person
Love this! And am so excited about this new set coming! 🙂
LikeLiked by 1 person
Thanks ladies… this new set is going to be fun to play with!
LikeLike