Hello! I hope today finds you well, in good spirits and ready to create something beautiful ~ oh, and have fun while you’re doing it. 😍 I happen to like coloring and chose to work with my Watercolor Pencils, which I haven’t used in what seems like forever. They give a wonderfully soft look, unlike the Alcohol Blends which are much more bold. Don’t get me wrong, I like the Blends too. They just give a different result. One of the nice parts about coloring, at least for me, is I don’t have to think about it much. I can listen to a podcast, or have the TV on (I don’t do that very often!) – it’s called multi-tasking 😁
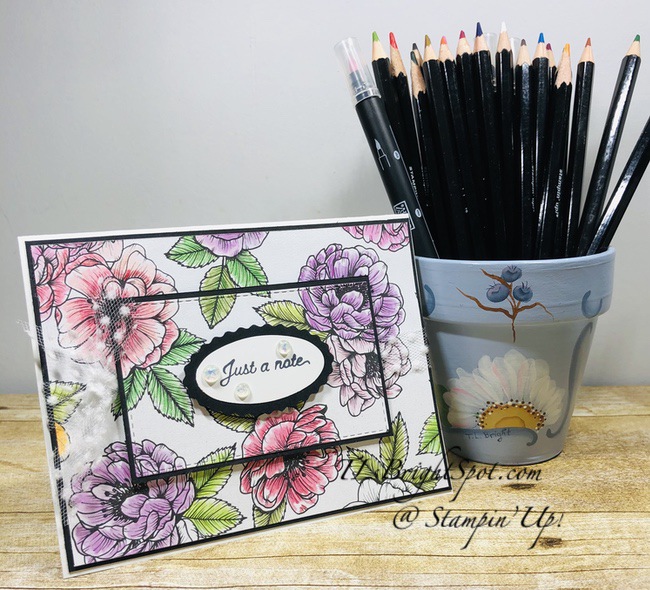
Isn’t this just soft and lovely? I kept changing the pencils I was using for every flower and the leaves as well. It was so fun to play… The painted flower pot holding my pencils is one I did many, many years ago when I was teaching Tole Painting. 😌 Let’s do a close-up of the flowers on the card.
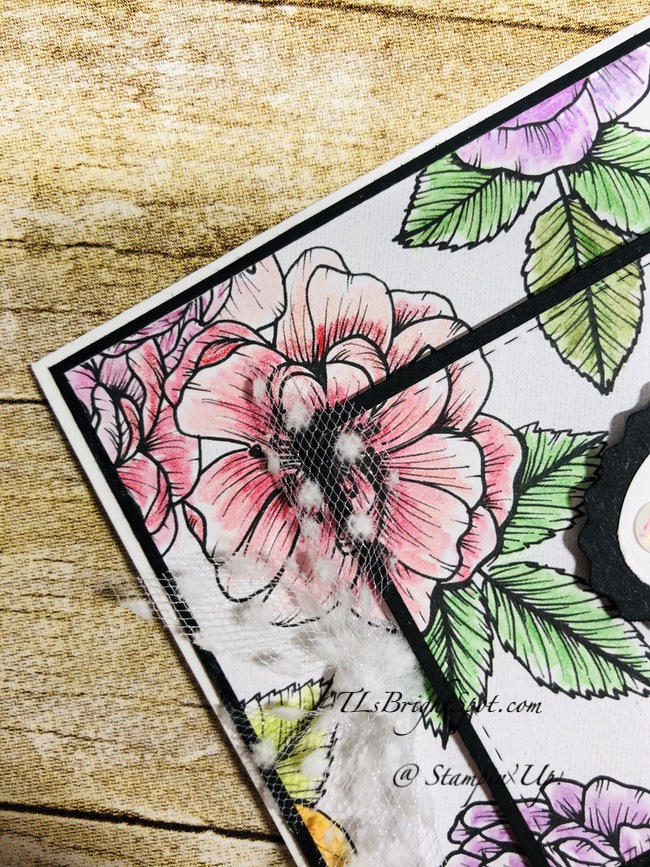
You can see in these photos how the colors vary. The largest flower in the top left, the pencils used were Flirty Flamingo and Melon Mambo – Melon Mambo for the center. The leaves were Granny Apple Green and Garden Green. The smaller flower in the upper left was the same, just more Melon Mambo. The upper right leaf in that same photo is Granny Apple Green and Old Olive. And the orangey flower & leaf… Pumpkin Pie and the leaf is Granny Apple Green. After using the Watercolor Pencils on each flower, I then used the Blender Pen to smooth the pencil lines.
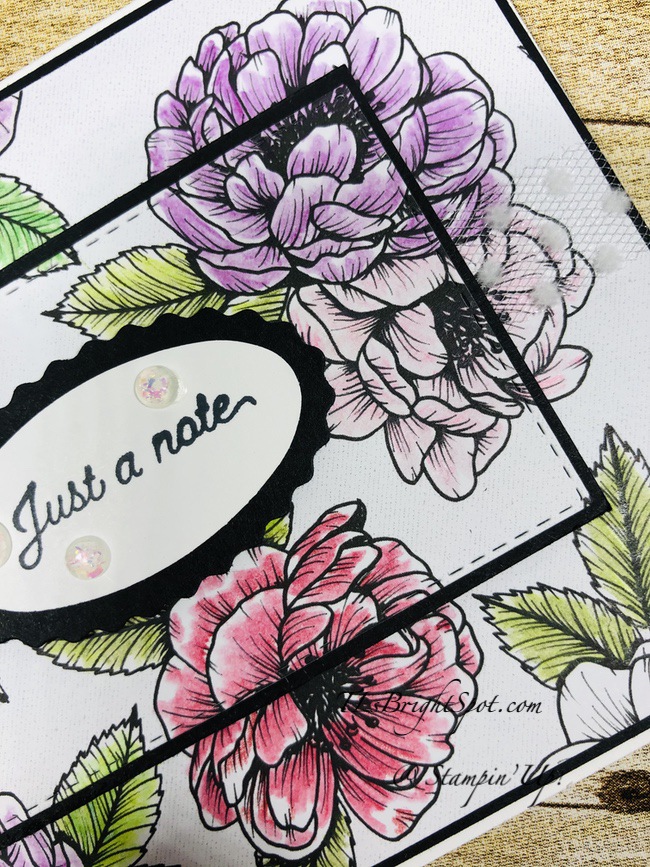
In the photo at right I used Rich Razzleberry for one of the flowers and Flirty Flamingo by itself for the flower closest to it. The darkest flower is mostly Cherry Cobbler and Melon Mambo in places. I always used the darker colors in the middle and left bare areas for contrast. They almost look real, don’t they?
- I colored a panel of True Love DSP 4 x 6 then trimmed it to 4 x 5 1/4, removing a portion from each end. I used those trimmings on the inside of the card, which you will see in a bit.
- Next I took a Stitched Rectangle Die to die cut the inside of the panel.
- I layered the larger panel on Basic. Black, adhering with liquid glue.
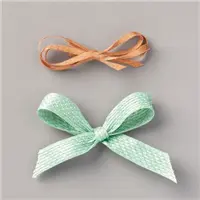
- I wrapped that panel with Polka Dot Tulle Ribbon and tied it in a knot. I took another, smaller length and tied it on as well.
- Layer this on the card base with liquid glue. (If I were hand delivering this card I would put it on dimensionals.)
- Now layer the smaller panel on Basic Black with liquid glue, then to the card front with dimesnionals, matching the flowers and leaves. You do have to be careful as it would be easy for this layer to go on upside down…
- Using the Double Oval punch and Basic Black, punch the larger oval using the scallop.
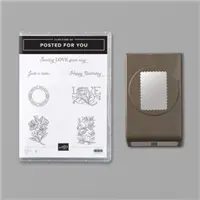
- On Basic White card stock, stamp the sentiment from the Posted For You stamp set in Memento Black ink and punch with the smaller of the ovals using the Double Oval Punch.
- Add three Opal Rounds to the sentiment banner, add dimensionals to the back and add to the center of the3 card.
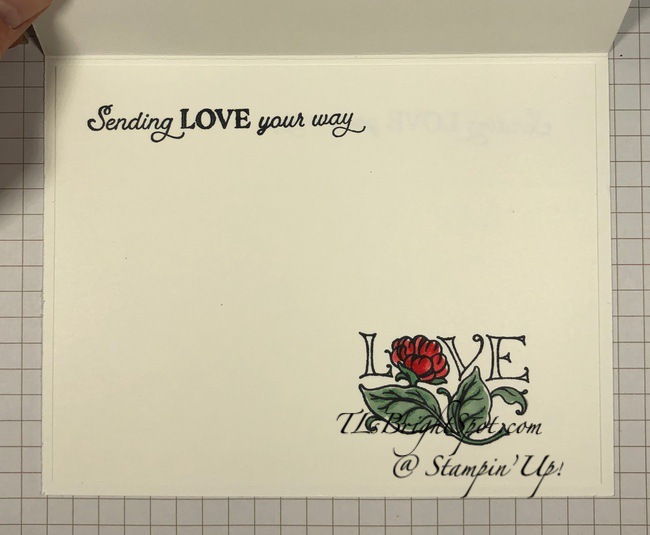
For the inside…
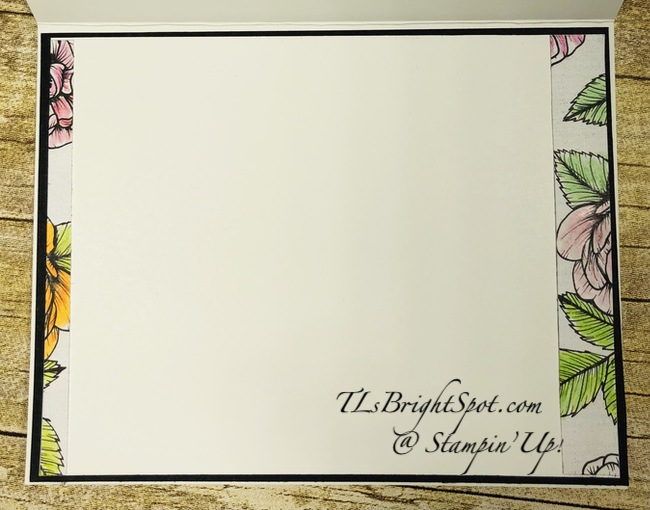
Remember I removed the ends of the 4 x 6 DSP panel after coloring? And… here they are! The Pumpkin Pie flower is to the left and the Flirty Flamingo to the right. Each strip was adhered with liquid glue to a Basic White panel, then to a slightly larger Basic Black piece – also with liquid glue. This went into the card base with liquid glue and finis… the card is complete! Love, love, love. And I hope you like it too.
Because this card will be part of my class on Tue, Feb 9, I will demonstrate the coloring on a strip for the envelope flap. You’ll just have to use your imagination 🙂
Products for todays card are from the new Jan-Jun 2021 Mini Catalog and the 2020-2021 Annual Catalog ~ and those products are available now for purchase. You will find them in the product list below. As a reminder… I’ve made it easy for you to simply ‘add all to cart. If I can help you in any way to order these items, or others, please give me a holler. As a thank you to my customers, when the order is between $50-$150 I offer a SU! item of your choice valued at $10. Remember to use MY CURRENT HOST CODE WZBPZ7N4- good Feb 4 (today) – Feb 28. When the order is over $150, you still receive that free gift from me, but SU! has Stampin’ Rewards that may be used for additional products, so don’t use the host code at that time. Now is also Sale-a-bration – a time from now through the end of February when Stampin’ Up! offers FREE items with $50 and $100 purchases. Those products are shown below today’s product list as well. Happy shopping!


Sale-a-bration items FREE with $50 purchase – Level 1


Sale-a-bration items FREE with $100 purchase – Level 2


Sale-a-bration items FREE with a $300 order – gather together some friends orders to get this total!

And now is a perfect time to JOIN MY TEAM… get $125 worth of product for $99 + five free packs of 6×6 DSP!!! There are other benefits as well. You can do that here.
Thanks for stopping by.
May you have a beautiful day.
Make someone happy sending them a handmade card filled with love.
Card cuts for todays project:
- Basic White Thick card stock 8 1/2 x 5 1/2 scored at 4 1/4
- Basic White 4 x 5 1/4 + scrap for oval
- Basic Black 4 1/8 x 5 3/8 (2) + 3 11/16 x 2 3/8 + scrap for oval
- True Love DSP 4 x 6 trimmed to 4 x 5 1/4