
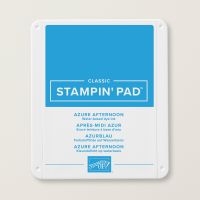
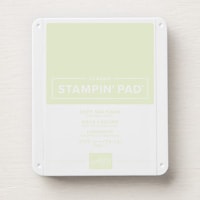
This card was inspired by a Stampin’ Up! demonstrator in the UK, Cary’s Creative Table. I changed up the colors to a fun combination of Azure Afternoon & Soft Sea Foam, heat embossed with snowflake stamps using the Dreamy Snowflakes stamp set & the WOW! Metallic embossing powder in silver then dry embossed with the Swirls of Magic embossing folder. Creating the background for the card front & a second for die cutting took some time but was well worth it!
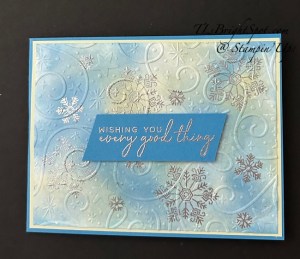
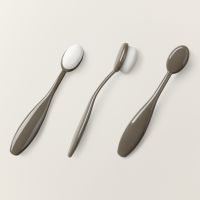
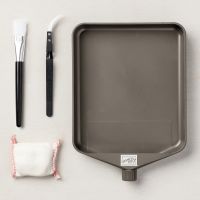
Isn’t this just so soft & pretty? I love the color combination. I created the card front in stages – first is the coloring and it can be done in a couple of different ways… 1-use Blending Brushes to add color to the paper, spritz a lot and move the color around by picking up the paper then either heat set with your heat tool or allow to dry on it’s own. 2- add color from your ink pad directly onto your glass mat, sprintz a lot then lay the paper on top & squish it around, pick up the paper to see if you need more color somewhere, squish again on the spritzed area until all the paper is covered; dry with your heat tool or allow to dry on it’s own. 3 – you can do the smae technique using the re-inkers, just keep in mind the colors may be more intense. I used technique 2 for this card.
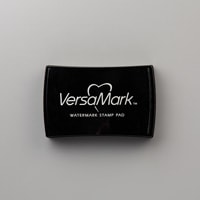
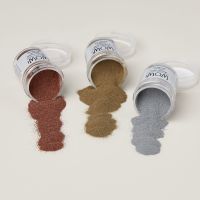
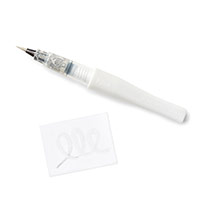
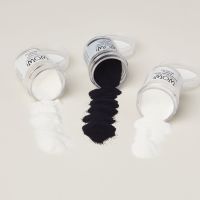
Once the paper is dry stamp with VersaMark ink, sprinkle with WOW! embossing powder in silver & heat set. Once this has cooled, run this through your embossing folder of choice. I used the Swirls of Magic because I wanted to reflect the stars. And now it’s time to use one of the panels created for your card front & use the other to die cut – here I used the Shining Stars Dies, the POTM for October.
I layered my completed 5 1/4 x 4 card front to a Soft Sea Foam 5 3/8 x 4 1/8 then to an Azure Afternoon 11 x 4 14 scored @ 5 1/2. I stamped a piece of Azure Afternoon for the sentiment: VersaMark then sprinkled with WOW! embossing powder in silver & heat set. I trimmed the angles & attached with dimensionals
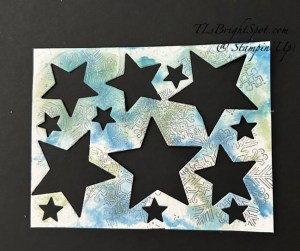
Above you can see my die cut piece – and I die cut even more small stars after this photo was taken! 😀
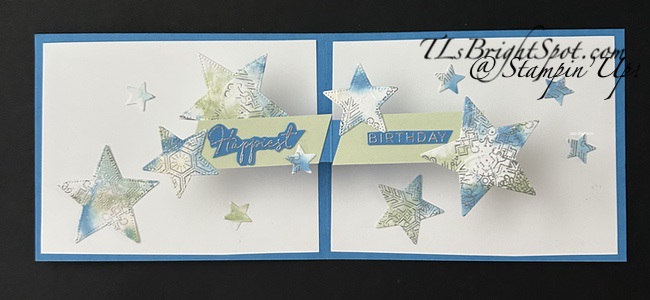
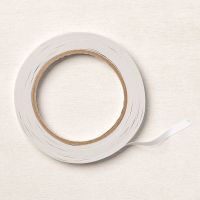
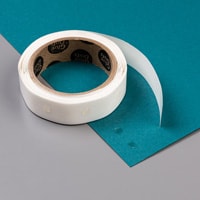
And here is the surprising inside, which I just adore. It was so fun to create. First I adhered a 4 x 5 14 Basic White panel to each side of the inside of the card. Next I created the mechanism – 2 pieces, each 3 3/8 x 3/4 scored @ 3/4, 1 1/2, 2 1/4 & 3. Simply fold over score lines using your fingers to burnish. Add adhesive to the shortest scored area & adhere, creating two boxes. I used tear n Tape for this. I then add Tear n Tape to adhere the two boxes together, then added then at the center score line of the card. See the photo of this below. I then cut another strip 4 x 3/4 scored at 2″. This I attached directly on top of the two boxes to create a larger area for the floating stars & sentiment. The boxes & strip were from Azure Afternoon. The stamped sentiments are adhered on Soft Sea Foam but stamped on Azure Afternoon, heat embossed with WOW! embossing powder in Silver & heat set, fussy cut & attached. All the stamping uses the Dreamy Snowflakes stamp set
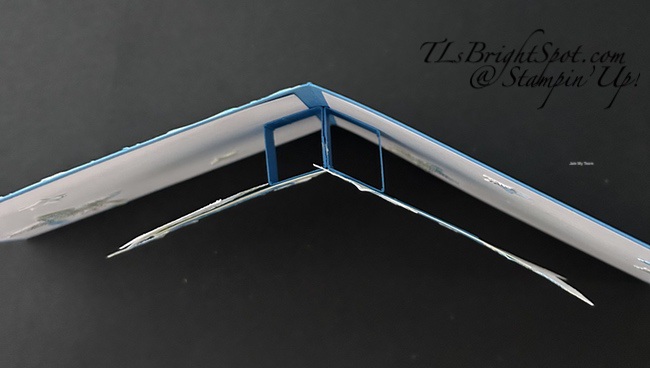
Above shows the two boxes, part of the mechanism, then the longer strip over those to create a place for something larger
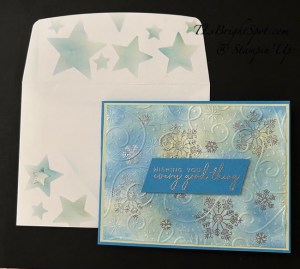
And here we have the card & envelope. I used the die cut star piece as my template to add stars – using blending brushes, Azure Afternoon ink & Soft Sea Foam ink.
Product List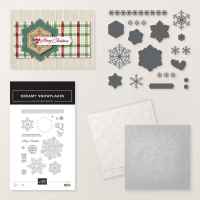







That’s awesome Terry Lynn! Great fun fold design, love those stars on the inside! 🙂
LikeLike
What a pretty – and fun! – card! Love the foiling and the pop-up sentiment is super cool! 🙂
LikeLike