
Oh goodness… daffodils are in bloom, crocus & star flower too, & jonquils – it’s begging, the transition to S-P-R-I-N-G! And the theme for today is Spring Celebration! Does that seem appropriate or what! So glad you joined us to see what we have created for you.
My card uses the Awash in Beauty DSP as its focus & I have used True Beauty stamp set and it’s coordinating Organic Beauty Dies to enhance the project. Let’s take a peek.
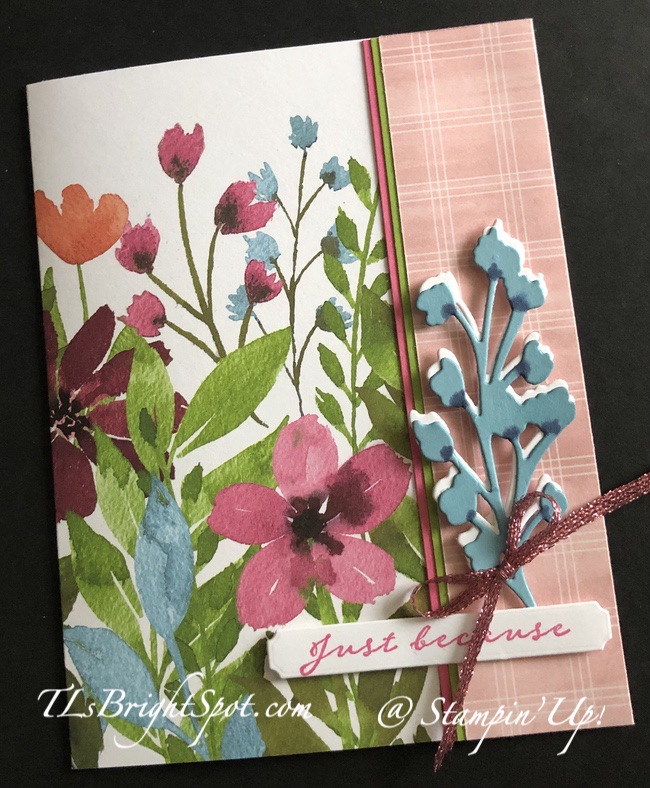
Designer Series Paper most often has two sides, one is highly decorated, the other side is more subtle. I’m calling this the DSP Wrap-Around. It may be called something else by other folks, but this is what I’m calling it. 😀 Let me tell you why by explaining how to create this card for yourself.
Begin with a piece of Awash in Beauty DSP cut 5 1/2 x 6 and score on the long side at 1/2″ and 4 3/4. The long side is the direction of the ‘landscape’ of the DSP. Burnish the score lines, folding the 1/2″ back and the 4 3/4 score forward. With this Awash in Beauty DSP, the forward section is the part that shows the pink & white check. The next step is to find two coordinating 1/2 x 5 1/2 strips that bring out the colors of the DSP. Here I chose Granny Apple Green and Polished Pink. These strips were adhered to the wrap around of the DSP on the right, then the DSP was adhered to itself on this same side to make it flat. This created a coordinating fabulous edging! Next, I took a piece of Blushing Bride card stock cut just shy of 4 1/4 in width and a full 5 1/2 in length, and adhered it to the 1/2″ end of the Awash in Beauty DSP to create a full card. More decoration was needed, so I die cut a Basic White and a Balmy Blue ‘spray’. I used a Blending Brush and Balmy Blue ink to create some detail of the ‘spray’ and a depth on the Balmy Blue die cut. Next I used a Dark Night of Navy Stampin’ Blends to add some ‘depth’ to the flowers. I adhered the two ‘sprays’ together, creating a shadow effect with the white. I added this to the card front with dimensionals, tied a bow with Metallic Woven Ribbon in Sweet Sorbet and added it to the spray with a rolled up glue dot. The last step for the front was to do the banner: stamped with the True Beauty stamp set and Polished Pink ink on a Basic White strip; die cut with a die from Sending Dies for the sentiment banner. This was adhered with dimensionals and the card front was complete.
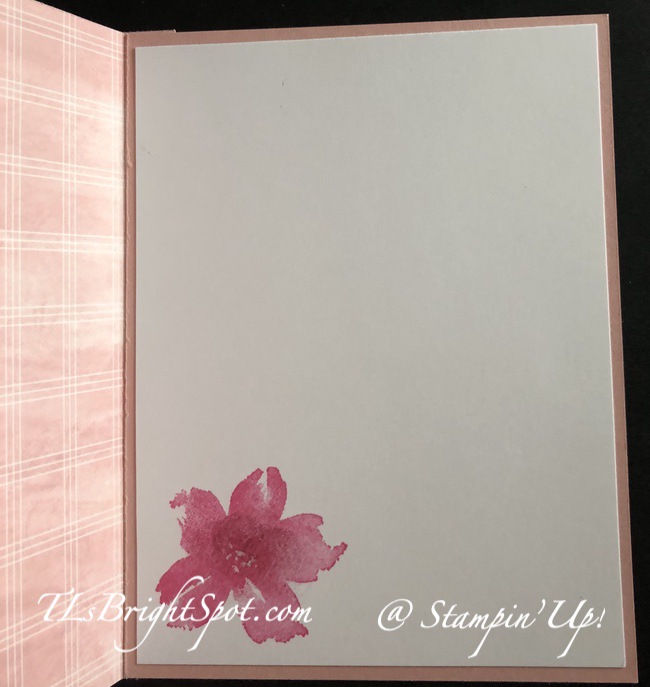
For the inside… I stamped the flower from True Beauty stamp set in Polished Pink ink, to coordinate with the DSP card front! It looks simple – and great! I used a dab of Merry Merlot on my finger to add color to the flower center (you could use a sponge dauber but my finger was very handy!)

I stamped the same flower from True Beauty stamp set on the envelope front and called the envelope done. I like the simplicity!!! And I love this flower!
Now it’s time to visit Amy Koenders or in fact to visit someone else in the group. Please click on the ‘next’ button or the ‘previous’ button or click on a name! Happy hopping!


- Carol Buckalew
- Karen Finkle
- Karen Ksenzakovic
- Akiko Sudano
- Tara Carpenter
- Mary Deatherage
- Terry Lynn Bright
- Amy Koenders
Products to make this card…
Please use my CURRENT HOST CODE: XFYQSSE9 when shopping with me. . Here’s how it works… when you place an order of $50 or more (before shipping & taxes), you receive from me a SU! item valued up to $10 + Star-Studded Rewards. If your order exceeds $150, do not use my HOST CODE as SU! has it’s own rewards from which you may choose. You will still receive that FREE ITEM valued up to $10 from me + the Star-Studded Rewards. 😁👍 Please note… I have had to remove card stock as a free item due to increased cost of mailing – ugh.

Pingback: Stampin’ Up! Dainty Delight Celebration Card for Amy’s Inkin Krew Blog Hop! – Inky Bee Stampers
This is just beautiful Terry Lynn 🙂 Love everything about it.
LikeLiked by 1 person
Thanks so much my dear!
LikeLike
Just gorgeous, Terry Lynn! I’ll have to give this wraparound technique a try!
LikeLiked by 1 person
I think you might like it! And thanks
LikeLike
Beautiful card!!! I love the way you showcased the DSP! TFS
LikeLiked by 1 person
Thanks Tara!!
LikeLike
Love how you showed off both sides of the beautiful DSP. It makes a gorgeous card. Adding this to my ToCASE list! TFS
LikeLiked by 1 person
Yes, I like the way it shows off both sides of the DSP – and thank you Susan!
LikeLike
So pretty Terry Lynn! The colors are perfect for spring, love those floral images! 🙂
LikeLiked by 1 person
Thanks Amy!
LikeLike
Oh – this is lovely, TL! That DSP is so pretty! 🙂
LikeLiked by 1 person
Thanks so miuch!
LikeLike