Today’s card is bright and cheery (not that others haven’t been) and for our granddaughter who is turning 11 this next week. I kept trying to decide what kind of card to make when a Stampin’ Up! pre-order box arrived. This granddaughter loves ice cream with lots of sprinkles and very different flavors… therefore when you see the colors of the ice cream on the card, hopefully you’ll understand.

Isn’t this card full of fun colors? Here’s list of the products used…
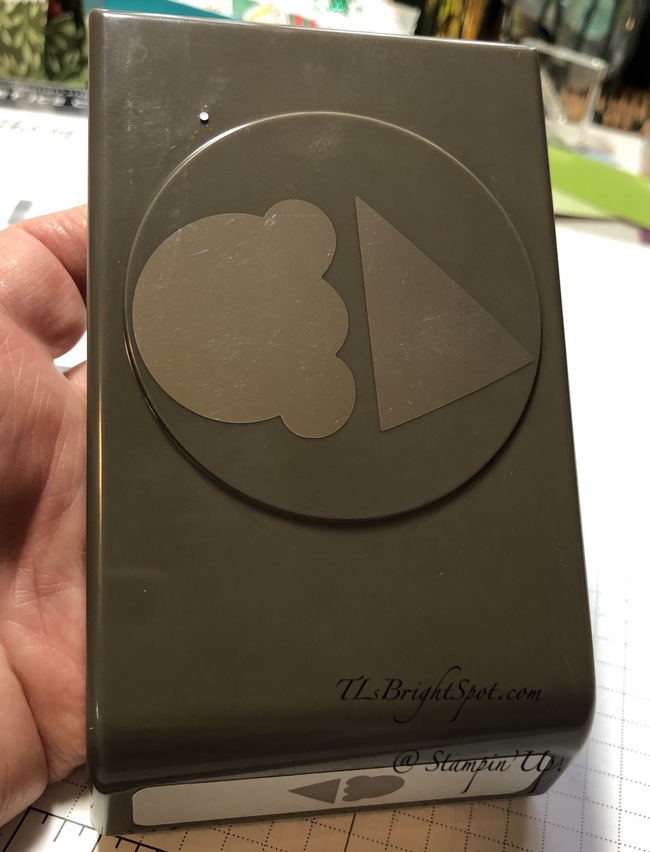
- * Sweet Ice Cream stamp set with coordinating Ice Cream Cone Builder Punch
- * Ice Cream Corner DSP
- Stitched Rectangle Dies
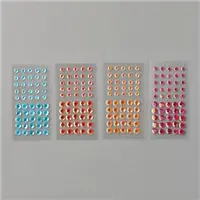
- Artistry Blooms Adhesive-Backed Sequins
- * Blending Brushes
- Wink of Stella
- Pool Part card stock (card base)
- Whisper White card stock (inside)
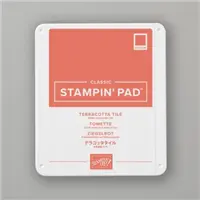
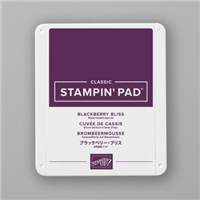
- Inks: Old Olive, Terracotta Tile, Blackberry Bliss, Pool Party and Tuxedo Black Memento
NOTE: those items with an * are new in the Jan – Jun 2021 Catalog and will be available Jan 5, 2021
How to create this card…
- Cut card base – for this card I used pool Party card stock.
- Die cut with the largest die in the Rectangle Stitched Dies, a panel using one of the papers in the Ice Cream Corner DSP pack. Adhere to the card base with dimensionals.
- Using various papers of the Ice Cream Corner DSP, punch the four layers for the ice cream cone. Stamp with the sprinkles stamp using Old Olive ink, Terracotta Tile ink and Blackberry Bliss ink. Put these four pieces together with liquid glue from the bottom – up. Cover lightly with Wink of Stella.
- Die cut a Whisper White panel using the Stitched Rectangle Dies. Color with Pool Party ink and the new Blending Brushes.
- Stamp the word ‘Happy’ in Blackberry Bliss on the Whisper White panel. NOTE: know the placement of the ice cream cone prior to stamping!
- Adhere the ice cream cone to the Whisper White panel with dimensionals.
- Adhere several Artistry Blooms Adhesive-Backed Sequins. These bring out the colors of the ice cream cone!
- Adhere this panel to the card front – and the front is complete
For the inside… and the envelope…
Stamp the word ‘Birthday” in PoolParty ink on one of the ‘color blobs’ on the Ice Cream Corner DSP; fussy cut the word; adhere with dimensionals to a Whisper White panel. Stamp the rest of the sentiment in Tuxedo Black Memento ink from the Sweet Ice Cream stamp set.. Adhere several of the Artistry Blooms Adhesive-Backed Sequins. Secure the panel to the card base with liquid glue.
For the envelope, adhere a panel of the Ice Cream Corner DSP to a Whisper White envelope and call it done!
Here are photos of the stamp set and the punch…
Card Cuts:
- Pool Party card stock 4 1/4 x 11 scored at 5 1/2
- Whisper White 4 x 5 1/4
- Various Ice Cream Corner DSP: stitched rectangle 3 3/4 x 5 1/8 + small amounts from other papers in the pack to fit the punch
As a thank you to my customers, when the order is between $50-$150 I offer a SU! item of your choice valued at $10. Remember to use MY CURRENT HOST CODE SVFB9YJY – good until Dec 10, 2020. When the order is over $150, you still receive that free gift from me, but SU! has Stampin’ Rewards that may be used for additional products 😁
Thanks for stopping by.
May you have a beautiful day.
Make someone happy sending them a card made with love.


Leave a comment